PRP/HSR Redundancy Box
Getting Started
2-5
NOTE
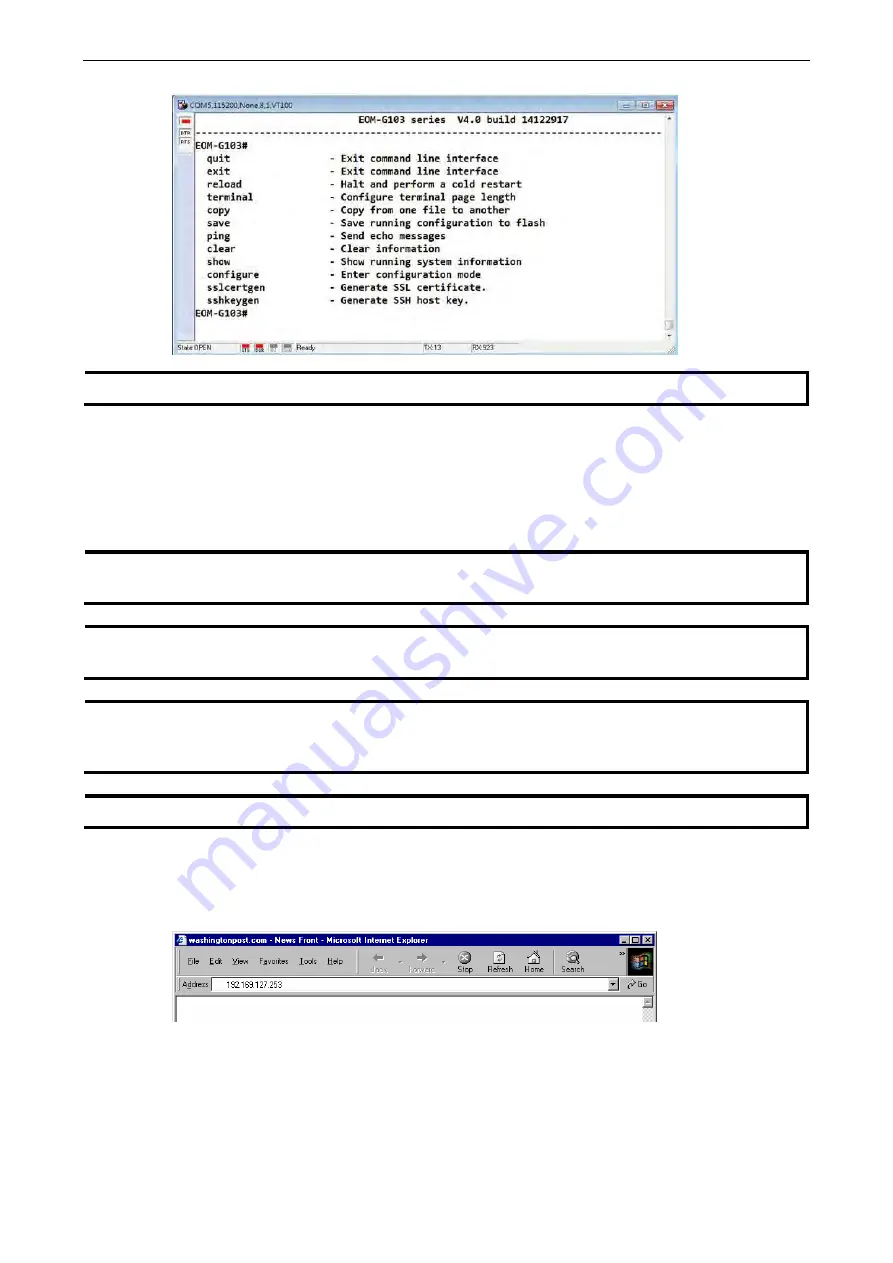
The Telnet console looks and operates in precisely the same manner as the USB console.
Configuration by Web Browser
The Moxa PRP/HSR RedBox
’s web console is a convenient platform for modifying the configuration and
accessing the built-in monitoring and network administration functions. You can open the Moxa PRP/HSR
RedBox
’s web console using a standard web browser, such as Internet Explorer.
NOTE
To connect to the Moxa PRP/HSR RedBox
’s Telnet or web console, your PC host and the Moxa
PRP/HSR
RedBox must be on the same logical subnet.
NOTE
If the Moxa PRP/HSR RedBox is configured for other VLAN settings, you must make sure your PC host is on the
management VLAN.
NOTE
When connecting to the Moxa PRP/HSR RedBox
’s Telnet or web console, first connect one of the Moxa
PRP/HSR RedBox
’s Ethernet ports to your Ethernet LAN, or directly to your PC’s Ethernet port. You may use
either a straight-through or cross-over Ethernet cable.
NOTE
The Moxa PRP/HSR RedBox
’s default IP address is 192.168.127.253.
After making sure that the Moxa PRP/HSR RedBox is connected to the same LAN and logical subnet as your PC,
open the Moxa PRP/HSR RedBox
’s web console as follows:
1.
Connect your web browser to the Moxa PRP/HSR RedBox
’s IP address by entering it in the
Address
or
URL
field.
2.
The Moxa PRP/HSR RedBox
’s web console will open, and you will be prompted to log in. Select the login
account (admin or user) and enter the
Password
. This password will be required to access any of the
consoles (web, serial, Telnet).


