


Sequoia Reference Guide
Chapter 5 Setting Up Your Phone
3. Select “On” to enable Power Tone alert.
Setting up the Display
Customizing your display by creating a banner, adjusting the backlight, selecting the
language for display text, etc.
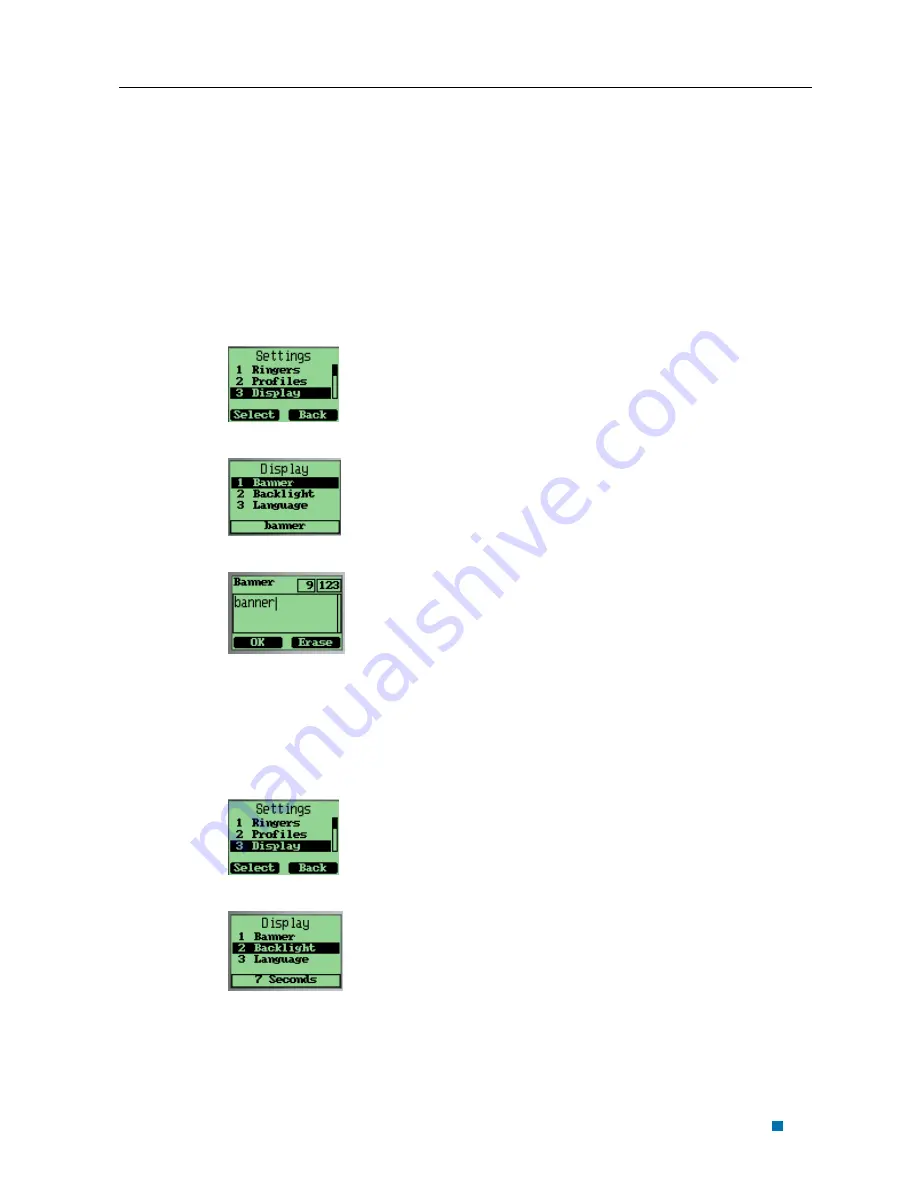
Creating a display banner
1. Select “Display” menu item.
2. Select “Banner” menu item.
3. Editing the banner
4. Select “OK” to save banner.
Setting backlight
Setting the timer for the backlight.
1. Select “Display” menu item.
2. Select “Backlight” menu item.
3. Select an option.
5-7


