


Setting Motion Detect Features
When you choose Motion Detect the LCD Display will automatically start showing the different
features within Motion Detect. Using the navigation process, set the features to your needs.
E V E N T D E L A Y
1 0 S E C O N D S
Event Delay Setting
Press the
OK
button. Use the
Up/Down
buttons to choose between (10 seconds, 30 sec, 1 min, 5min,
10min, or 30 min). Press
OK
. When your selections have been made, press the
Right
button.
P H O T O O R V I D E O
P H O T O
?
Setting Photo or Video
Press the
OK
button. Use the
Up/Down
buttons to choose between Photo or Video. Press the
OK
button. Press the
Right
button.
TIME LAPSE
VIII
Page 5
D-333 Digital Game Camera
Page 12
Time Lapse Software
SETUP AND PROGRAMMING (cont)
V
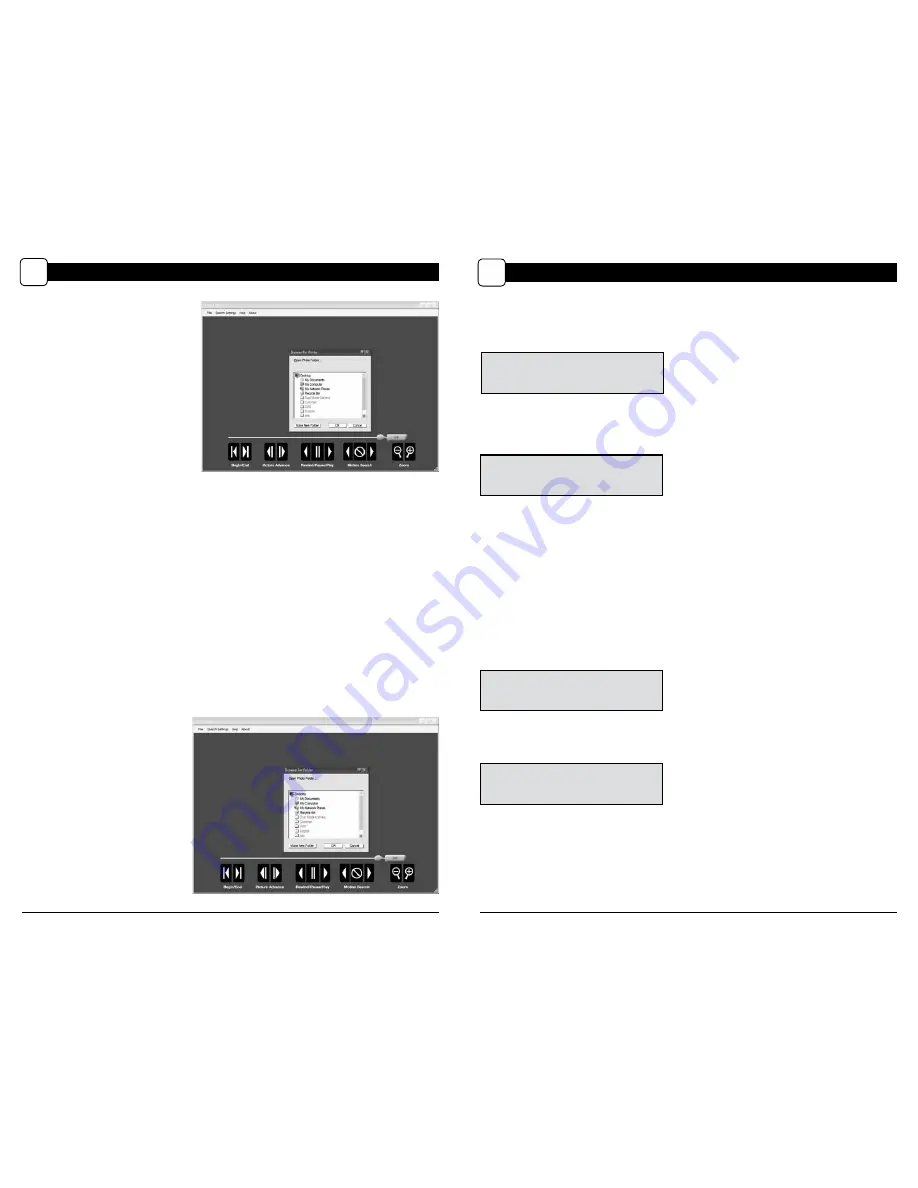
Download Images
1. Double-click on Time Lapse
Icon to open the software.
2. Click on File -> Open Photo Folder
3. Browse through your files to
the folder where the images you
wish to view are stored.
4. Once the folder is selected, click OK.
5. The images saved in the folder are
now available to view through
the Time Lapse Software.
INTRODUCTION
In time-lapse photography a series
of still photos are taken at regular
time intervals. The PlotStalker
Software allows you to load the
time lapse file that was captured
from your Moultrie Game Camera
and scroll backward and forward
through your photos, single step,
search for activity in a designated
area, and save the files.
SYSTEM REQUIREMENTS
Computer:
Intel® Pentium® 4 or AMD Athlon® 64 processor or above; 1GB RAM minimum;
100 MB hard disk space minimum.
Operating System:
Microsoft® Windows® 32 bit - XP with Service Pack 2 or later; Windows Vista®
Home Premium, Business, Ultimate, or Enterprise with Service Pack 1;
or Windows 7
SOFTWARE INSTALLATION
Insert the PlotStalker CD into your computer and follow on-screen instructions.
Setting General Features
When you choose General the LCD Display will automatically start showing the different features
within General. Using the navigation process, set the features you desire.
Setting Date and Time
Press the
OK
button. Use the
Left/Right
buttons to move from one value to the next and the
Up/Down
buttons to adjust each value. Press the
OK
button to lock in selections. When all your
selections have been made, and the date and time has been set, press the
Right
button.
D A T E
/
T I M E
0 1
/
0 1
/
9 9
1 2
:
0 0 A M
Erase Images
Press the
OK
button. Use the
Up/Down
buttons to choose between Yes - erase all images, or
No - does not change stored images. Press the
OK
button to select. When your selections has been
made, press the
Right
button.
E R A S E I M A G E s
N O
?


