C A N O P Y
Motorola Wireless Internet Platform
Page 18
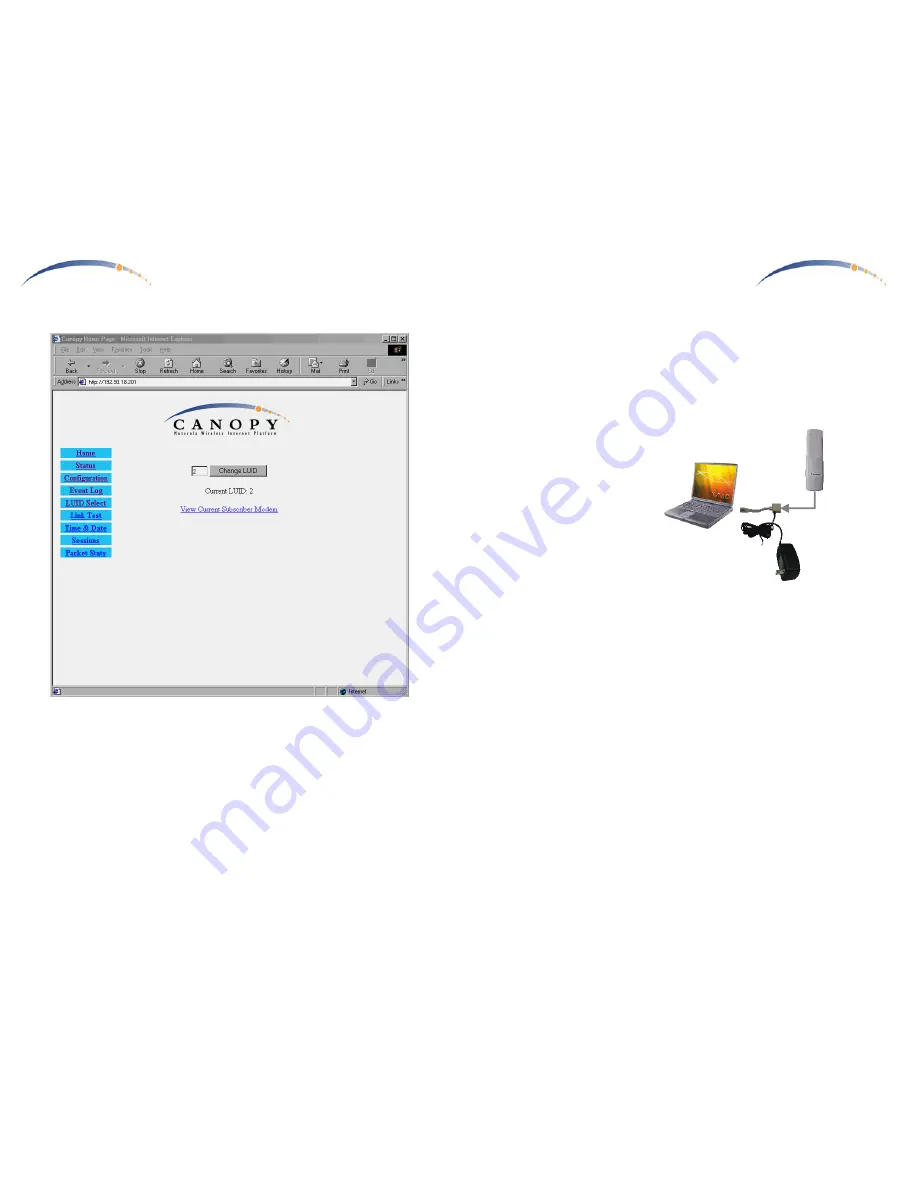
LUID Select
The user can select any of the registered Canopy SM Units currently
registered on this Canopy AP Unit for purposes of Link Testing or
accessing the Canopy SM Unit configuration web pages over the radio link.
C A N O P Y
Motorola Wireless Internet Platform
Page 7
Configuring your Canopy AP Units for a Multiple AP Unit Site
- All Canopy AP radios come pre-configured with the same default IP
address, 169.254.1.1. When mounting multiple Canopy AP radios
together at a site, they should first be reconfigured to different
individual IP addresses, or it will not be possible to individually
address them later.
- Use a Windows laptop or
computer configured for a
dynamic IP address.
Startup the laptop with no
Ethernet connection. This
automatically assigns a
compatible IP address to
the laptop in the 169.254
subnet.
- Connect a straight-thru
Ethernet cable from the
power-adapter Ethernet
patch to the RJ45 socket on the Canopy AP. Plug the AC adapter into
an AC outlet. Connect the other side of the power adapter’s Ethernet
patch into your PC Ethernet port.
- Using a web browser, go to the default URL (http://169.254.1.1) to
access the Canopy AP internal configuration web pages. Keeping a
permanent record, assign a sequentially consecutive address to each
Canopy AP unit.
Example:
1st Canopy AP Unit IP Address 192.168.1.2
2nd Canopy AP Unit IP Address 192.168.1.3
3rd Canopy AP Unit IP Address 192.168.1.4
4th Canopy AP Unit IP Address 192.168.1.5
5th Canopy AP Unit IP Address 192.168.1.6
6th Canopy AP Unit IP Address 192.168.1.7
- Changing the subnet assignment to valid IP addresses on your
network, and it is also recommended to begin IP assignments at 2.
- Once the Canopy AP Unit flash has been updated & the unit rebooted,
it may only be accessed thereafter by it’s new IP address.
AC Adapter
Ethernet
Cable
CANOPY
AP


