Page 18
Page 19
Using the Tilt Compensation feature / Setting Tilt Compensation
Pairing the Remote Control / Operating the trolley using Manual Control mode
Pairing the Remote Control
In the unlikely event that the remote is not responding or you have a new remote handset,
it will need to be paired to the trolley.
To pair the remote to the trolley:
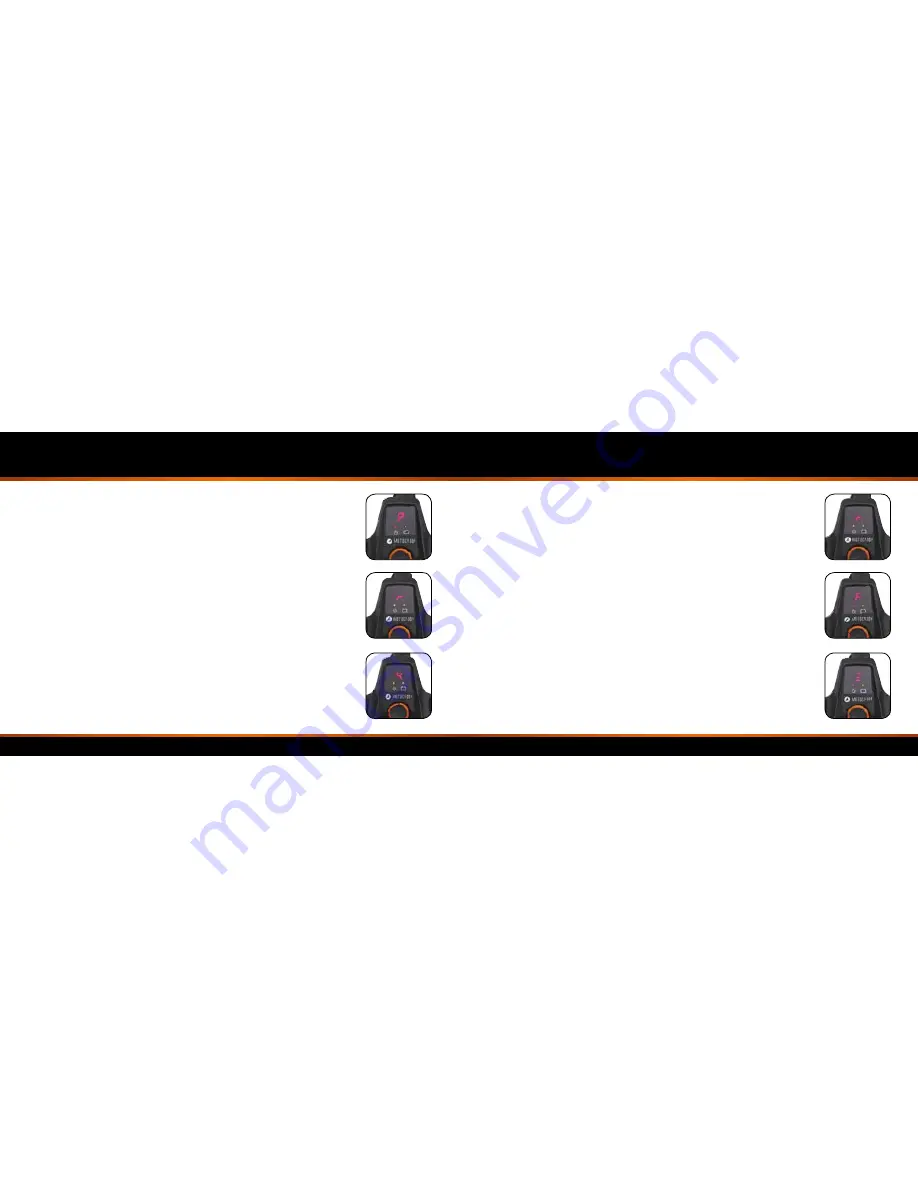
1. Press and hold the ‘Speed dial’ on the handle whilst plugging in the battery
2. When “P” is displayed on the screen (fig. 1), release the button
3. Press the ‘Function’ button on the remote handset
The handle display will show an “r” (fig. 2) to indicate that pairing has been successful.
Operating the trolley using Manual Control mode
When required, the S7 REMOTE trolley can be switched to manual mode
and operated using the speed dial on the handle.
To switch to manual mode, press the speed dial until the display changes from “r” to “4” (fig 3).
This indicates that manual mode has been initiated.
In manual mode the trolley has 9 speed settings (1 to 9) with 1 being the slowest setting and 9 the
fastest. To increase the speed, rotate the speed dial clockwise, or anti-clockwise to decrease the speed.
To start the trolley, simply select your required speed setting and press the button. The trolley will
smoothly accelerate until it reaches the selected speed. To stop the trolley, simply press the button again
- there is no need to reduce the speed setting.
Press any button on the remote control handset to return to remote mode.
Using the Tilt Compensation feature
The S7 REMOTE is fitted with an innovative tilt compensation feature which helps keep the trolley
running in a straighter line whilst traversing slopes. This will reduce the amount that the trolley pulls
down the slope. By default, the tilt compensation feature is disabled and can easily be enabled.
It is advisable to try using the trolley first before enabling the tilt compensation.
The tilt compensation status is indicated by the decimal point shown on the display (fig. 1). If the decimal
point is showing, the tilt compensation feature is enabled, if it is not displayed then it is disabled.
To enable/disable the tilt compensation feature, hold down the ‘Function’ button and the ‘Pause/
Resume’ button simultaneously for 3 seconds. The decimal point will appear/disappear to indicate that
it has been enabled/disabled.
Setting the Tilt Compensation default level
It is possible to perform a factory reset on the tilt compensation to instruct the trolley
what level ground is. This MUST be performed on a completely flat and level surface.
1. Hold down the ‘Speed dial’ on the handle for 10 seconds until “F” (fig. 2) is displayed
2. Release the button
It will take a few seconds to register and a series of lines will move up the display (fig. 3)
to indicate that calibration is underway.
It is important that you do not touch the trolley until the lines have stopped
moving and the factory reset is complete as it may affect the calibration.
Fig 1
Fig 2
Fig 3
Fig 1
Fig 2
Fig 3


