16
ENGLISH
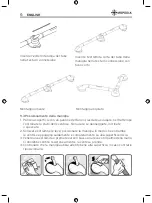
9.3 Grab bar positioning
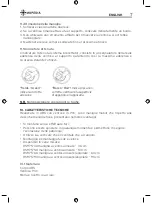
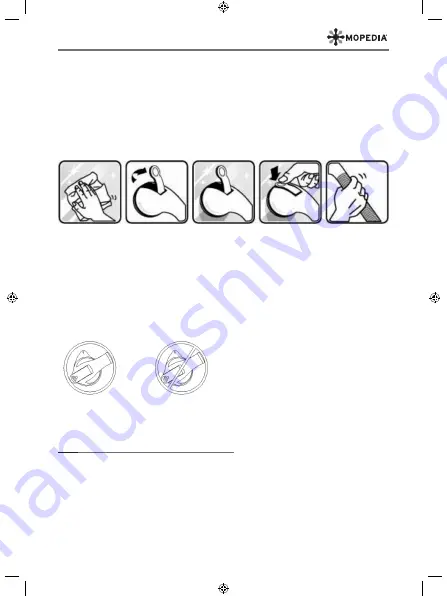
1. Thoroughly clean and the surface with alcohol wipe and allow to dry and check
the condition of the suction cups. Do not use if damaged, cracked or split.
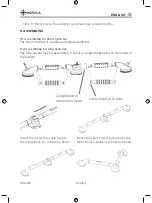
2. Raise both levers; place the grab bar so that both suction cups lie firmly and
completely on a smooth surface.
3. Hold one end and press on one lever with your palm, You should feel resistance
as the suction cup tightens.
4. Check that the handle adhered well to the surface, otherwise reposition.
9.4 Removal
1. Lift each of the two levers.
2. If suction remains, gently lift one edge with a finger.
3. Do not use a sharp instrument which may damage the suction cup.
4. Always to keep the levers flip up until next use.
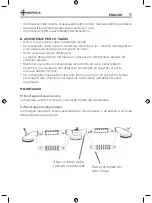
9.5 Patented suction indicator
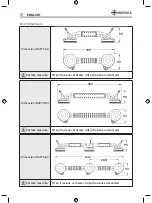
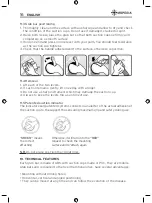
The indicator seal (patented system), consists in an alerter of the actual adhesion of
the suction cup to the support thus ensuring maximum grip and safety during use.
“GREEN” means
the correct
attaching
Otherwise, it will turn into the “RED”
request to check the mounting
surface and re-attach again
N.B.
Do not place over joints or grout lines.
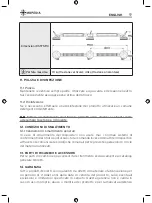
10. TECHNICAL FEATURES
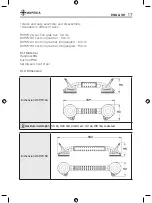
Each grab bar is made of ABS with suction cups made of PVC, they are mobile
grab bars and compared to the fixed traditional ones, have several advantages:
• Mounting without drilling holes;
• Horizontal, vertical and angled positioning
• They can be moved at any time and can follow the evolution of the disease.

