1 Scope
These application notes are a guide to applying the G123-814
dual PWM Amplifier. They tell you how to install, connect and
adjust the PWM Amplifier. They do not tell you how to select
proportional valves or how to design a closed loop system.
2 Description
The G123-814 Dual PWM Amplifier is used to drive both coils
of a three position 24V solenoid operated proportional valve.
It is specifically intended for use in low end closed loop
applications. It allows a very low cost proportional valve to be
used where normally a much more expensive servovalve would
be needed. Coupling it with its companion servoamplifier, the
G122-824, and a proportional valve, produces an economical
closed loop solution.
For a more detailed description see data sheet G123-814
E01.01.
3 Applicability
The G123-814-001 has been structured to operate in a closed
loop and optimised with a Hydrolux WP series proportional
valve. The important specifications considered were the coils,
which are 24V @ 800mA, and the spool overlap, which is
12%. Output current is 25% higher than nominal to ensure
maximum flow is not overly compromised by valve production
tolerances and spool Benoulli forces. The deadband
compensation circuit, that cancels the spool overlap, has been
optimised on a flow stand and during field applications. The
dead band compensation is not user adjustable. Applying this
amplifier to other valves with the same specifications will
produce the same performance as achieved with the Hydrolux
valve.
The G12-814 is not suitable for traditional open loop
proportional valve applications. Because the deadband
compensation circuit cancels the spool overlap, it is highly
unlikely that a zero flow condition will result from zero
coil current.
4 Installation
4.1 Placement
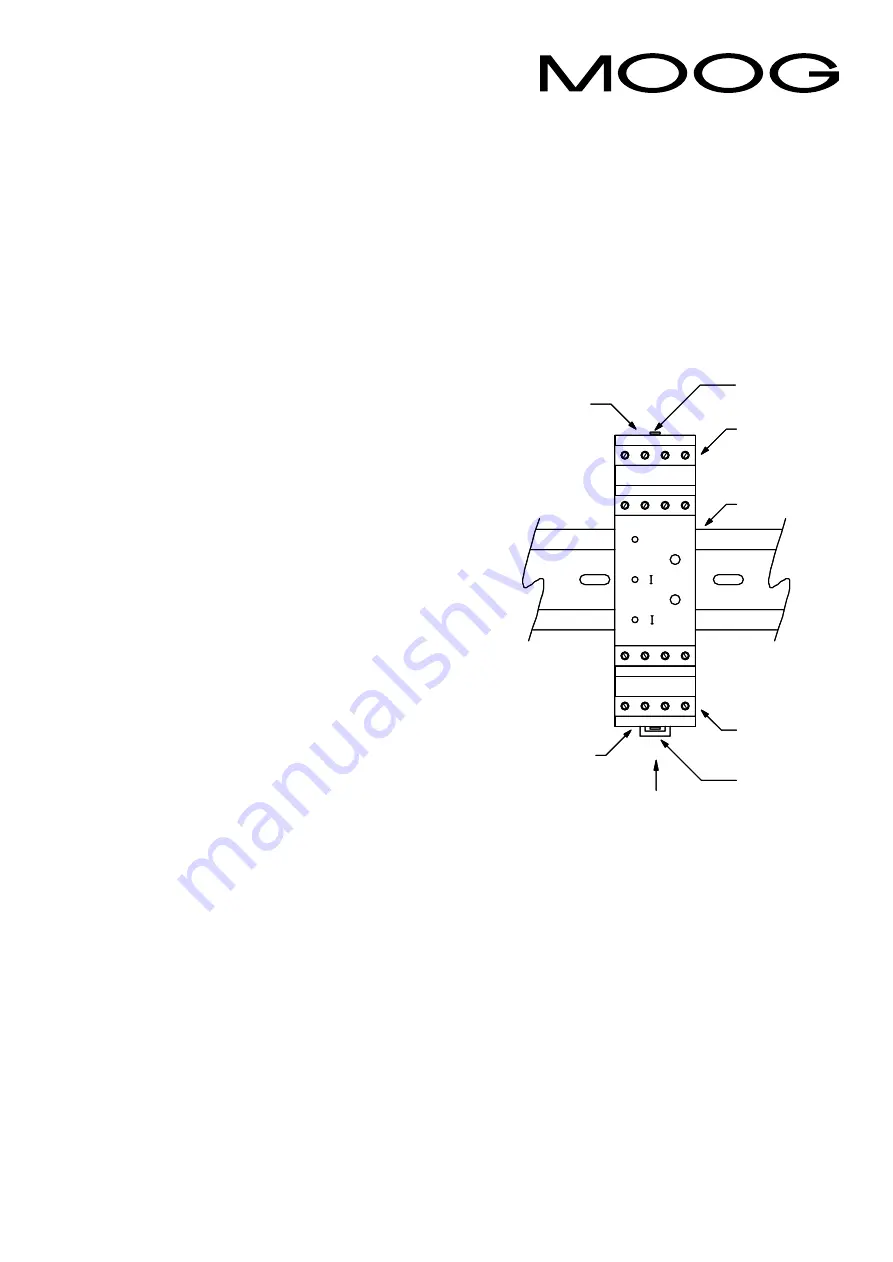
A horizontal DIN rail, mounted on the vertical rear surface
of an industrial steel enclosure, is the intended method of
mounting. The rail release clip of the G123-814 should face
down, so the front panel and terminal identifications are
readable and so the internal electronics receive a cooling air
flow. An important consideration for the placement of the
module is electro magnetic interference (EMI) from other
equipment in the enclosure. For instance, VF and AC servo
drives can produce high levels of EMI. Always check the EMC
compliance of other equipment before placing the G123-814
close by.
Dual PWM Amplifier
G123-814
4.2 Cooling
Vents in the top and bottom sides of the G123-814 case
provide cooling for the electronics inside. These vents should
be left clear. It is important to ensure that equipment below
does not produce hot exhaust air that heats up the G123-814.
Application Notes
Bottom
vents
Cooling
airflow
release
Screw
terminals
Top vents
Screw
terminals
DIN rail
9 - 16
1 - 8
clip
Cover
release
tab (2)
DIN rial
1
2
3
4
9
10
11
12
5
6
7
8
13
14
15
16
MOOG
cmd
zero
A
dither
B
dual PWM
Bottom
vents
Cooling
airflow
release
Screw
terminals
Top vents
Screw
terminals
DIN rail
9 - 16
1 - 8
clip
Cover
release
tab (2)
DIN rial
1
2
3
4
9
10
11
12
5
6
7
8
13
14
15
16
MOOG
cmd
zero
A
dither
B
dual PWM
4.3 Wiring
The use of crimp “boot lace ferrules” is recommended for the
screw terminals. Allow sufficient cable length so the circuit
card can be withdrawn from its case with the wires still
connected. This enables the circuit to be checked while the
card is still connected and operating. An extra 100mm, for
cables going outside the enclosure, as well as wires connecting
to adjacent DIN rail units, is adequate.
Cables to the valve coils carry one Amp and so should be sized
accordingly. A conductor size of 0.2mm
2
is generally rated at
one Amp and is suitable for cable lengths up to five metres.
Longer cables should have 0.5mm
2
conductors.
4.4 EMC
The G123-814 emits radiation well below the level called for in
its CE mark test. However, the cables to the valve coils should
be screened to ensure no interfering radiation is emitted.
Connect the screens to chassis ground at each end. Use
terminals 10 and 14 on the G123-814.


