17
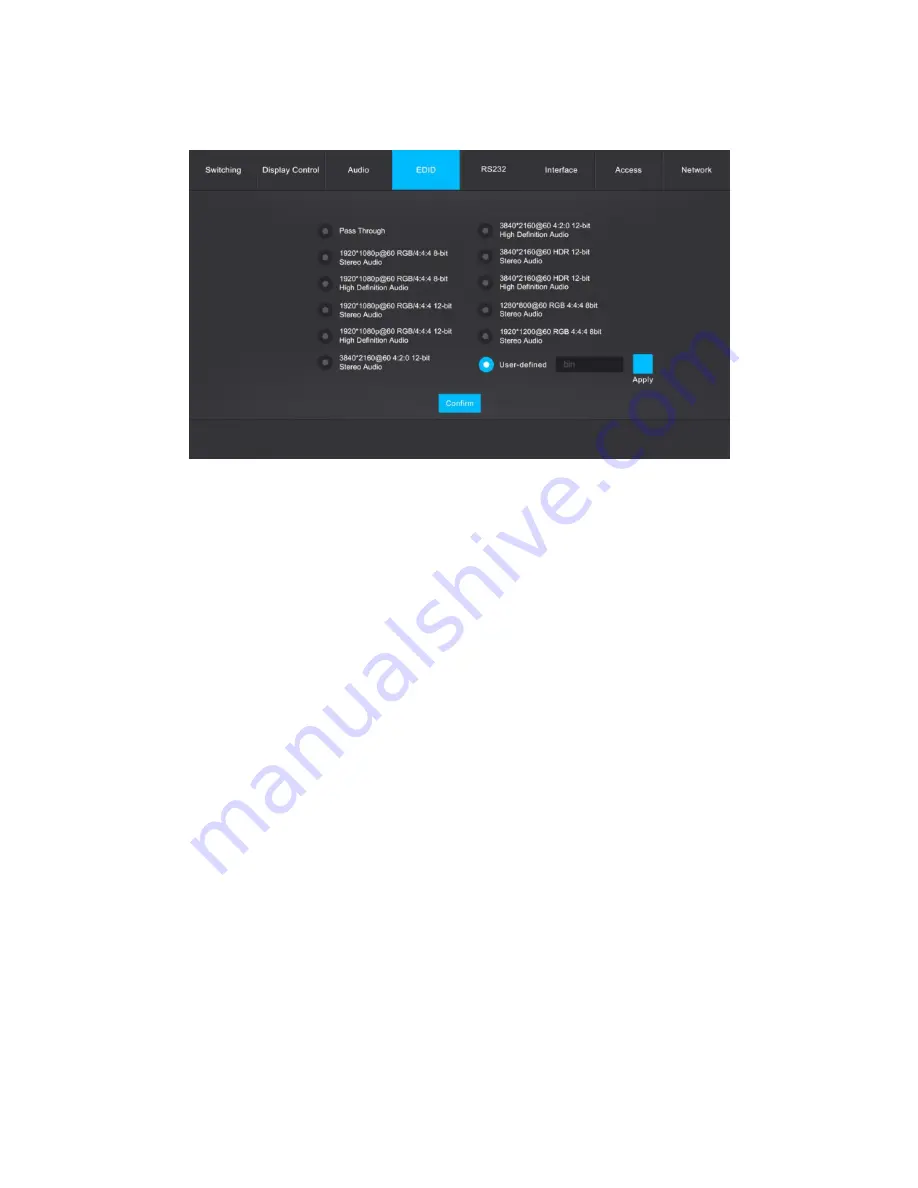
EDID Tab
Note: Before you can set the EDID® using the controls on this tab, the EDID DIP switch on
the rear panel must be set to the 1111 position.
•
Click the radio button next to the Pass Through label to allow the source devices to
obtain the EDID® settings from the connected display, then click the Confirm button
to save the change.
•
Click the radio button next to one of the non-Pass Through, non-User-defined labels
to select those EDID settings, then click the Confirm button to save the change. The
selected EDID settings will be sent to the source devices.
•
Click the radio button next to the User-defined label, then click the filename field
next to the label. Locate and select your custom EDID file (.bin), then click the Apply
button to load the custom settings. Finally, click the Confirm button to send the
custom EDID settings to the source devices.
Note: You can create the .bin file with the custom EDID settings using HDMI® EDID
programming software.


