background image


4.


(Optional) While [ L ] or [ H ] is displayed, use the Temperature Adjustment 
Buttons (3) to change the temperature setting from the default values of 90°C 
or 195°C. 

5.


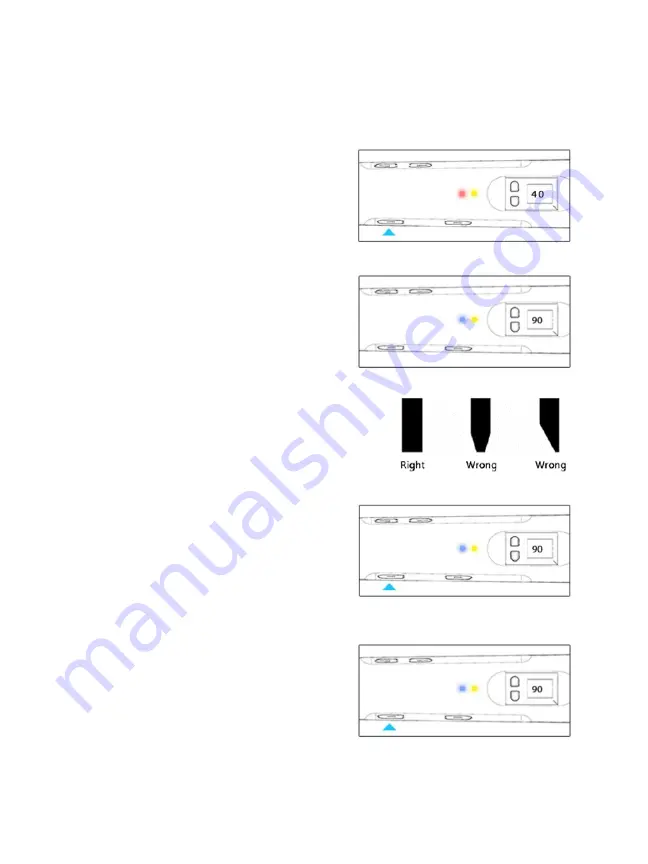
Press the Filament Feed/OK Button (7) 
to confirm the temperature setting. 
The second LED Indicator (4) will 
illuminate red to indicate that the print 
nozzle is being heated. While the 
nozzle is heating, the LED Display (2) 
will show the actual temperature. 

6.


When the target temperature is 
reached, the second LED Indicator (2) 
will change from red to blue, indicating 
that the pen is ready to print. 

7.


Use a pair of scissors or side cutters to cut 
the end of your filament so that the filament 
end is cut evenly. 

8.


Insert your filament into the Filament Feed 
Hole (1) until you reach resistance. 
While gently holding the filament 
against the resistance, press and hold 
the Filament Feed/OK Button (2) to 
feed the filament into the pen until it 
extrudes out of the nozzle. 

9.


Press and hold the Filament Feed/OK 
Button (2) to feed filament and print 
with the pen. Alternatively, double-
press it to engage automatic feeding. 
Automatic feeding can be stopped at 
any time by pressing the Filament 
Feed/OK Button (2) once. 

Summary of Contents for 16275

Page 1: ......

Page 2: ...d material to cool before touching Some types of filament can emit a strong odor when heated Always use this printer in a well ventilated area Do not use the printer near a heat source such as a fireplace heating vent radiator etc Do not leave it in direct sunlight This printer is suitable for use by children as young as 8 years old Children should always be closely supervised by a responsible adu...

Page 3: ...t your ordering purchasing and delivery experience is second to none If you have any problem with your order please give us an opportunity to make it right You can contact a Monoprice Customer Service representative through the Live Chat link on our website www monoprice com during normal business hours Mon Fri 5am 7pm PT Sat Sun 9am 6pm PT or via email at support monoprice com PACKAGE CONTENTS Pl...

Page 4: ...utlet 2 Plug the included USB Power Cable into the DC Power Connector 10 on the pen then plug the other end into the USB port on the USB Power Adapter The first LED Indicator 3 will illuminate yellow to indicate that power is applied 3 Press the Filament Retreat Mode Selection Button 8 to cycle between low temperature and high temperature modes The LCD Display 2 will show L for low temperature mod...

Page 5: ... will change from red to blue indicating that the pen is ready to print 7 Use a pair of scissors or side cutters to cut the end of your filament so that the filament end is cut evenly 8 Insert your filament into the Filament Feed Hole 1 until you reach resistance While gently holding the filament against the resistance press and hold the Filament Feed OK Button 2 to feed the filament into the pen ...

Page 6: ...e H mode and switching to the L mode the pen will gradually cool down over the course of 90 seconds and will automatically extract the installed PLA filament You can adjust the print temperature on the fly but by no more than 15 C When switching modes between H and L the pen will remember the temperature you had last set for each mode in the range 90 135 C for L mode and 135 195 C for H mode If th...

Page 7: ...echnical support is available through the online chat button on our website www monoprice com during regular business hours 7 days a week You can also get assistance through email by sending a message to tech monoprice com SPECIFICATIONS Model 16275 Nozzle Diameter 0 7mm Filament Diameter 1 75mm Supported Filament Types eMate PLA Print Speeds 0 120 cm minute Working Temperature 80 195 C L Default ...

Reviews: