Monarch Sierra Sport 2 Setup Manual Download Page 2


3.  

Press the 

A

 button under the 

T

 icon (Tool Box) to enter the program.   
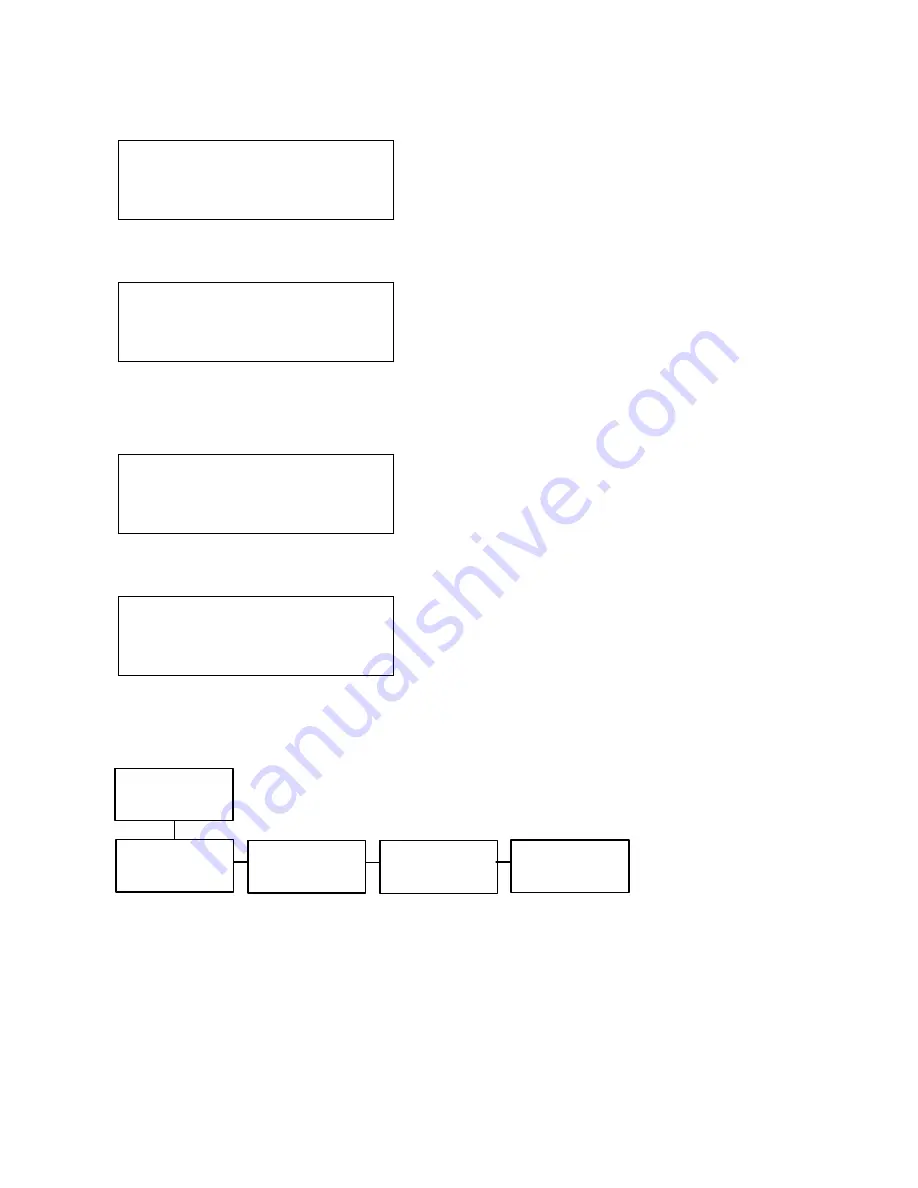
 Tool Box 
 Language 
 

E


D


4.  

Tool Box is highlighted.  Press the 

A

 button under the 

E

 icon to select 

Tool Box. 

 Enter Password 


5.  

Press the navigational buttons in this order:  

Right

Center

Left

Center

Right

.  The Service Diagnostics menu appears. 

6.  

Press the 

A

 button under 

D

 until you see 

 Setup 
 Service 
 

Eu         U


D


7.  

Service is highlighted.  Press the 

A

 button under the 

E

 icon to select 

Service.   

 Totals 
 Sensor Cal 
 

E


D


8.  

From the Service menu, press the 

A

 button under 

D

 until you see RF 

Network.  Press the 

A

 button under the 

E

 icon to select RF Network. 

The following menu shows the RF Network options. 


The RF Network menu allows you to check the printer’s status, configure the 
RF network settings, and reset the radio. 
To exit, press the 

F

 button at any time. 

Status 

Configure 

Reset  

Exit 

RF 

Network 

Summary of Contents for Sierra Sport 2

Page 1: ...nformation about setting up your RF network Setting Up the RF Network Printer 1 Turn on the printer by pressing and holding the P button until the display turns on The display flashes printer version...

Page 2: ...on under D until you see Setup Service Eu U D 7 Service is highlighted Press the A button under the E icon to select Service Totals Sensor Cal E D 8 From the Service menu press the A button under D un...

Page 3: ...en of information OIKOB1ZO3B54 Protocol TCP State Wait Radio IEEE 802 11b The MAC address protocol current state and radio type are displayed 3 Press any A button to return to the RF Network menu Rese...

Page 4: ...e RF Network menu select Configure 2 From the Configure menu select IP Address IP Address 192 168 69 62 E R Use the A buttons as shown in the following table E Press A to R Press A to Press A to Saves...

Page 5: ...nt is displayed press the A button under the E icon to save the setting You return to the Configure menu Setting the Gateway This option sets the printer s Gateway address 1 From the Configure menu se...

Page 6: ...y 2 Use the A button under the D icon to select the power mode you want Press the A button under the E icon to save the setting If you select PSP you are prompted to enter a PSP algorithm between 1 10...

Page 7: ...he D icon to select the connection mode you want Press the A button under the E icon to save the setting For example if you select Call you will see Port 09100 E R In Listen mode this is the listen po...

Page 8: ...otocol Protocol P P TCP X Telnet E U D The choices include DLP UDP TCP Telnet or LPD The most common options are TCP and LPD for AS400 or Unix systems Do not use UDP 2 Use the A buttons under the U or...

Page 9: ...g you want is displayed press the A button under the E icon to save the setting 3 Press the F button to exit When you select Exit after configuring you will see Configure Re configure E X To save all...

Page 10: ...For supplies service or assistance call toll free 1 800 543 6650 In the U S A 1 800 263 4650 In Canada www paxar com...

Reviews: