INSTRUCTION MANUAL NO.
IS-8022E
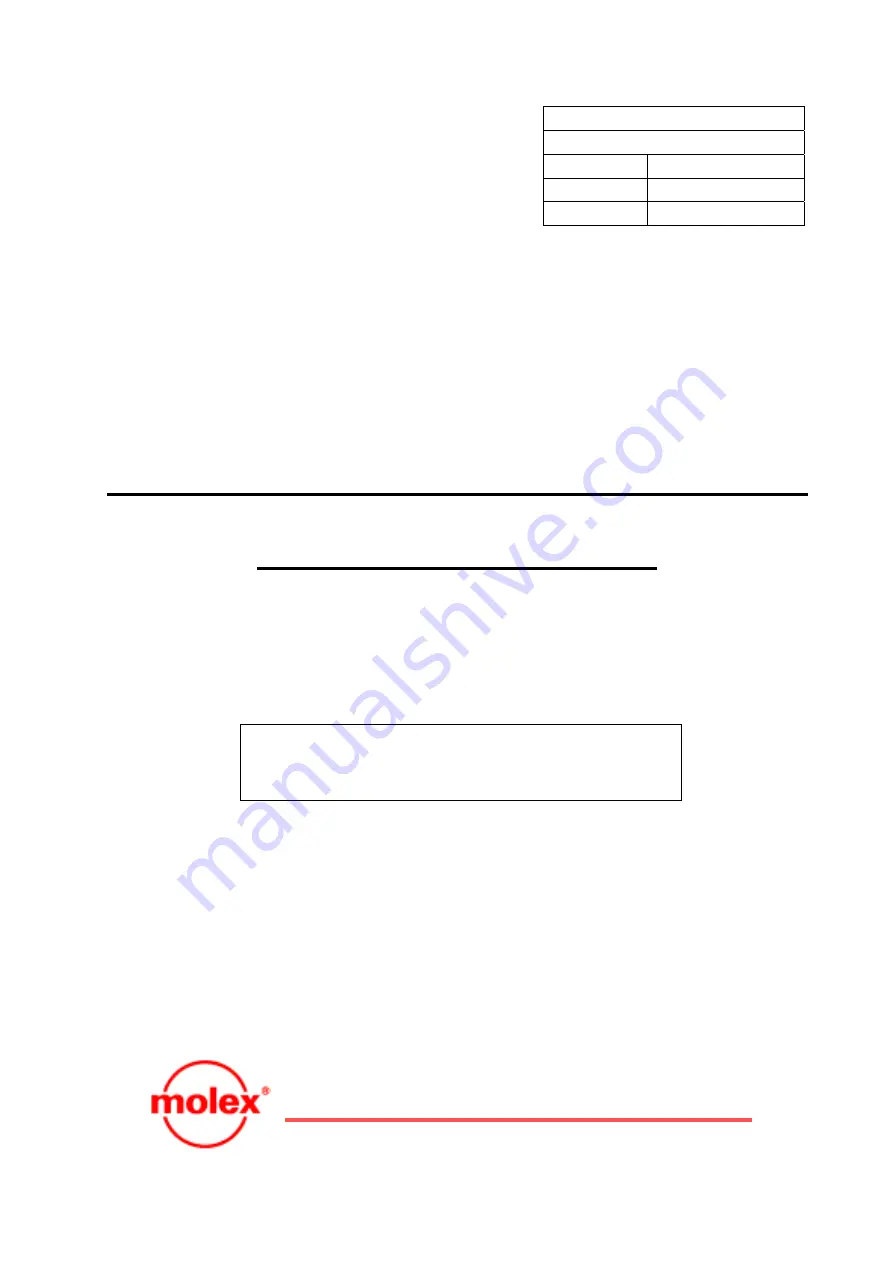
ISSUED
1995-09-25
REVISED
2005-07-20
REV.
F
1.0mm PITCH I/O CABLE
WIRING TOOL
(Tool Number: 578xx-5000)
OPERATING MANUAL
Molex Japan Co., Ltd.
Page 1: ...INSTRUCTION MANUAL NO IS 8022E ISSUED 1995 09 25 REVISED 2005 07 20 REV F 1 0mm PITCH I O CABLE WIRING TOOL Tool Number 578xx 5000 OPERATING MANUAL Molex Japan Co Ltd...
Page 2: ...ool ECN JM80009 B 2000 10 12 Added the 20P and 50P Wiring Tools and the regular inspection sheet ECN JM10010 C 2001 09 25 Revised the form to MS Word ECN JM20003 D 2002 02 18 Added the quality precaut...
Page 3: ...cifications 3 1 Tool Specifications 3 3 2 Outer Dimensions and Weight 3 3 3 Operating Environment Conditions 4 3 4 Installation Space 4 4 Operation Method 4 1 Setting of Upper Cover 5 4 2 Setting of C...
Page 4: ...manual near the tool so that operators can refer to it anytime 3 Dangerous operations Observe the following precautions to prevent a life threatening accident 1 Don t insert a part of your body or ot...
Page 5: ...those materials 5 Installation site Be careful about the following items when you install the tool 1 Temperature and humidity Don t operate the tool in extremely high low temperature or extremely high...
Page 6: ...uired in the ITD termination specifications and the I O harness drawing of a corresponding connector It is recommended to initiate the operation on the preferable condition that enough margins for the...
Page 7: ...2 1 Tool Name and Configuration 1 Tool name 1 0mm Pitch I O Cable Wiring Tool 2 Tool number 57859 5000 10P Wiring Tool 57879 5000 20P Wiring Tool 57849 5000 26P Wiring Tool 57883 5000 50P Wiring Tool...
Page 8: ...Page 2 2 3 Tool Appearance and Unit Name Handle Hand press Wire trimming tool Wire pushing unit Wire arrangement unit Wire pusher Knob...
Page 9: ...s wire The wire cut blade cuts the excess wire by the wire pushing operation on the upper cover edge 4 Setting of upper cover The concave mark of the upper cover is matched to the specified position a...
Page 10: ...5 35 degrees centigrade Away from direct sunlight 2 Operating ambient humidity 35 85 RH No condensation 3 Operating atmosphere Atmosphere should be free of corrosive gases and contaminants such as du...
Page 11: ...positioning plate 4 and the slide block 5 in the prescribed direction 3 Next release the setting lever 2 slowly and fix the upper cover 3 Note The upper cover uses the concave mark for positioning bec...
Page 12: ...sed the edge side between the cable clamper 3 Set the copper foil tape edge 3 of the cable under the cable stopper and the cable is clamped by releasing the cable clamp knob 1 Note Please note that th...
Page 13: ...ht so that the wire should not slacken 3 When the arrangement of all wires is finished take the slack of the wire depressing an inside wire 4 of the wire guide comb with the wire arrangement tool 3 No...
Page 14: ...the wire arrangement unit 1 and remove the cut wire scraps from the wire guide comb 5 4 Remove the cable from the clamp pulling the cable clamp knob 6 5 Next incline the cable lightly back and forth...
Page 15: ...t and wire scrap adheres to the wire pushing blade wire cut blade and wire guide comb etc during operation please remove a foreign substance timely Neglect may become the cause of a defective wire arr...
Page 16: ...drop The amount of conductor shear drop of the cut wire shall be in the standard value or less and it is not short circuited between pitches Standard Conductor shear drop amount Within the outside dia...
Page 17: ...of the wire pushing unit and loosening the fixed screw 3 2 Exchange of wire pusher The cut blade holder 1 wire cut blade 4 and wire pusher 5 come off from the tool when the fixed screw 3 is removed N...
Page 18: ...1 0mm Direction of adjustment The wire is deeply pushed Shank is turned left The wire is shallowly pushed Shank is turned right 3 The stopper 4 is adjusted in the position with the space of 0 5mm from...
Page 19: ...he bottom dead point of the main body of the hand press moving the handle block with the adjustment knob 3 2 Adjust the screw at the same time when there is a support screw 4 in the handle block 3 Set...
Page 20: ...Page 14 6 Parts List 6 1 Wire Arrangement Unit Development 1 0mm pitch I O Cable...
Page 21: ...Page 15 6 2 Wire Pushing Unit Development 1 0mm pitch I O Cable...
Page 22: ...43 578xx 2002 P Wire Pusher 2 44 578xx 2001 P Wire Cut Blade 2 Circuit Number Limited Parts 1 578xx 1001 P Position Plate R 1 2 578xx 1002 P Position Plate L 1 4 578xx 1003 P Ckt Number Block R 1 5 5...
Page 23: ...1048 Guide Base 1 51 57826 1049 Dead Point Block 1 58 57826 1050 Wire Trimming Tool 1 Commercial Parts 24 57823 0001 Knob 2 MISUMI LOG6 100 25 57823 0002 Cable Clamp Knob 1 MISUMI KRF 6 53 57823 0003...
Page 24: ...ndard Method equipment Record Startup Monthly 1 Wire protruding length 0 3mm or less Checking with a magnifier Data O 2 Conductor shear drop Within the outer diameter of wire insulation Checking with...