Hardware required. Screwdriver not included
Hardware required. Screwdriver not included
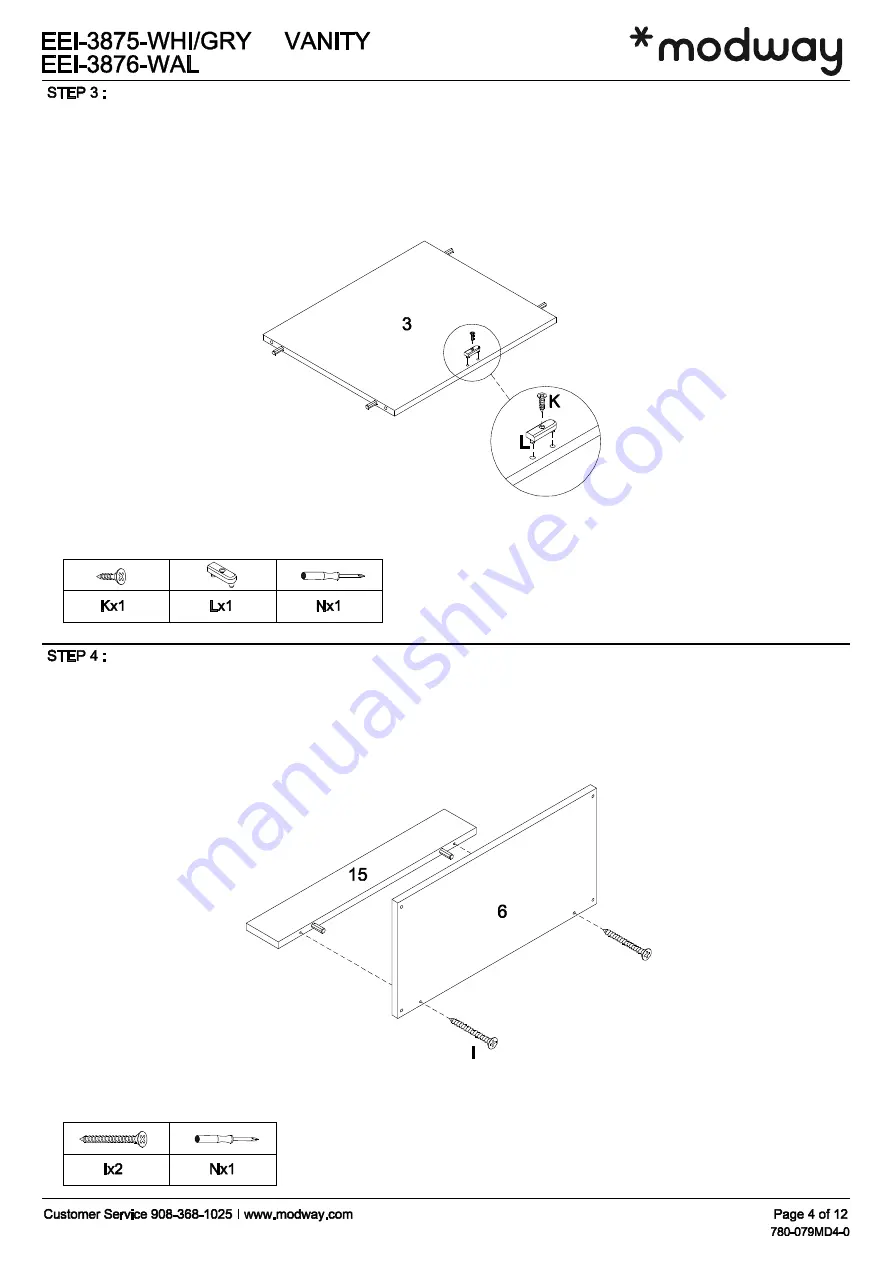
Secure the
Door Stopper (L)
to the
Bottom Panel (3)
with
Screw (K)
.
Secure the
Base Panel (15)
to the
Adjustable Shelf (6)
with 2 pieces of
Wood Screw (I)
.
This assembly namely
Shelf Panel Assembly


