37
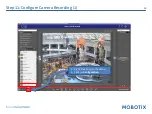
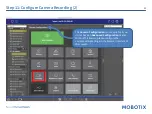
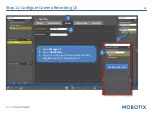
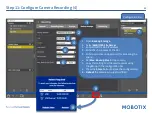
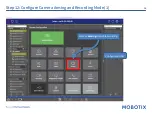
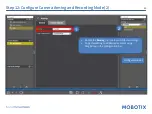
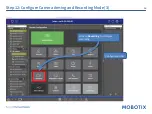
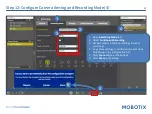
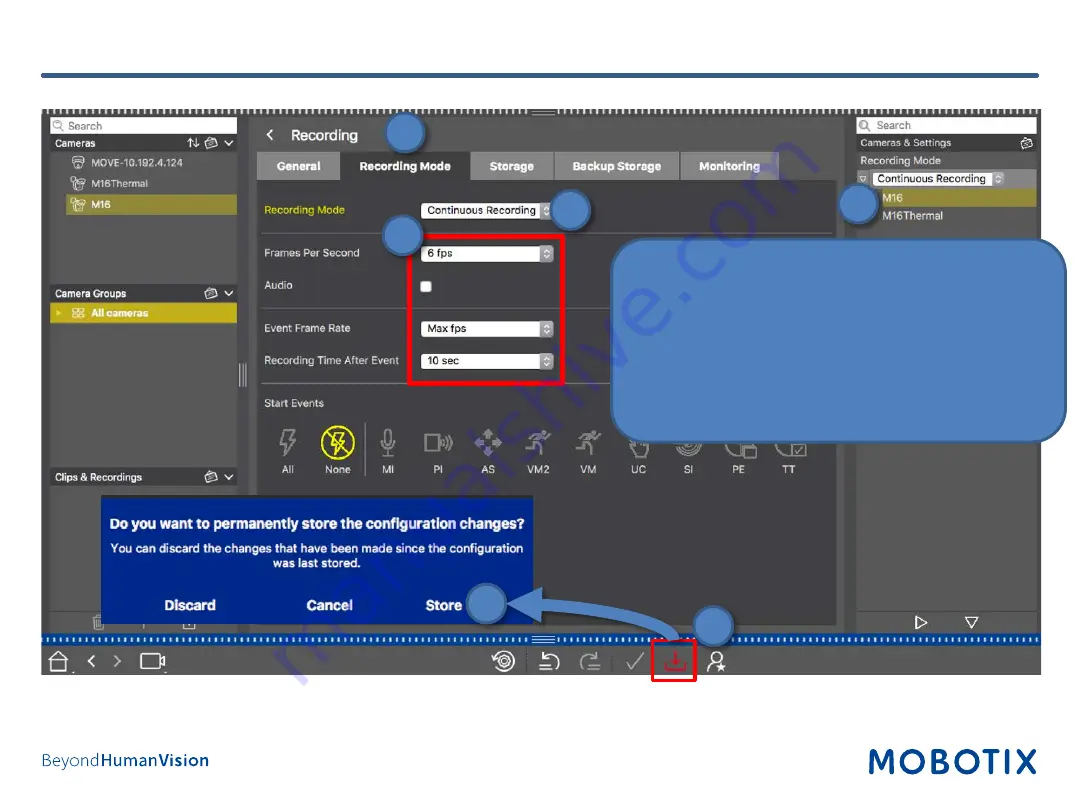
Step 12: Configure Camera Arming and Recording Mode (4)
1. Open
Recording Mode
tab.
2. Select
Continuous Recording
.
3. Set parameters (additional settings for event
recording).
4. Copy these settings to all desired cameras using
Drag&Drop in the configuration bar.
5. Press
Store
button at the bottom.
6. Press
Store
in the dialog.
1
2
4
6
5
3
Summary of Contents for Mx-S-NAS4A-16
Page 11: ...11 Step 5 Login to NAS Web Interface Log in to the web interface of the NAS 1...
Page 12: ...12 Step 6 optionally update firmware 1 Open the Control Panel...
Page 13: ...13 Step 6 optionally update firmware 2 Click on Firmware Update...
Page 15: ...15 Step 7 Configure volume 1 Open Storage Snapshots 2...
Page 17: ...17 Select Storage Pool 1 as Location Click on Next to proceed Step7 Configure Volume 3...
Page 19: ...19 Step 7 Configure Volume 5 Klick Finish...
Page 20: ...20 Step 7 Configure Volume 6 Click on Close...
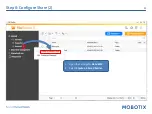
Page 22: ...22 Step 8 Configure Share 1 Open File Station...
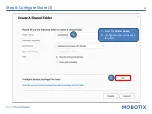
Page 23: ...23 Step 8 Configure Share 2 1 Open the settings for Data Vol2 2 Select Create a Shared Folder...
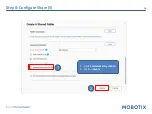
Page 26: ...26 Step 8 Configure Share 5 1 Disable Network Recycle Bin 2 Click on Create 1 2...
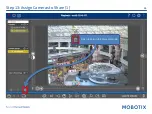
Page 38: ...38 Step 13 Assign Cameras to Share 1 Open lock icon to enter edit mode...

