3
General Information (2)
A Note on Licensing
•
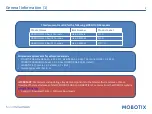
MxManagementCenter can show MOBOTIX IoT and MOVE cameras “as is”, i.e., without any further
licensing. For bandwidth-optimized usage and professional applications, it is highly recommended to
use
MxPEG
.
•
Using the
Advanced Configuration
feature of MxManagementCenter requires a license. This is
recommended for quick and easy setup of a video surveillance system.
For more information on licensing models, please read the
MxMC 2.0 Tutorial
from the MOBOTIX website
•
Support > Download Center > Documentation > Brochures & Guides > Tutorials
Video Tutorials
are available from the MOBOTIX website
•
Support > Download Center > Documentation > Video Tutorials
The
MOBOTIX NAS HDD Compatibility List
is available from the MOBOTIX website
•
Support > Download Center > Documentation > White Lists
Password Security!
•
NEVER use the default access privileges!
Always make sure that you have changed the default
passwords to strong passwords (numbers, lower/upper case letters, special characters)!
•
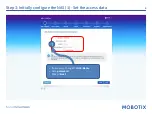
The
default user
of the MOBOTIX NAS is “
admin
” and the
password
is “
admin
”.
•
The
default user
of the MOBOTIX Cameras is “
admin
” and the
password
is “
meinsm
”.
•
NEVER use the default access privileges!
Always make sure that you have changed the default
passwords to strong passwords (numbers, lower/upper case letters, special characters)!
Summary of Contents for Mx-S-NAS4A-16
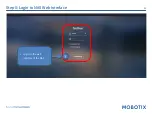
Page 11: ...11 Step 5 Login to NAS Web Interface Log in to the web interface of the NAS 1...
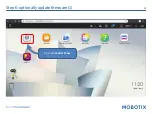
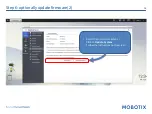
Page 12: ...12 Step 6 optionally update firmware 1 Open the Control Panel...
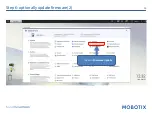
Page 13: ...13 Step 6 optionally update firmware 2 Click on Firmware Update...
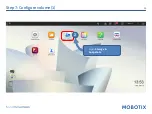
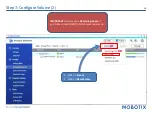
Page 15: ...15 Step 7 Configure volume 1 Open Storage Snapshots 2...
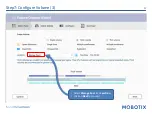
Page 17: ...17 Select Storage Pool 1 as Location Click on Next to proceed Step7 Configure Volume 3...
Page 19: ...19 Step 7 Configure Volume 5 Klick Finish...
Page 20: ...20 Step 7 Configure Volume 6 Click on Close...
Page 22: ...22 Step 8 Configure Share 1 Open File Station...
Page 23: ...23 Step 8 Configure Share 2 1 Open the settings for Data Vol2 2 Select Create a Shared Folder...
Page 26: ...26 Step 8 Configure Share 5 1 Disable Network Recycle Bin 2 Click on Create 1 2...
Page 38: ...38 Step 13 Assign Cameras to Share 1 Open lock icon to enter edit mode...

