6
2.1.2
Active device
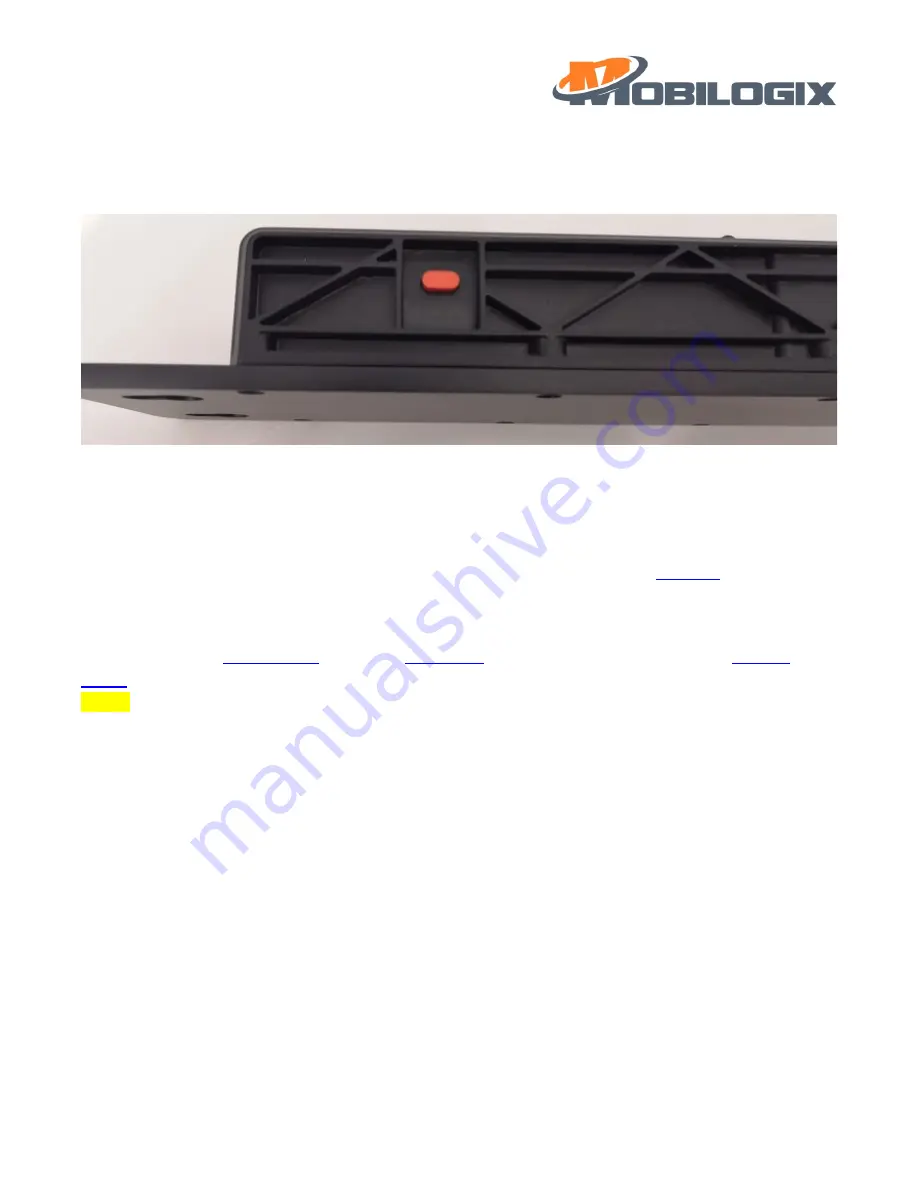
Due to device will go to “Set Up” mode after production, so, before using it, we need active the
device, the easy
way to do this is pressing the button for more than three seconds, you can see the green led and blue led blink,
it means device is activated.
Figure 2.3 Button
2.1.3
Config device
There are 3 ways to config the device, such as wireless UART, APP, and over backend,
to use APP to config the device.
Key items
The APN (username (
)), server URL (and Port) and cellRAT(
) we need config at first, otherwise, device cannot make connection established.
Notice:
1: default APN is: mobilogix1.telefonica.com
2: default URL is: mbxiotfusion.mobilogix.com:1883
3: default cellRAT is 3, which support both GSM and eMTC RATs.
Here is the RAT selection
•
0: 2G only
•
1: 2G + NB
•
2: 2G + NB + M1
•
3: 2G + M1
•
4: NB only
•
5: NB + M1
•
6: M1 only
2.2
Installation
Step 1
Summary of Contents for ATD600S
Page 1: ...1 ATD600S User Guide August 10 2021 Version 0 1 1...
Page 7: ...7 Step 2 Step 3 Figure 2 8 Example location...
Page 13: ...13 3 then you can search your device for easier you can set filer input ATD600 like this...
Page 14: ...14 4 select the right device according to the mac address and connect with it...
Page 15: ...15 5 after connection it shows like this...
Page 16: ...16 6 create bond the passkey is xxxxxx...
Page 17: ...17 7 after bonding you can see like this...
Page 18: ...18 5 2 FOTA 4 press the menu show as above and select OTA DFU...
Page 19: ...19 5 then use default setting make a PARTIAL OTA...
Page 21: ...21 7 press OTA to start a FOTA after you load the right Image file...


