


11
Table 3.1
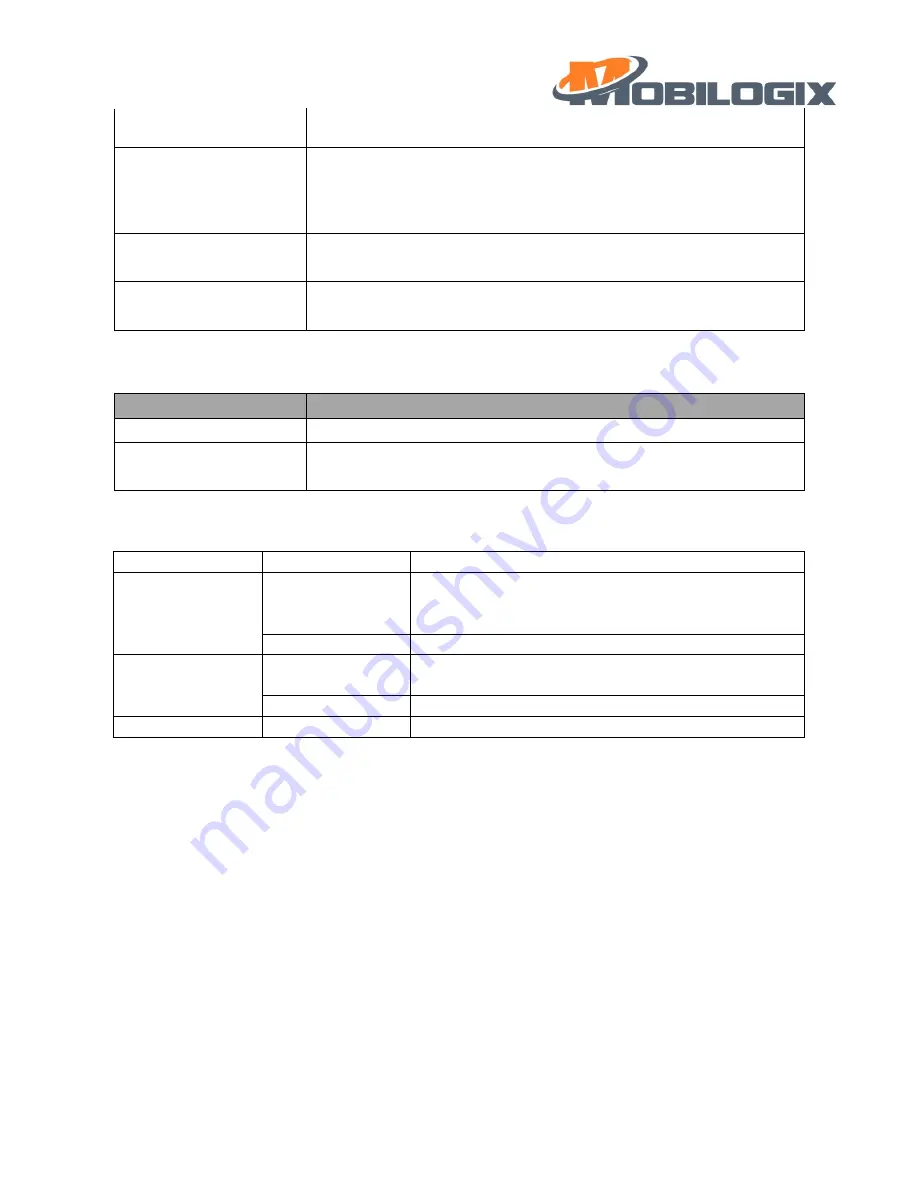
3.6.2
Device under
“set up” mode
Table 3.2
3.6.3
LED description
4
LKL, Historical data
4.1
LKL
Some time, GPS may not get locked, if this happened, device would use last time position data instead of current
invalid data, the “GPSFIX” flag is the indicator, when it is 1, means current GPS is fixed and data is valid, when it
is 2, means GPS not fixed, and the location data is “last time” data, when it is 0, means
data is invalid and GPS
not fixed.
4.2
Historical data
4.2.1
When to save historical data and report history data
1.
If reporting data failed or GSM signal is bad, or if there are too many data full the message queue, the rest
data will be saved in case of loss.
quick press one time
Red LED blink once, to tell device is alive and in normal mode.
quick press two times
sampling and report data to cloud, like on demand feature after send
report data to cloud blink the red LED based on ACK or NACK (blink 3x for
ACK, blink 4x for NACK).
quick press three times
Reboot system.
long press for over 3s
Switch to
“set up” modes
.
key action
function
1 shot press
Red LED blink twice, to
tell device is in “set up” mode
long press for 3s
Reboot device to active device, let device into normal work mode,
device will register GSM/GNSS and report the beacon data
Index
Work mode
Description
Green
Normal mode
1: fast blinking: device is connecting with server.
2: slow blinking: try to register network.
3: solid: connection established.
Set up mode
off
Blue
Normal mode
1: slow blinking: try to lock GPS.
2: solid: GPS is locked.
Set up mode
off
Red
Please see table 3.1&3.2
Summary of Contents for ATD600S
Page 1: ...1 ATD600S User Guide August 10 2021 Version 0 1 1...
Page 7: ...7 Step 2 Step 3 Figure 2 8 Example location...
Page 13: ...13 3 then you can search your device for easier you can set filer input ATD600 like this...
Page 14: ...14 4 select the right device according to the mac address and connect with it...
Page 15: ...15 5 after connection it shows like this...
Page 16: ...16 6 create bond the passkey is xxxxxx...
Page 17: ...17 7 after bonding you can see like this...
Page 18: ...18 5 2 FOTA 4 press the menu show as above and select OTA DFU...
Page 19: ...19 5 then use default setting make a PARTIAL OTA...
Page 21: ...21 7 press OTA to start a FOTA after you load the right Image file...


