Press the “
SET” switch.
The day of the week is committed and the
mark changes
from flashing to lit.
“
” is displayed and the display area shows
the display shown to the left.
Press the
or
switch.
Set the “
” mark displayed above the days of the week to
indicate the day of the week for which you want to set the
timer.
Press
to move to the right and
to move to the left.
If you keep pressing the
switch, the
marks displayed
above “MON” to “FRI” or “SUN” to “SAT” flash at the same
time. Select this if you want to make the same settings for
“MON” to “FRI” or “SUN” to “SAT.”
“
” and “
” are displayed
alternately.
Note: If you press the “
RESET” switch, the remote
controller will return to one screen earlier and display
“
”.
Step 3 in page 7
3
1
2
■
Weekly Timer Setting
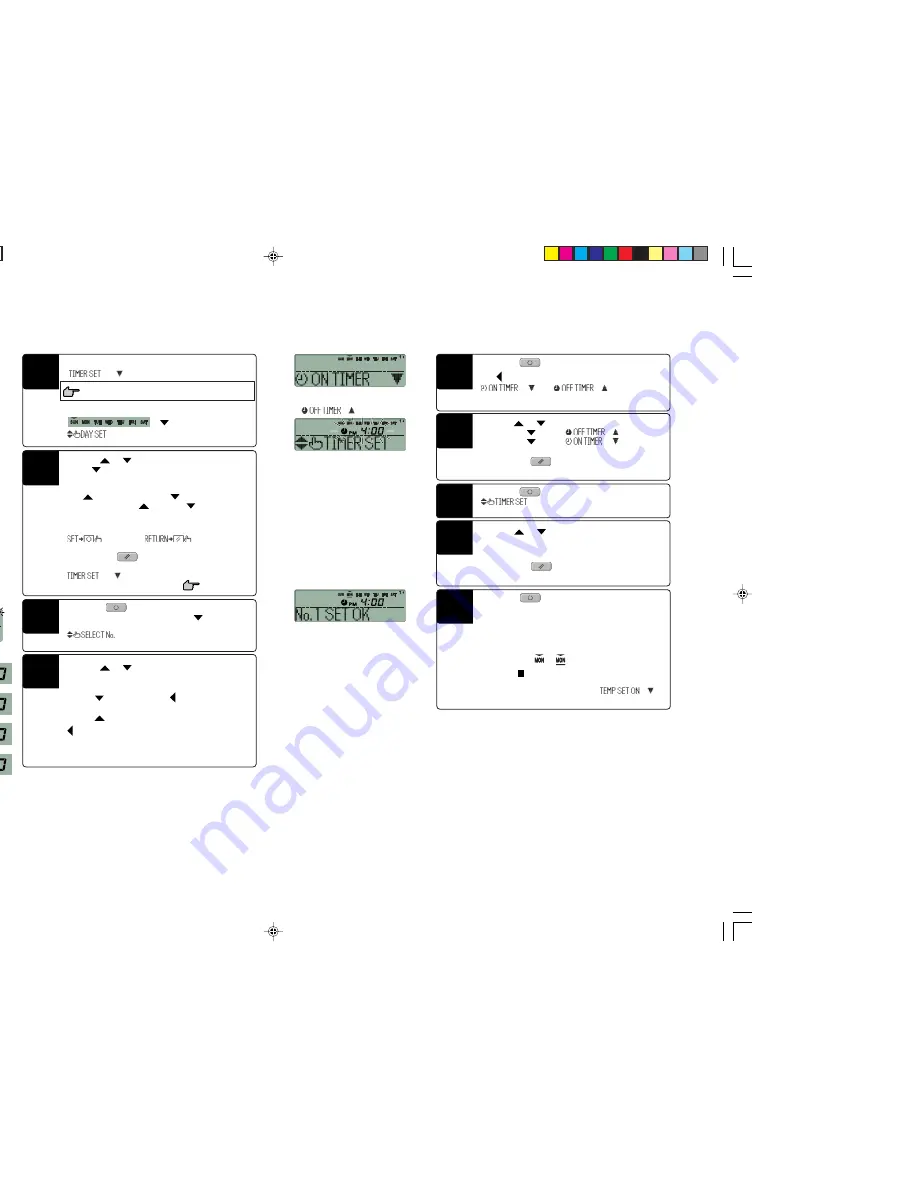
Press the
or
switch.
It is possible to set timer for four times per day; select a timer
number you want to set.
Press the
switch to make the “ ” mark next to a number
flash and move downward.
Press the
switch to move the mark upward.
1
2
3
4
4
<If Monday is set>
Press the “
SET” switch.
“
” is displayed.
Press the “
SET” switch.
The “ ” mark next to the number changes from flashing to lit.
“
” or “
” is displayed. The
settings made so far are committed and the display changes
as shown to the left.
Press the
or
switch.
If you press the
switch, “
” is displayed.
If you press the
switch, “
” is displayed.
Press the switch corresponding to the timer you want to set.
Note: If you press the “
RESET” switch, the remote
controller will return to one screen earlier.
7
5
6
Press the
or
switch.
Set the time.
See step 2 on page 6 for the on timer.
See step 2 on page 6 for the off timer.
Note: If you press the “
RESET” switch, the remote
controller will return to one screen earlier.
8
Press the “
SET” switch.
The time display changes from flashing to lit and the setting
is committed.
If you have set the off timer operation, the first setting has
been completed.
A “_” mark is lit under the day of the week for which you
made the setting (
‡
) and the display shown to the
left appears.
Proceed to “
Next Setting and Exiting Weekly Timer Mode”
on page 9.
If you have set the on timer operation, “
” is
displayed; proceed to step 10.
9
<If “
” was selected>
8
12
2,4,6,8,10
3,5,7,9,
11,13
In the weekly timer mode, select and commit
“
”.
Step 1 to 5 in “Selecting Weekly Timer Modes ” on page 7.
The display area shows the following:
“
” (
flashes)
“
”
<Example>
Number 1
Number 2
Number 3
Number 4
Note: Four operations can be set with only
on timers or only off timers.
PCA012A001H_E_P08
05.11.16, 12:18
8


