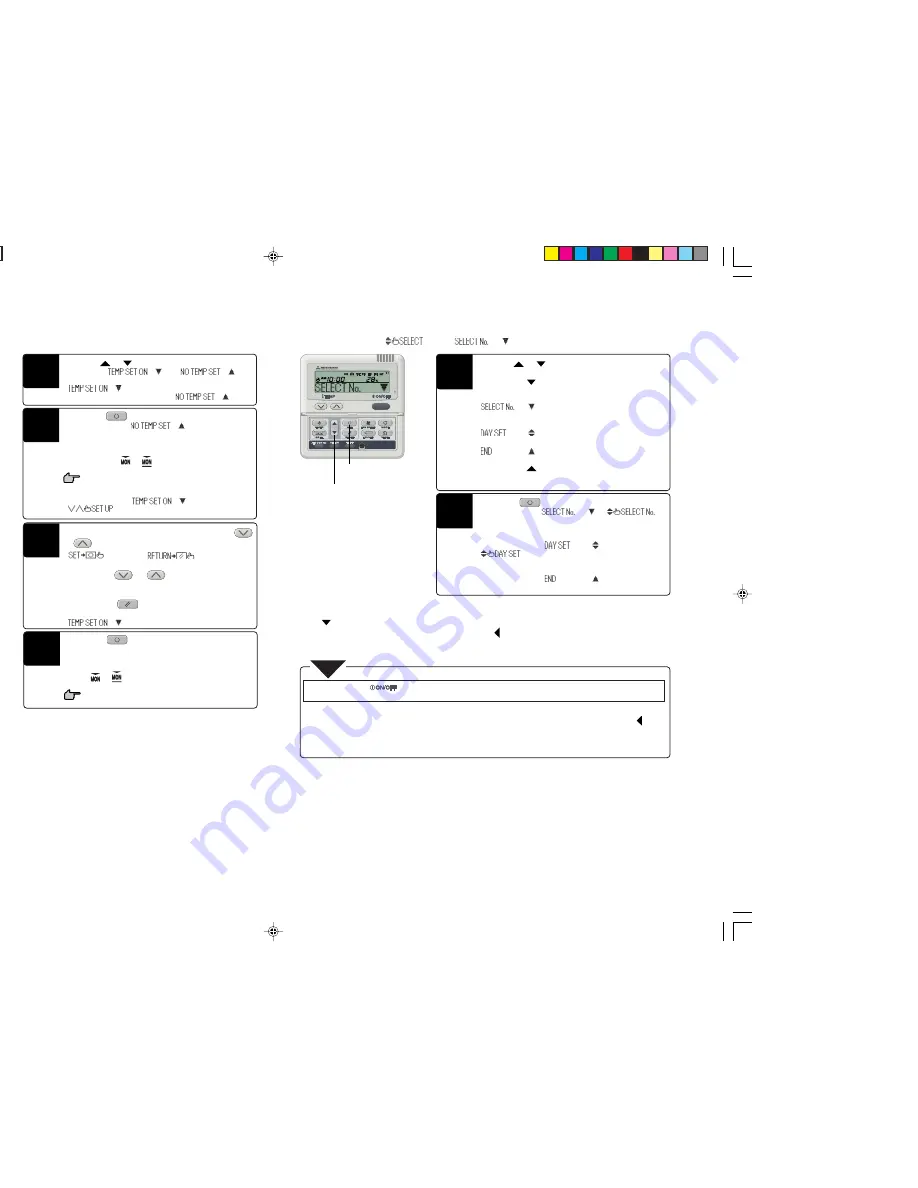
Press the
or
switch.
Select either “
” or “
”.
To set the temperature at the specified time, select
“
”.
To skip temperature setting, select “
”.
10
Press the “
SET” switch.
If you have selected “
”, the first setting has
been completed.
A “_” mark is lit under the day of the week for which you
made the setting (
‡
) and the display shown to the
left appears.
Proceed to step 1“Next Setting and Exiting Weekly
Timer Mode,” at right.
If you have selected “
”,
“
” is displayed; proceed to step 12.
11
Press one of the temperature setting switches,
or
.
“
” and “
” are displayed
alternately.
Press either the
or
switch to increase or
decrease the displayed value by 1
°
C.
Set the temperature at the start of operation.
Note: If you press the “
RESET” switch, the remote
controller will return to one screen earlier and display
“
”.
12
Press the “
SET” switch.
The first setting has been completed.
The temperature display changes from flashing to lit. A “_”
mark is lit under the day of the week for which you made the
setting (
‡
) and the display shown to the left ap-
pears.
Proceed to step 1“Next Setting and Exiting Weekly
Timer Mode,” at right.
13
Press the
or
switch.
Select the following items.
If you press the
switch, the display of the following items
is switched in the downward direction.
“
” (for selecting the next timer operation
number for the same day of the week)
‚
“
” (for selecting the next day of the week)
‚
“
” (for exiting the timer mode)
If you press the
switch, the display of the items is
switched in the upward direction.
Select either one of them.
Press the “
SET” switch.
If you have selected “
”, “
”
is displayed.
Repeat step 4 and onward on page 8.
If you have selected “
”,
“
” is displayed.
Repeat step 2 and onward on page 8.
If you have selected “
”, the remote control-
ler exits from the timer mode.
1
2
■
Next Setting and Exiting Weekly Timer Mode
After the display of “
”, “
” is displayed.
■
Display after Setting Weekly Timer Modes
●
The day of the week for which settings have been made is underlined.
●
The
mark is displayed above the current day of the week.
●
The timer operation numbers set for the current day all turn on, the
mark indicates the next setting number to be activated,
and the set time is displayed.
●
The set timer operations are executed in the set order, and the number and time display turns off when all the timer operations
for the current day have been executed.
●
If you press the “
” switch while in the timer setting mode, the remote controller exits from the timer mode
and returns to the original display. Please be aware that settings that have not been committed become invalid.
●
If you select a day of the week for which settings have already been made in the selection of the day of the week, all the timer
numbers that have been set are displayed. The timer settings displayed, however, correspond to the number with the “
” mark
displayed next to it. At this point, if you specify different settings, the displayed settings are changed to the new settings.
●
If you set the same time for the on timer and off timer operations for the same day, the off timer is set.
●
If you do not press any switches for 60 seconds after entering the timer mode, the remote controller automatically exits from the
timer mode and returns to the original display.
NOTE
9
1
2
PCA012A001J_E_P09
06.9.13, 14:41
9


