EN-39
LAN Display
You can project the computer images inputted via a
wired or wireless LAN.
You can also perform the following during the LAN
Display projection:
• 4-to-1 split screen projection
Images from up to 4 computers can be projected
split on 1 projector screen.
• Remote
desktop
Connecting an input device such as a mouse or
keyboard to the USB-A terminal on the projector
enables the following computer operations from the
projector.
• Showing
l
ocal fi les of the computer
• Operating the application software
• Showing server fi les on the network
• Browsing of the internet
To use the LAN Display function, you need to install
the software “LAN Display System” contained in the
attached CD-ROM.
Important:
• Supported OS’s are Windows XP, Windows Vista
and Windows 7.
• Remote desktop cannot be performed during 4-to-
1 split screen projection and during wireless LAN
communication.
• Moving images cannot be displayed.
Installation of software
Installing LAN Display System
Before starting installation, be sure to read “ReadMe.
txt” contained in the CD-ROM. Copy “LAN Display
System.exe” contained in the Tools folder of CD-ROM
to the hard disk of your computer.
1. Double click “LAN Display System.exe”, and start
up the installer of the LAN Display System.
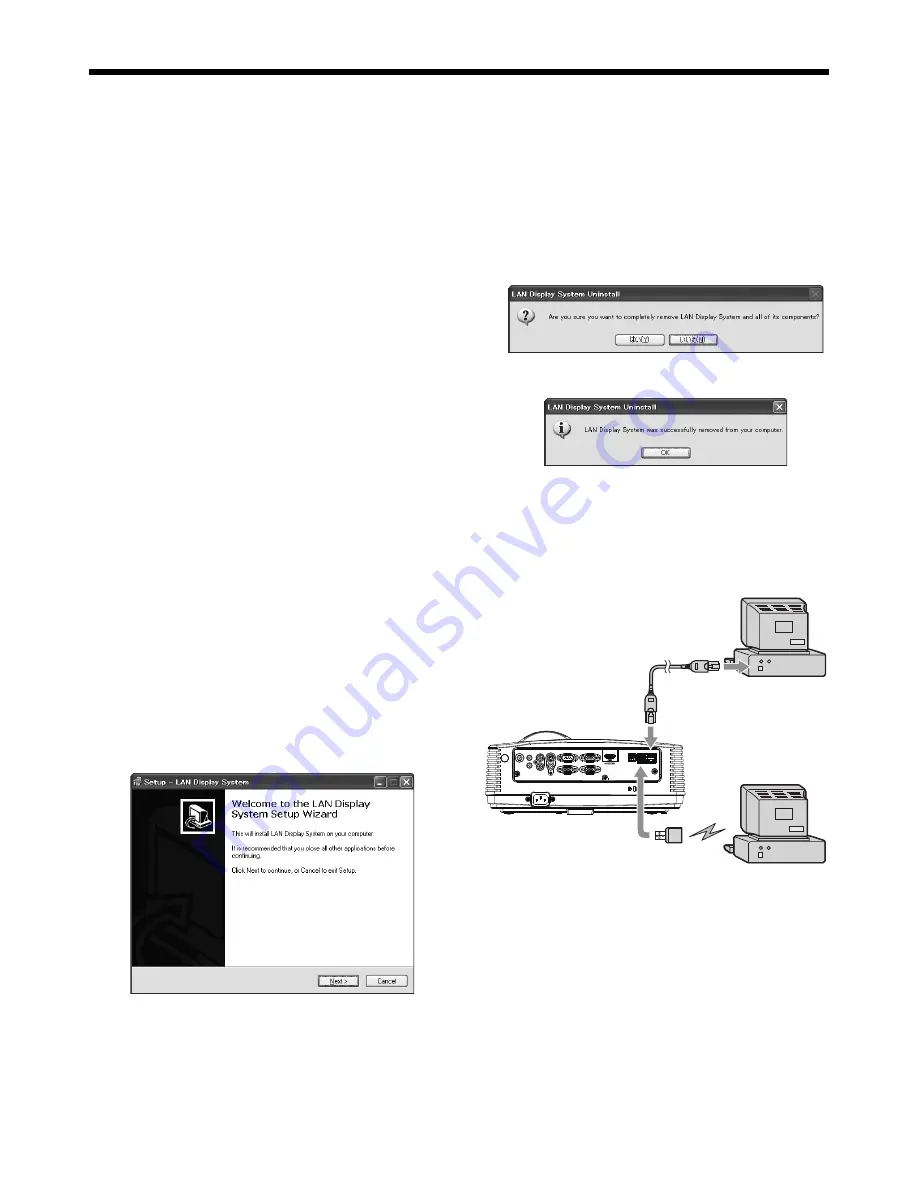
2. The Setup window is displayed. Click [Next].
• Installation is started.
3. When the installation has been completed, LAN
Display System is automatically executed.
When deleting LAN Display System (Uninstallation)
Important:
• When uninstalling LAN Display System, it should
be ended in advance. If the application continues
operating, uninstallation cannot be performed
normally.
1. Select [Start]-[All Programs]-[LAN Display System]-
[Uninstall].
2. The LAN Display System Uninstall window is
displayed. Click [Yes].
• The uninstallation is started.
3. When the uninstallation has been completed, click
[OK].
• Logs and setting fi les are automatically deleted.
Connection:
Connect the projector and the computer either by
using a commercially available LAN cable or USB
wireless LAN adapter.
AUDIO OUT
AUDIO IN-3R
AC IN
VIDEO
MONITOR OUT
IN-2
USB-B
USB-A
LAN
IN-1
COMPUTER / COMPONENT VIDEO
SERIAL
S-VIDEO
AUDIO IN-3L
AUDIO
IN-2
AUDIO
IN-1
LAN cable
(option)
Computer
Computer
USB wireless
LAN adapter
To LAN
terminal
To USB-A
terminal
Important:
• For wired LAN connection, use a category-5 LAN
cable. Both straight-through and crossover cables
can be used.
• The USB-A terminal on this projector is compatible
with USB 2.0.
• Do not use a USB hub for the connection.
• Supported USB device is standard USB HID device
with power consumption less than 5V/500mA.
• Some USB wireless adapters cannot be used
depending on the specifi cations.
• IP address, subnet mask, default gateway values
are the same for both wired LAN and wireless LAN.
• Data are not fi ltered between wired LAN and
wireless LAN interface.
Advanced display utilities (continued)


