8
How to set the menus
Setting the menus
The operations of this unit can be set via a menu displayed on OUTPUT A monitor. You can select and set the menu by using
the buttons on the front panel or using a USB mouse connected to the unit. When using the front panel buttons, the numbers
1-16 (number buttons) and letters A to E (A to E buttons) represent the GUI button of the menu screen.
The menu can only be displayed through OUTPUT A monitor. The menu cannot be displayed through OUTPUT B monitor.
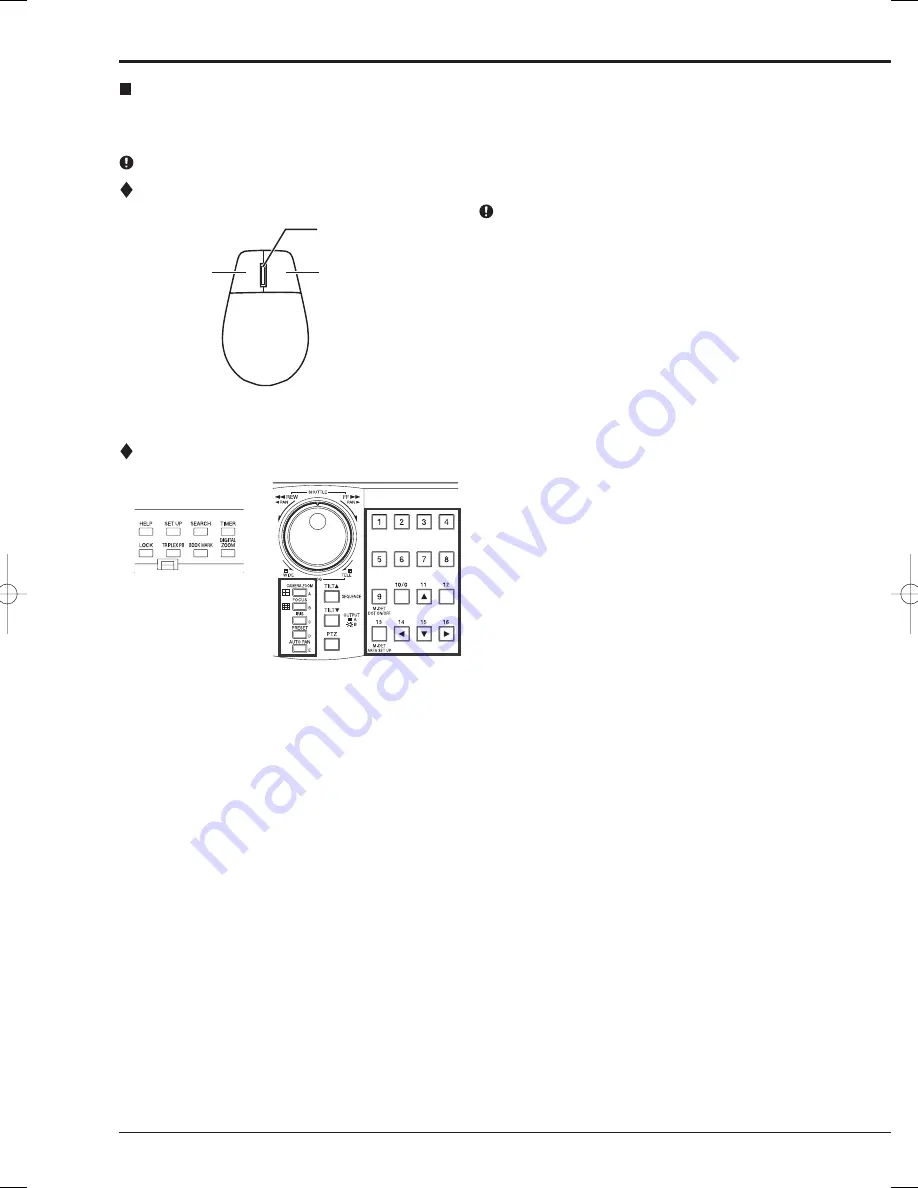
Setting the menu using a mouse
Use the standard USB mouse which has left and right
buttons as illustrated to the left.
step
1.
Use the left and right mouse buttons to set the
menu.
• Click the left button to open the menu or select
a needed item, etc.
• Click the right button to set the active area for
motion detection function.
• The wheel on a mouse does not work with this
unit.
Setting the menu using the front panel buttons
step
1.
Use the SET UP button, number buttons, and A to E
buttons to set the menu.
• Press the SET UP button to display the menu
screen.
• Press the number buttons (1 to 16) and A to
E buttons to open each menu or to select the
needed item.
Mouse
Right button
Left button
Wheel

