SAP201V
Integrated Stereo Amplifier with DAC
User Guide
Page 1: ...SAP201V Integrated Stereo Amplifier with DAC User Guide ...
Page 2: ...to a third party Should you have any additional questions regarding the operation or installation of this device or should any problems arise from its use then please contact a specialized dealer or our service team for further information We assume no liability for any damage incurred as a result of improper use resulting from failure to comply with the safety instructions found in this manual Un...
Page 3: ...IGITAL COAXIAL CONNECTION 14 CONNECTING THE POWER CABLE 15 6 LISTENING TO AUDIO 16 ADJUSTING THE TONE AND LEFT RIGHT VOLUME BALANCE 18 7 TROUBLESHOOTING AND ERROR MESSAGES 19 8 MAINTENANCE AND HANDLING 20 TRANSPORTING OR SENDING THE DEVICE 20 KEEPING THE EXTERNAL CASE CLEAN 20 CLEANING THE DEVICE 20 9 SPECIFICATIONS 22 Before use Please read this instruction manual thoroughly before operating this...
Page 4: ...ed to inform the user of important information operation or maintenance instructions or that special attention is required This symbol is intended to alert you to the presence of unprotected live parts or components found within the product s enclosure or of dangerous connections that upon contact may be of sufficient magnitude to constitute a risk of electric shock Cables intended for such connec...
Page 5: ...a longer period of time For safety reasons always unplug the device from the power outlet during thunder storms Eliminate potential tripping hazards by routing cables in such a way that no one can trip or stumble over them Never use the device if the power cable or device is damaged Keep packaging and protective foil away from children at all times to avoid the danger of suffocation The device sho...
Page 6: ...1 0 Rev 0 0 3 Accessories The following accessories are supplied with the system Please check all these parts are present before proceeding Please inform your dealer if any part is missing or damaged 1 x Remote control handset 1 x mains power cable ...
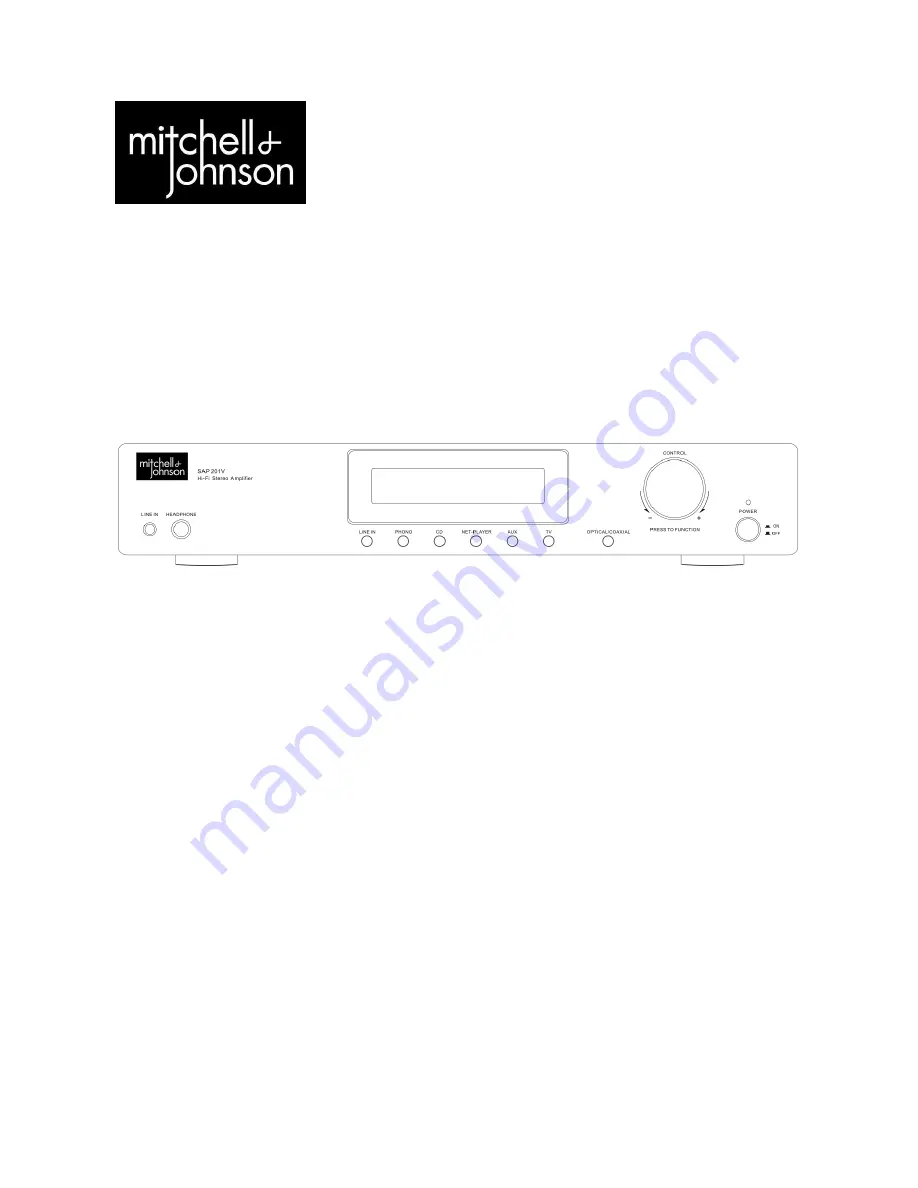
Page 7: ...ble not supplied to connect to a digital output such as the coaxial output on a SACD or CD player 8 Phono ground terminal for connecting the ground connection from a turntable 1 3 5mm stereo line in jack socket Connect any audio source using a 3 5mm jack connection such as an MP3 player 2 stereo headphone socket 3 Press to select LINE IN input 4 Press to select PHONO input 5 Press to select CD inp...
Page 8: ...ay button 12 Press to skip to next track Using the Remote Controller Point the remote controller toward the front of the unit within the field shown in the drawing Do not expose the remote control sensor to strong light such as direct sunlight or inverted fluorescent light Using the unit near equipment that emits infrared beams or with another remote controller may cause malfunctions Make sure tha...
Page 9: ... in use for long periods of time Never leave batteries lying around unsupervised If swallowed these could pose a choking hazard to children and pets Seek emergency medical care immediately should this happen Never expose batteries to extreme temperatures such as sunlight fire ovens etc there is a risk of explosion Make sure that batteries are not dismantled short circuited or are thrown into fire ...
Page 10: ...rect Connection of Analog RCA Audio Cables Pay attention to the plug colours and the left and right channels when connecting RCA audio cables Ensure a good connection by making sure to insert plugs completely Failure to insert fully can cause noise or malfunctions To prevent unwanted interference keep audio cables as far apart from power cables as possible Correct Connection of Digital Cables Ther...
Page 11: ...he bare wires tightly Loosen the screws on the speaker terminals insert the wires and screw the terminals tight Caution Make sure that the wires do not touch metal parts on the back panel or elsewhere Terminal Connectors Method For a much improved speaker cable connection it is advisable to use speaker cables with terminal connectors fitted such as banana plugs as shown on the right Connect the sp...
Page 12: ...plifier please ensure the power is switched off before connection Connecting a Turntable CAUTION If the turntable has a ground wire connect it to the unit s Phono GND screw Note however that for some turntables connecting the ground wire will increase the noise If this happens disconnect the ground wire Connecting a CD or SACD player ...
Page 13: ...dio DAB Tuner Connecting Digital Audio Components When connecting any component to the amplifier please ensure the power is switched off before connection There are two types of digital connection Optical and Coaxial See below Connecting a device via Digital Optical and or Digital Coaxial Connection ...
Page 14: ... switch is turned off on the unit before plugging or unplugging the power cable Connect the supplied power cord to the unit s AC INLET Caution Never plug the power cord into the outlet before connecting it to the unit If the power cord is plugged in connecting or disconnecting it to from the unit could cause electric shock Plug the power cord into a household power outlet ...
Page 15: ...he unit to turn it on The POWER indicator illuminates BLUE Notes Audio output will not begin until the electrical circuit stabilizes The display shows Mitchell Johnson during this time Audio quality will stabilize about 10 to 30 minutes after the unit is turned on Press the input button to select the audio playback component Start playback on the component selected ...
Page 16: ...the MUTE button again to restore the original volume Mute mode will also be cancelled by adjusting the volume or pressing the POWER button Notes When rotating the CONTROL knob the display ranges from 80dB to 0dB Depending on the output signal level from the attached audio component comfortable listening levels will vary When using the remote control to switch the unit to standby mode the POWER ind...
Page 17: ...in no sound will be heard from the speakers Adjusting the Tone and Left Right Volume Balance Press the CONTROL knob to initiate the tone adjustment controls Each press of the CONTROL knob will cycle through BASS TREBLE and BALANCE Turn the CONTROL knob to adjust each tone setting The last option in the cycle is LOAD DEFAULT Pressing the CONTROL knob again will reset the tone adjustment to flat ...
Page 18: ...alance control switched to one side Loud buzz or hum Audio input cables damaged or not correctly connected CD player sited too close to TV Weak bass diffused stereo image Speaker connections out of phase check and terminals are connected to corresponding terminals on both amplifier and loudspeakers Distorted sound Frayed wires may be touching on speaker terminals causing distortion Bass and treble...
Page 19: ...e carried out by qualified personnel who are familiar with the hazards involved and the relevant regulations Transporting or sending the device Please retain the original box and the packaging material in case you need to transport or send the device out for maintenance at a later date Please note that the device should be repacked in the original packaging The box and packaging have been especial...
Page 20: ...tact your local authority or waste management company The presence of the above symbol on a device or its packaging or within the instruction manual indicates that the item must not be disposed of in normal unsorted municipal waste In doing so you are fulfilling all recycling and disposal obligations and are optimising and contributing to a better environment These disposal regulations apply to ba...
Page 21: ...Phono Overload 60 mV MM 1 kHz 0 5 Frequency Response 20 Hz 50 kHz 1 dB 3 dB LINE 14 dB 14 dB 100 Hz BASS Tone Control 14 dB 14dB 10 kHz TREBLE 0 dB 14 dB BALANCE Signal to Noise Ratio 85dB LINE IHF A 61 dB PHONO IHF A Speaker Impedance 4 ohm 8 ohm 16 ohm Digital Inputs OPTICAL 1 Rear COAXIAL 1 Rear Analog Inputs PHONO CD NET PLAYER AUX TV REAR LINE IN FRONT Analog Outputs REC OUT Headphones 1 x 1 ...
Page 22: ...www mitchellandjohnson com ...