In
odu
ion
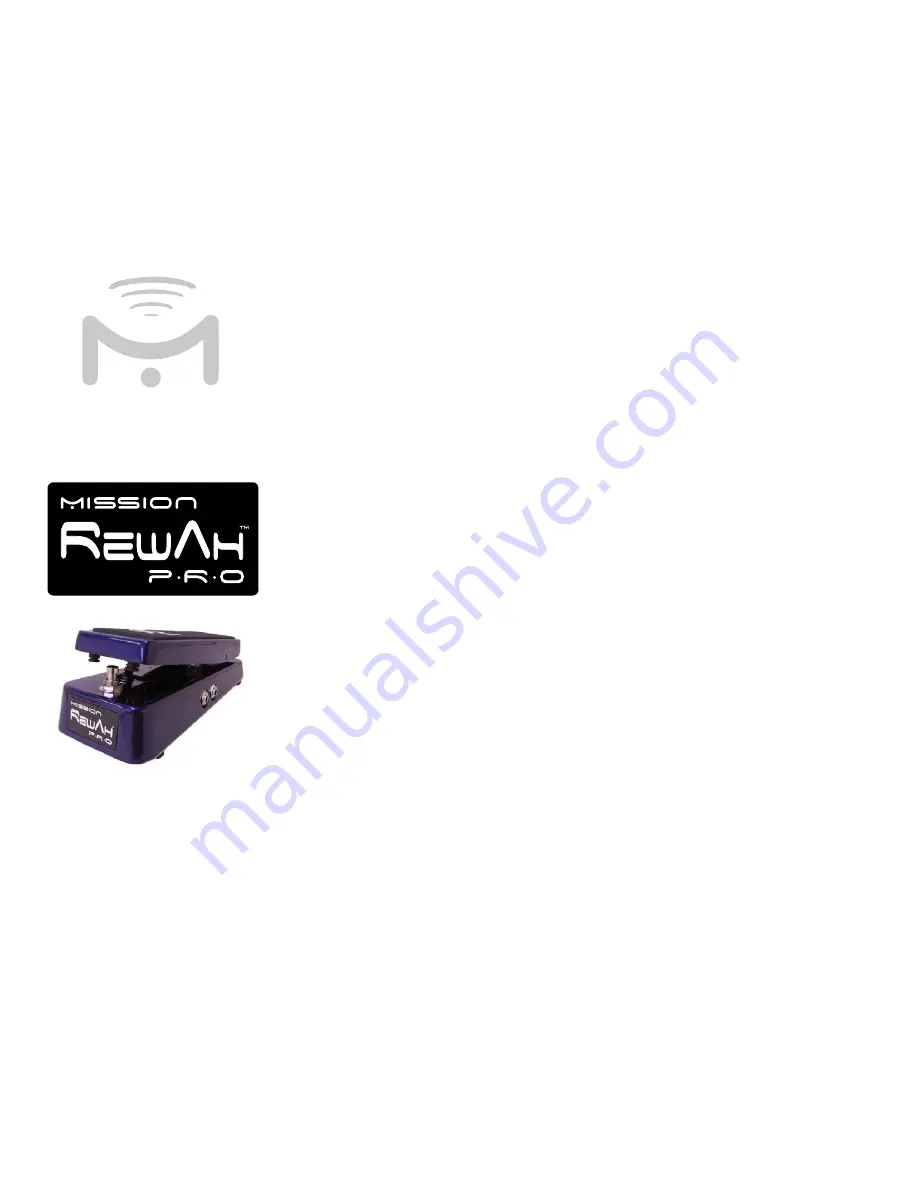
Congratulations on your purchase of the Mission Rewah
Pro™ wah pedal. This product is designed to be intuitive
to setup and operate, and to provide many years of
trouble free service. However, we recommend that you
take a few moments to read through this User Guide in
order to get the best possible experience with your new
pedal.
Wah pedals are a filter effect most commonly associated
with guitars, but can also be used with bass, keyboards,
and other instruments. The peak response of the filter
is varied by moving the pedal rocker forwards and
backwards. In the heel down position more of the high
frequencies are filtered out giving a more bass sounding
tone. As the pedal is moved towards toe down, the
high frequencies are restored and the low frequencies
filtered out giving a much brighter tone. The pedal can
be used as a form of tone control by leaving the rocker
in a set position, sometimes called a ‘parked wah’. This
has been used to great effect by many well-known
musicians. However, the most common use of the wah
pedal is the continuous rocking backwards and forwards
on the pedal creating the famous ‘wacker-wacker’ effect
present on so many of the greatest rock tunes in history.
F
tur
The Rewah PRO features Mission’s custom designed
inductor. This is a very high quality part, of the type
used in high end audio amplifiers. This inductor has some
similar characteristics to the respected vintage ‘halo’
inductors used in some early wah pedals. Every inductor
is assembled and tested by hand at a specialist facility
in Hollywood, USA to ensure consistent performance.
The PRO also features four user selectable circuit
modifications that can be used alone, or together to tune
some of the tonal characteristics to help you reach that
exact wah sound you are looking for.
Pow
Warning!
Do not attempt to remove the baseplate or change
the internal battery while the pedal is connected to an external
power supply and/or amplifier. Make sure that ALL external
connections are removed before opening the pedal. To reduce
the risk of damage, avoid touching any other components
in the pedal. Do not attempt to use any power supply with
specifications other than those listed in this manual. Check
all cables and power supplies for signs of damage before use.
Do not connect damaged power supplies or cables. Replace
cables or power supplies showing any signs of damage.
The Rewah PRO can be powered either by an external
power supply or an internal 9v battery. The power supply
should be 9v DC center pin negative with a 2.1mm
connector such as the Mission PS1-9VDC. For powering
on a pedal board, Mission also recommends the Voodoo
Labs Pedal Power 2+ and the Dunlop DC-Brick Multi-
Power Supply. Check the Specifications section for
more information on power supply requirements.
To replace the battery, first unplug the external power
supply. Switch of the amplifier and remove the cables
from the pedal to the amp and instrument. Unscrew
and remove the four rubber feet and remove the base
plate. Unclip and remove the battery and replace with
a 9 volt equivalent. The battery life can be extended by
unplugging the IN jack when not in use.
Conne
ions
Connect your instrument to the jack marked IN with a
standard ¼” mono (TS) instrument cable. Connect the
jack marked OUT to your amplifier. When using the
pedal in conjunction with other effects, it’s usually
recommended that the wah pedal be placed as early as
possible in the signal chain. The exception is when using
a vintage style fuzz pedal, in which case the wah should
be placed after the fuzz. Exact placement depends on
other effects involved and personal preference, so feel
free to experiment.
Mission recommends musical instrument cables
manufactured by Best-Tronics - www.guitar-cable.com
or Lava Cables - www.lavacable.com
Switch
ings
The Rewah PRO features four user switchable circuit
modifications that can be selected to make changes to
certain elements of the wah tone. The modifications can
be used individually or in sequence with each other. The
modifications are selected using a four-position switch
block on the inside of the pedal.
U
r
Guide
MISSION
ENGINE
ING
Mission Engin
ring
Inc.
www.mission-engineering.com


