GUIDE TO INSTALLATION AND OPERATION
RCP-100 |
13
Each of the 4 encoder knobs increments/decrements the associated field in the IP address. Pressing any
one of the encoder knobs saves the new IP address in flash memory. The RCP must be restarted before the
new address takes effect.
The SUBNET MASK and GATEWAY pages work exactly the same way (default values are shown):
SUBNET MASK
GATEWAY
255.255.255.0
0.0.0.0
255 | 255 | 255 | 000
000 | 000 | 000 | 000
The contrast adjustment page looks like this:
LCD CONTRAST ADJUST
CONT | | |
where the first encoder adjusts the contrast of the main LCD display.
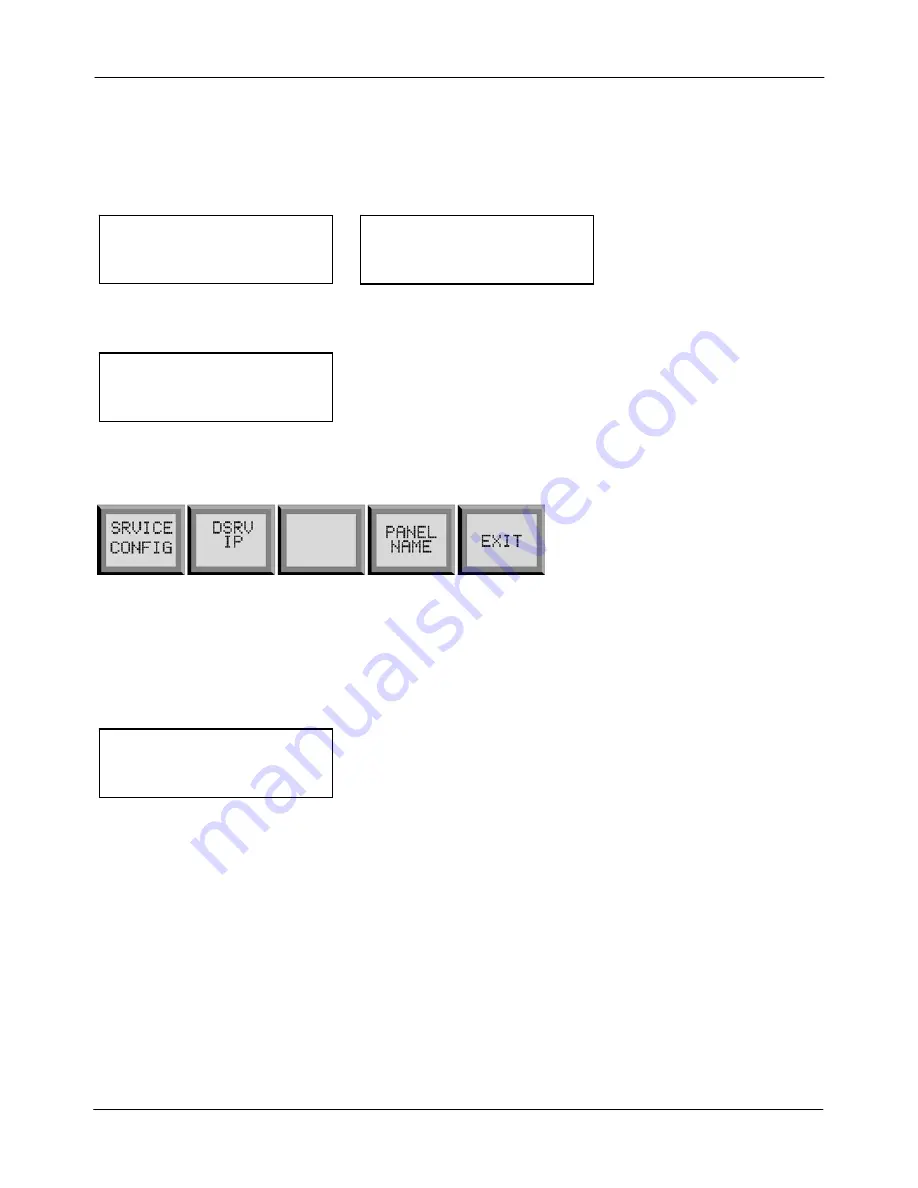
Push the ALT pushbutton to access four additional set-up controls:
The first two function keys permit the user to set up the RCP-100 as a SERVER or CLIENT, and to
determine which services and tasks are running. See section 3.4 for a discussion of networking issues.
Srvice Config
Pressing SRVICE CONFIG brings up a screen at which the supported services and tasks can be turned ON
or OFF, as follows:
SRVICE CONFIG
ICOM | DCOM | DSRV |
ON | ON | OFF |
ICOM: activate or deactivate the Imaging Server tasks and services, which ensure communication with
Miranda’s Imaging series of frames and cards.
DCOM: activate or deactivate the Densité Server tasks and services, which ensure communication with
Miranda’s Densité series of frames and cards.
DSRV: enable/disable the Directory Services task.
• If the RCP-100 is a SERVER, DSRV must be ON
• If the RCP-100 is a CLIENT, DSRV must be OFF
Note - In practice, we will not have separate directory services (DSRV) for the Client and the
Communicator. In a system with several RCP-100 units connected to different frames, only one
directory services is allowed.
The DSRV IP address is automatically set to the value of the RCP-100’s IP address when:


