


NV9602 Control Panel • User’s Guide
43
5. Operation
Setup Mode
Press the low illumination button to change the low illumination level. Press the high illumination
button to change the high illumination level. Press the up or down buttons at the right to change the
illumination level.
When you are satisfied with the illumination level you have chosen, press the menu button once
again. At this last step, the panel leaves menu mode and returns to normal mode.
Setup Mode
Setup mode occurs when the NV9602 is disconnected from its network and is freshly powered up.
In setup mode, you can set or change the panel ID, identify the software version, and perform a test
of the panel’s buttons. It is in setup mode that you must initially set the panel ID.
S
It can take several seconds for the buttons to appear.
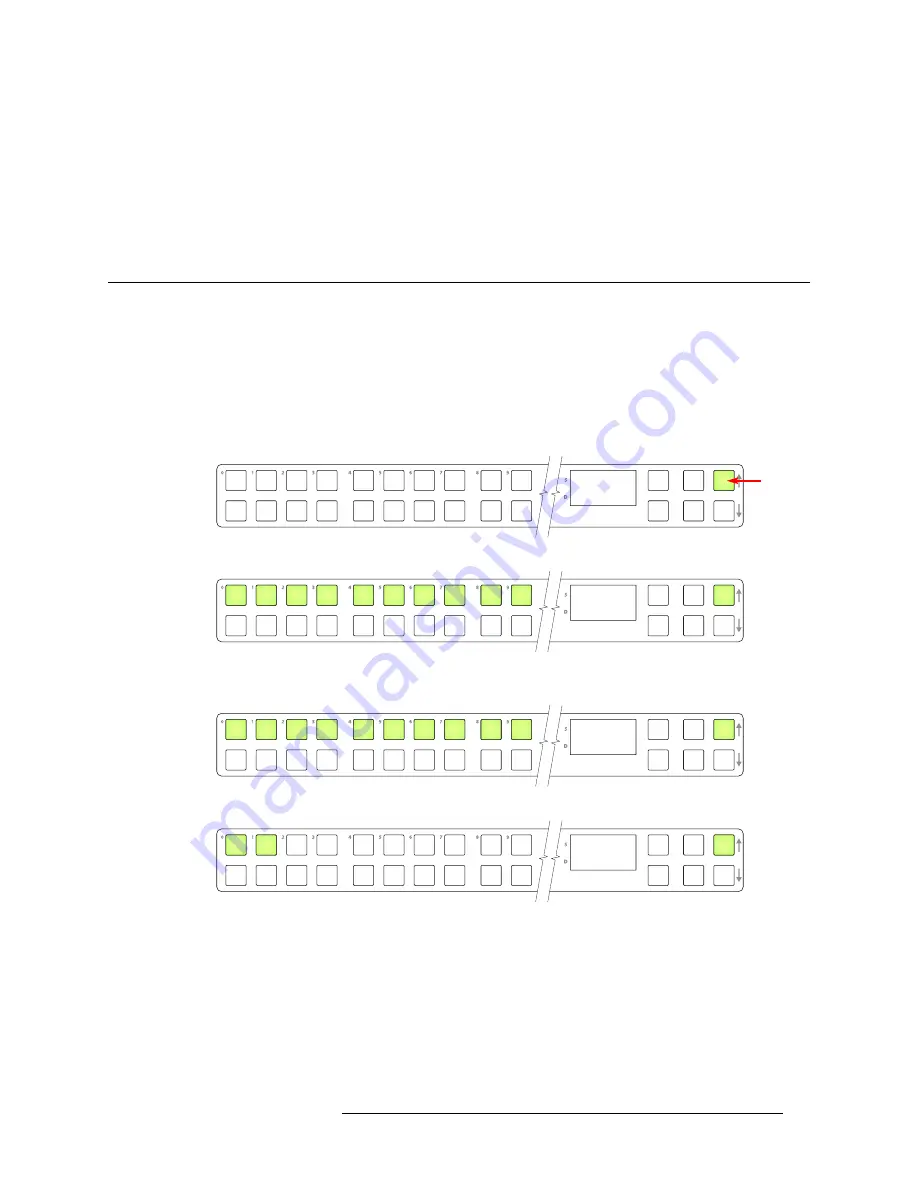
The panel powers up with 1 button (here called the “setup” button) illuminated in green and a dis-
play of the current panel ID. The panel ID is usually set to 0 at the factory:
Press the setup button to proceed to the first part of setup which is to set the panel ID:
The panel now allows you to enter the panel ID using buttons at the left that function as a numeric
keypad. The numbers of the keypad a printed on the panel. They range from 0 (at the left) to 9:
Press the setup button to complete the entry. A confirmation message appears:
Press 1 (the button on the left) to cancel your entry or press 2 (the button on the right) to save your
entry. Thereafter, your panel will have the panel ID you assigned, unless you or someone else
changes it.
If you do not want to change the panel ID, just press the setup button again, without entering a
number, to proceed to the next step.
A C Q I P
0
Setup button
P a n e l I D
0
P a n e l I D
_ _ _ _ _ 1 2 3
0 C a n c e l
1 S a v e


