

1. When Cruise Control is engaged, scroll
through the Content Area using your finger or
the Screen Navigation
button to find the
Cruise Control
Cr
u
ise
Contro
l
button.
2. Select the Cruise Control
Cr
u
ise
Contro
l
button using
your finger or by pressing the Ok button.
3. The Cruise Control Target Speed will
disappear from the Dashboard.
1. Scroll through the Content Area using your
finger or the Screen Navigation
button to
find the AutoPilot
A
u
topi
l
ot
button.
2. Select the AutoPilot
A
u
topi
l
ot
button using your
finger or by pressing the Ok button.
3. The AutoPilot Active Band will appear in
the Content Area. Either Legacy AutoPilot
or Advanced AutoPilot will be engaged
depending on the AutoPilot Mode selected.
1. Scroll through the Content Area using your
finger or the Screen Navigation
button to
find the Mark Waypoint
M
M
a
a
r
r
k
k
W
aypo
i
n
t
button.
2. Select the Mark Waypoint
M
M
a
a
r
r
k
k
W
aypo
i
n
t
button using
your finger or by pressing the Ok button.
1. Press the Spot-Lock
button.
2. The Spot-Lock Active Band will appear in the
Content Area.
3. To save the Spot-Lock,
select the Spot-Lock
Active Band using your
finger or by pressing
the Ok button.
4. Scroll through the
Spot-Lock Control Screen using your finger or
by pressing the Screen Navigation
button
to find the Save
S
ave
button.
5. Select the Save
S
ave
button using your finger
or by pressing the Ok button to save the
Spot-Lock. The Save icon will disappear from
the Active Band.
1. With Spot-Lock engaged, press the Spot-Lock
button on the remote to disengage Spot-Lock.
2. The Spot-Lock Active Band will disappear from
the Content Area.
(Heading Sensor required.)
1. To engage Spot-Lock Jog, first engage
Spot-Lock. Use the Speed Down
(jog
1. Scroll through the Content Area using your
finger or the Screen Navigation
button to
find the Go To Spot-Lock
G
G
o
o
T
T
o
o
o
o
T
T
T
T
S
po
t-L
oc
k
button.
2. Select the Go To Spot-Lock
G
G
o
o
T
T
o
o
o
o
T
T
T
T
S
po
t-L
oc
k
button using
your finger or by pressing the Ok button.
A list of Spot-Locks that are within a quarter
mile will appear.
3. Scroll through the list of Spot-Locks using
your finger or the Screen Navigation
button
to find a Spot-Lock.
4. Select the Spot-Lock using your finger or
pressing the Ok button.
5. The Spot-Lock
Active Band will
appear in the
Content Area. The
appearance of the
Active Band will vary
depending on the
distance between
the current location
and the selected
Spot-Lock.
Part #2397107
Rev A
08/18
ECN 39363
1. Scroll through the Content Area using your
finger or the Screen Navigation
button to
find the Cruise Control
Cr
u
ise
Contro
l
button.
2. Select the Cruise Control
Cr
u
ise
Contro
l
button using
your finger or by pressing the Ok button.
3. The Cruise Control target speed will appear
in the Dashboard. The Target Speed can be
increased and decreased using the Speed Up
and Speed Down
buttons.
1. Scroll through the Content Area using your
finger or the Screen Navigation
button to
find the Record
R
ecor
d
button.
2. Select the Record
R
ecor
d
button using your finger
or by pressing the Ok button. The iTrack
Active Band will appear in the Content Area.
3. Engage the Prop and manually navigate the
desired course.
4. To Save the recording, select the iTrack Active
Band using your finger or by scrolling to it with
the Screen Navigation
button and pressing
the Ok button.
5. Select the Stop and
Save
St
op
an
d
S
ave
iT
rac
k
button
from the iTrack
Control Screen using your finger or by scrolling
to it with the Screen Navigation
button and
pressing the Ok button.
1. When AutoPilot is engaged, scroll through the
Content Area using your finger or the Screen
Navigation
button to find the AutoPilot
A
u
topi
l
ot
button.
2. Select the AutoPilot
A
u
topi
l
ot
button using your
finger or by pressing the Ok button.
3. The AutoPilot Active Band will disappear from
the Content Area.
1. Scroll through the Content Area using your
finger or the Screen Navigation
button to
find the Go To Waypoint
G
G
o
o
T
T
o
o
o
o
T
T
T
T
W
a
y
po
i
n
t
button.
2. Select the Go To Waypoint
G
G
o
o
T
T
o
o
o
o
T
T
T
T
W
a
y
po
i
n
t
button using
your finger or by pressing the Ok button. A
list of Waypoints that are within a quarter mile
will appear.
3. Scroll through the list of Waypoints using your
finger or the Screen Navigation
button to
find a Waypoint to navigate to.
4. Select the Waypoint using your finger or by
pressing the Ok button.
5. The Waypoint Active
Band will appear in
the Content Area.
1. When Go To Waypoint is engaged, scroll
through the Content Area using either your
finger or the Screen Navigation
button to
find the Waypoint Active Band.
Autopilot
Legacy
Autopilot
Advanced
146 ft
WP1210
Distance
0 ft
SL0163
100 ft
SL0000000163
Distance
100 ft
SL0000000163
1. Scroll through the Content Area using your
finger or the Screen Navigation
button to
find the Go To iTrack
G
G
o
o
T
T
o
o
o
o
T
T
T
T
iT
rac
k
button.
2. Select the Go To iTrack
G
G
o
o
T
T
o
o
o
o
T
T
T
T
iT
rac
k
button using your
finger or by pressing the Ok button. A list
of iTracks that are within a quarter mile will
appear.
3. Scroll through the list of iTracks using your
finger or the Screen Navigation
button to
find an iTrack.
4. Select the iTrack using your finger or by
pressing the Ok button.
5. Decide to navigate To Start or To End and
select the appropriate button using your finger
or by scrolling to it with the Screen Navigation
button and pressing the Ok button.
6. The iTrack Active
Band will appear in
the Content Area.
1. When Go To iTrack is engaged, scroll through
the Content Area using your finger or the
Screen Navigation
button to find the iTrack
Active Band.
2. Select the iTrack Active Band using your
finger or by pressing the Ok button.
3. Select the Cancel
C
ance
l
button from the iTrack
Control Screen using your finger or by scrolling
to it with the Screen Navigation button and
pressing the Ok button to select it.
0 ft
IT0000000006
S
E
backward), Speed Up
(jog forward), Steer
Left (jog left), and Steer Right (jog right)
buttons to jog the Spot-Lock location 5 feet in
the selected direction from the current Spot-
Lock location.
2. To Jog the Spot-Lock location with the Screen
Navigation button, select the Spot-Lock
Active Band to open the Spot-Lock Control
Screen. Select the Back
Back
,Forward
Forward
,
Left
Left
, or Right
Right
buttons using your finger or
by scrolling to one with the Screen Navigation
button and pressing the Ok button.
2. Select the Waypoint Active Band using your
finger or by pressing the Ok button.
3. Select the Cancel
C
ance
l
button from the
Waypoint Control Screen using your finger or
by scrolling to it with the Screen Navigation
button and pressing the Ok button to
select it.
163 ft
IT0000200163
NOTICE:
For i-Pilot Link features that
can be activated from the Humminbird,
please refer to your Humminbird manual.
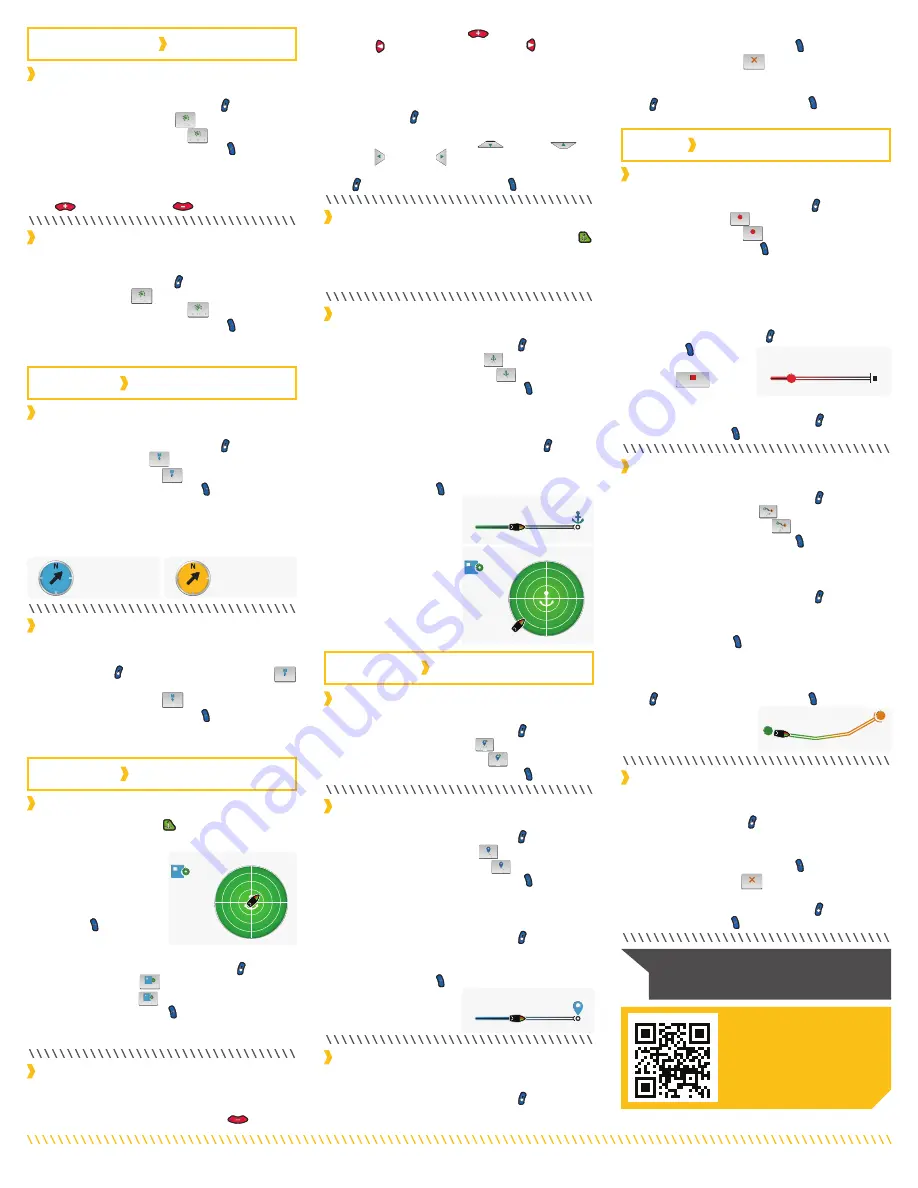
Scan to view the
complete i-Pilot Link
Owner’s Manual online.
SPOT-LOCK
CRUISE CONTROL
AUTOPILOT
WAYPOINTS
iTRACK
Engaging Cruise Control
Disengaging Cruise Control
Disengaging Spot-Lock
Recording an iTrack
Go To a Saved Spot-Lock
Engaging AutoPilot
Disengaging AutoPilot
Engaging Spot-Lock
Mark a Waypoint
Disengage Go To iTrack
Go To a Saved Waypoint
Spot-Lock Jog
Disengage Go To Waypoint
Go To a Saved iTrack


