Summary of Contents for Cessna L-19
Page 1: ...Cessna L 19 Assembly Instructions ...
Page 2: ...1 2 ...
Page 3: ...3 4 ...
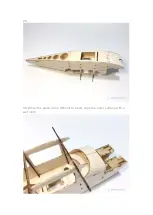
Page 4: ...5 6 When the balsa is too difficult to bend wipe the outer surface with a wet cloth ...
Page 5: ...7 8 ...
Page 6: ...9 10 Fix steel landing gear with screw ...
Page 7: ...11 Note that the landing gear is mounted on the side of the baffle facing the nose 12 ...
Page 8: ...13 14 ...
Page 9: ...15 16 ...
Page 11: ...19 20 ...
Page 12: ...21 22 ...
Page 13: ...23 24 ...
Page 14: ...25 26 ...
Page 15: ...27 Use a ruler to push the crease along the dotted line 28 ...
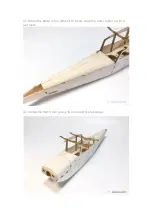
Page 16: ...29 30 When the balsa is too difficult to bend wipe the outer surface with a wet cloth ...
Page 18: ...33 34 ...
Page 19: ...35 36 ...
Page 20: ...37 38 Make a hinge with tape ...
Page 21: ...39 40 ...
Page 22: ...41 42 ...
Page 23: ...43 44 Glue the windshield ...
Page 24: ...45 46 ...
Page 25: ...47 48 ...
Page 26: ...49 50 ...
Page 27: ...51 52 Use heat shrinkable tube to hold the wheels ...
Page 28: ...53 54 ...
Page 29: ...55 56 ...
Page 30: ...57 58 ...
Page 31: ...59 60 ...
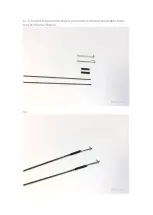
Page 32: ...61 Connect the pushrod clips pushrods with heat shrinkable tube and fix them with glue 62 ...

