Version 1.1
OPERATING THE MINI CLOCK
CAMERA
IMPORTANT NOTICE: Allow the device to
charge 12 hours before using.
IMPORTANT NOTICE: Before using the
mini clock camera, you will need to remove
the plastic tab from the remote and from
the battery compartment (standard
edition only) in the back of the clock. It is
safe to disregard the “DON’T OPEN IT!!”
label.
HOW TO CHARGE THE MINI CLOCK
CAMERA
1.
Plug the USB cable into your PC.
2.
Plug the USB cable into the clock.
The red indicator light will be
on while charging.
HOW TO SET THE TIME AND DATE
You can set the time and an alarm on this
model.
Four buttons that you need for setting up
the mini clock camera are located beneath
the LCD screen (see Figure 2):
HR (Hour)
MIN (Minutes)
SET
LIGHT
Set the Time
1.
Push the SET button.
Both the hour and the
minutes will be flashing.
2.
Push the HR button to set the hour.
3.
Push the MIN button to set the
minutes.
Set the Alarm
1.
Push the SET button two times.
The Set Alarm icon will be
on.
Both the hour and minutes
will be flashing.
2.
Push the HR and MIN buttons to set
the time when the alarm should
sound.
Turn On the Light
1.
Push the LIGHT button.
The blue background light
will come on for about 8
seconds before automatically
turning off.
PREPARING THE DEVICE FOR USE
1.
Be sure the On / Off Switch located
under the rotating panel is set to
ON.
2.
Insert a MicroSD card into the slot
located under the rotating panel.
3.
Make sure the mini clock camera
has been fully charged.
4.
Place the device where you want to
record.
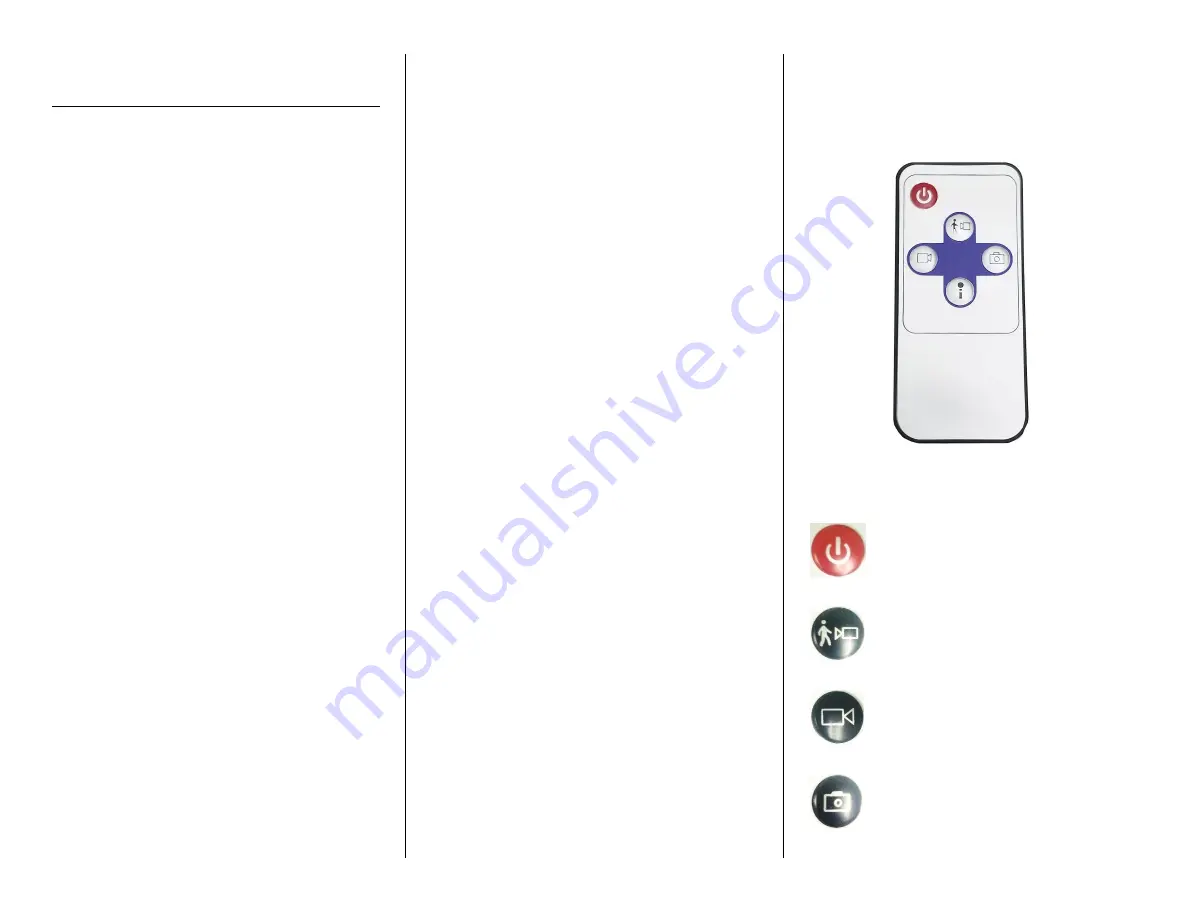
USING THE REMOTE (Shape of Remote
May Vary but Operation is the Same)
Power Button
Motion Detection Button
Video Button
Camera Button


