


HOW TO TAKE PHOTOGRAPHS
1.
Ensure the device is in
standby mode
2.
Push the Photograph button
The red indicator light will turn blue
o
The device is now in photography mode
3.
Push the Photograph button
The blue indicator light will blink one
o
The device has taken a photograph
HOW TO RECORD AUDIO
1.
Ensure the device is in
standby mode
2.
Push the Voice Recording button
The red indicator light will turn red/blue
The red/blue indicator light will turn off
o
The device is now recording audio
3.
Press and hold the Video Recording button for two seconds
The red indicator light will turn on
o
The device is now in
standby mode
HOW TO RESET THE TIME/DATE STAMP
1.
Plug the device into your PC using the USB cable
2.
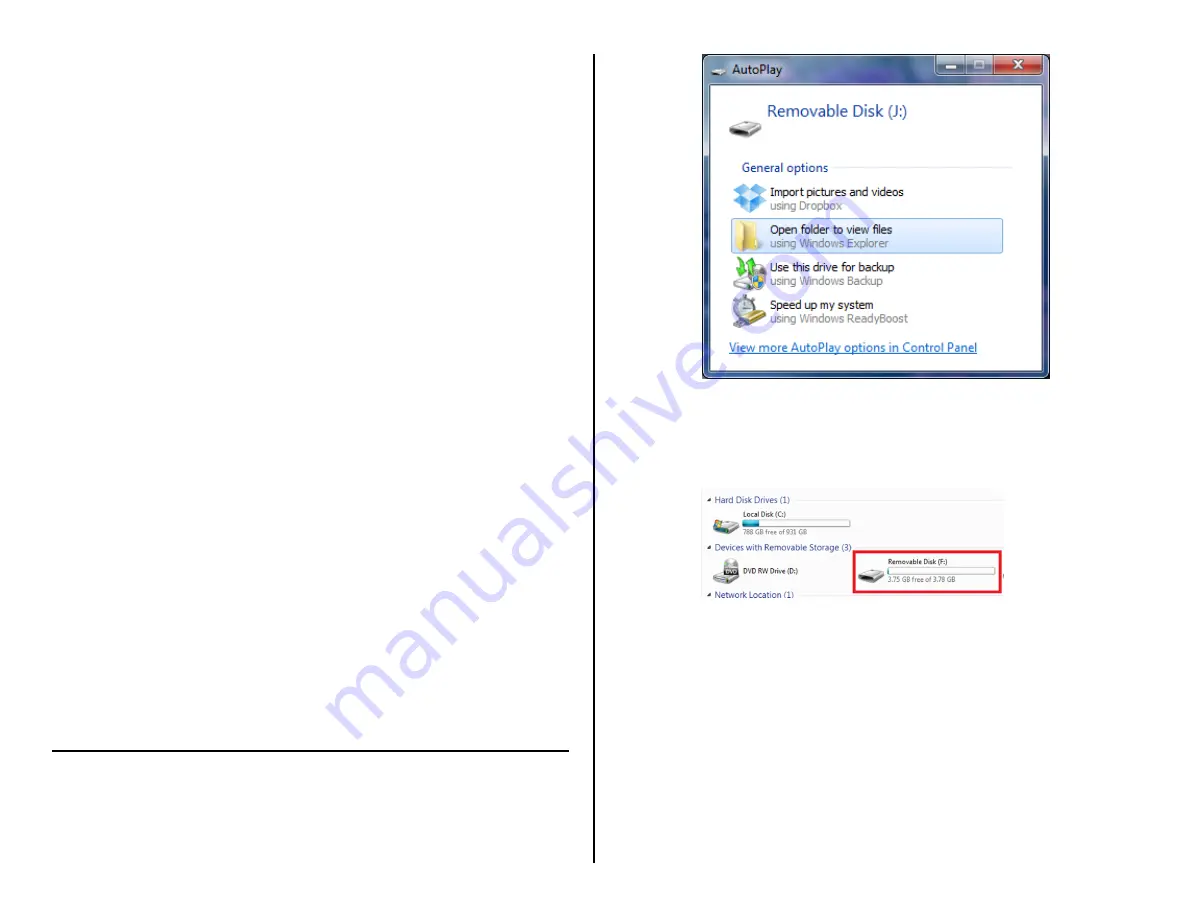
Locate “Removable Disk” inside the (My) Computer folder
AutoPlay Removable Disk > Open folder to view files
OR
Go to Start > Computer > Removable Disk
3.
Open the Removable Disk drive
4.
Open the “time” text document
5.
Adjust the date to match todays date in the format of year-
month-day
6.
Adjust the time to match the current time in military format
RETRIEVE THE FILES TO YOUR PC
7.
Plug the device into your PC using the USB cable
8.
Locate “Removable Disk” inside the (My) Computer folder
AutoPlay Removable Disk > Open folder to view files
Or…
Go to Start > Computer > Removable Disk
9.
Open the Removable Disk drive
10.
Open the PHOTO folder to see your photographs
11.
Open the RECORD folder to listen to your audio files
12.
Open the VIDEO folder to view your video files
13.
Double click the file you want to view
VLC Player is recommended for watching videos


