1
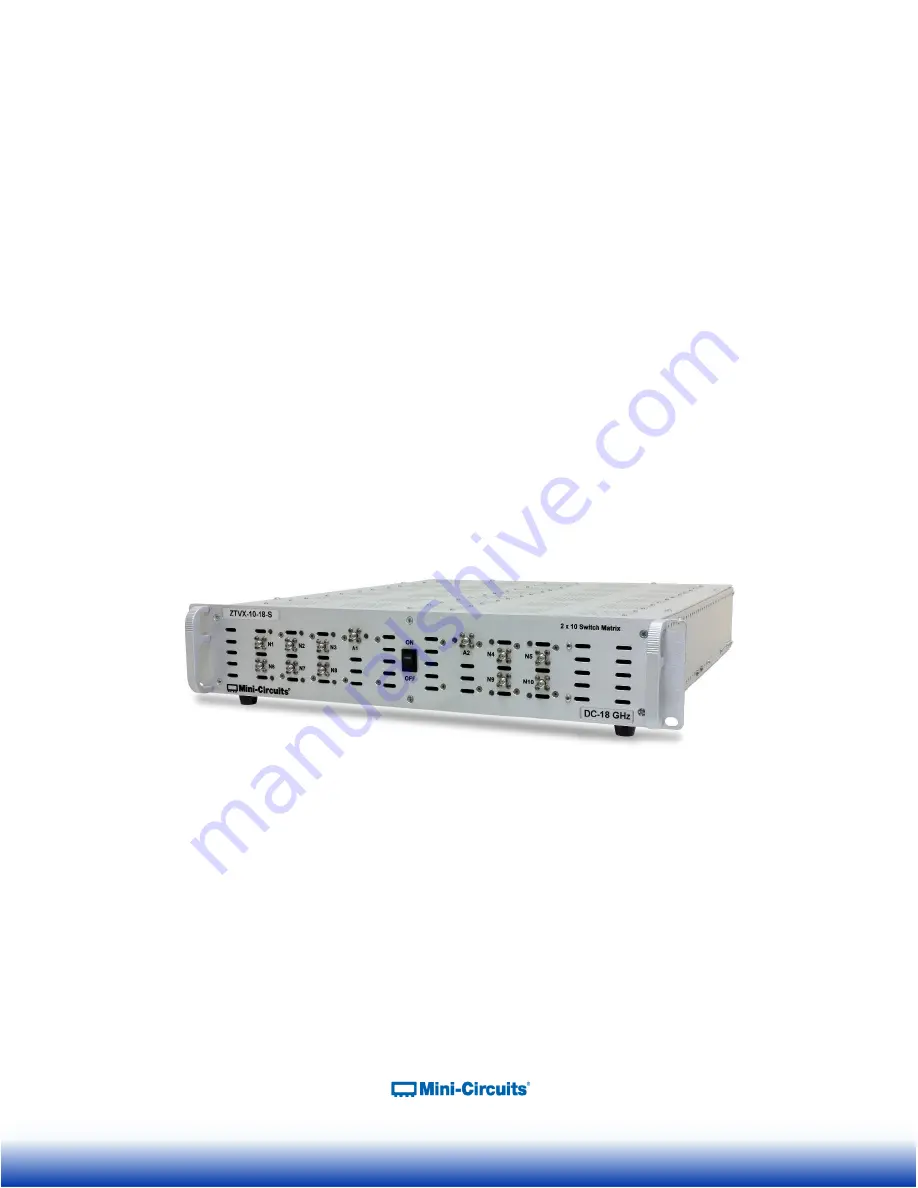
ZTVX-Series RF Signal Routing Assembly
2 x N Port Switch Matrix
50Ω
A Mini-Circuits Self-Contained Integrated Assembly
User’s Manual
Page 1: ...1 ZTVX Series RF Signal Routing Assembly 2 x N Port Switch Matrix 50 A Mini Circuits Self Contained Integrated Assembly User s Manual...
Page 2: ...ide should be used as a guideline only Trademarks Microsoft Windows Visual Basic Visual C and Visual C are registered trademarks of Microsoft Corporation LabVIEW and CVI are registered trademarks of N...
Page 3: ...INSTALLATION 10 Rack Mounting 10 Rear Panel Safety Blocks 10 Rear Panel Grounding Stud 11 7 SOFTWARE 12 Software Overview 12 Installing the GUI Software 12 Using the ZTVX GUI 15 7 3 1 Connecting to th...
Page 4: ...to be taken when installing and handling the equipment and to provide instruction on installing and using the control software for this unit We re here to support you every step of the way For techni...
Page 5: ...e ZTVX unit box is heavy and requires caution to prevent damage to the equipment and ensure user safety User must follow safe lifting protocols and use any necessary lifting aids to prevent muscle str...
Page 6: ...l safety blocks may result in damage to the product Refer to section 7 2 for additional instructions Opening Tampering This equipment is designed to be serviced only by professional electrical technic...
Page 7: ...en in the ON position Two handles at left and right ends of the front panel facilitate lifting and moving the unit and the slotted holes on the outer left and right extrusions allow secure mounting to...
Page 8: ...reasing throughput This equipment operates on a 90 to 260V 47 to 63 Hz AC line supply The unit contains Mini Circuits patented absorptive electromechanical switches with extra long switching life perf...
Page 9: ...can be unpacked following the steps pictured below 1 2 3 4 5 Package Contents Table 1 Package Contents Item Description Quantity ZTVX Series Switch Matrix Assembly 1 CBL 3W US Black 3 prong AC Cord 7...
Page 10: ...um of 1U 1 75 clearance above top panel and below bottom panel with unobstructed access to room ambient airflow for proper operation Additionally due to weight box must be supported by means other tha...
Page 11: ...11 Rear Panel Grounding Stud The rear panel of the ZTVX unit is constructed with a 10 32 x long grounding stud to ground the box Figure 7 Rear Panel Grounding Stud...
Page 12: ...acquaint you with the features of the ZTVX GUI user interface For programming support and additional information on writing your own test programs for this equipment please reach out to the contacts...
Page 13: ...ftware will be saved on your computer s hard drive At this point it s a good idea to take a second and confirm the full destination address for the software The default destination directory will be s...
Page 14: ...in the Start Menu will be created If you change the Program Group for this software be sure to record that information together with your destination address for your own reference Click on Continue t...
Page 15: ...commands to individual switches in the unit Figure 13 ZTVX GUI Main Screen 7 3 1 Connecting to the ZTVX Once the GUI program is open you should first establish a connection with the ZTVX using USB or...
Page 16: ...e 15 Drop down with connection options USB 3 When connected to the ZTVX via USB the Protocol field will read USB and the Connection Status field will read Connected Figure 16 Displaying active connect...
Page 17: ...meter tells the ZTVX which part of its address it can share with other devices in the same network Network Gateway This parameter represents the address of the network server MAC Address This address...
Page 18: ...ress and the TCP IP port number from Ethernet Settings displayed in their respective fields The default TCP IP port is 80 You should not have to change the entries in these fields If you selected Use...
Page 19: ...wall Access If your computer firewall is enabled you may receive an alert message saying that Windows Firewall has blocked some features of the program If this occurs choose the networks you want to a...
Page 20: ...Connection Status indicating the ZTVX GUI is running in Demo Mode 7 3 2 GUI Displays and Built In Reference The ZTVX GUI main screen features several information displays and built in references for...
Page 21: ...unit temperature and internal cooling fans NOTE When any switch in the system is due for calibration the counter in the Switch Status Display will turn red to alert you that it s time for a tune up F...
Page 22: ...ever changes are made to the ZTVX software or other features of the equipment you can find updates to the user guide by clicking this button Modify Buttons opens the Modify Buttons Menu to save a vari...
Page 23: ...The Set Path controls allow you to specify any signal path in the ZTVX system by selecting from drop down menus specifying desired signal input From and signal output To Other related functions inclu...
Page 24: ...ly loaded Quick Set Buttons enable easy one click activation of any signal path or individual switch command specified by the user Buttons are organized into 5 tabs each with 20 buttons for up to 100...
Page 25: ...ons click The Modify Buttons Menu will appear Figure 33 Modify Buttons Menu The Modify Buttons Menu allows you to save signal paths and individual commands to all Quick Set Buttons as desired It also...
Page 26: ...field and save settings The selected button will then display the new name Set Switch Selecting the Set Switch radio button allows you to select a specific switch in the ZTVX from the drop menu Clicki...
Page 27: ...electing options from the From and To drop down menus The corresponding command string will appear in the Command Display Field Click this button to add a specified command to the Command Display fiel...
Page 28: ...n open the Modify Buttons Menu and click the button The Save Configuration prompt will pop up Figure 38 Save Configuration prompt Name the file something easy to remember and click O K The configurati...
Page 29: ...nents in the ZTVX Switch Commands This drop down provides a full list of commands for individual switches in the ZTVX It also includes a full list of Path commands specifying the full signal path in a...
Page 30: ...available click the Firmware Update button at the upper right area of the GUI main screen Figure 41 Firmware Update Button 2 The Firmware Info Window will appear displaying the current version of firm...
Page 31: ...are to initiate the update process 5 The Firmware Browse Window will appear Select the firmware file from the location where you saved it earlier in 3 Then click O K Figure 44 Firmware Browse Window A...
Page 32: ...ty applications including but not limited to Visual Basic Visual C Visual C Delphi Borland C CVI LabVIEW MATLAB Python Agilent VEE This unit is supplied with DLLs for 32 and 64 bit Windows systems and...
Page 33: ...our convenience you may also contact our Sales Department at 718 934 4500 sales minicircuits com or your local Mini Circuits sales representative They will review your RMA request and per Mini Circuit...
Page 34: ...IX ELECTRICAL SCHEMATICS ZTVX 8 12 2 x 8 port DC 12 GHz configuration ZTVX 10 12 2 x 10 port DC 12 GHz configuration ZTVX 12 12 2 x 12 port DC 12 GHz configuration ZTVX 16 12 2 x 16 port DC 12 GHz con...
Page 35: ...35 ZTVX 8 18 2 x 8 port DC 18 GHz configuration ZTVX 10 18 2 x 10 port DC 18 GHz configuration ZTVX 12 18 2 x 12 port DC 18 GHz configuration ZTVX 16 18 2 x 16 port DC 18 GHz configuration...