MimioView
Connecting to a Microscope
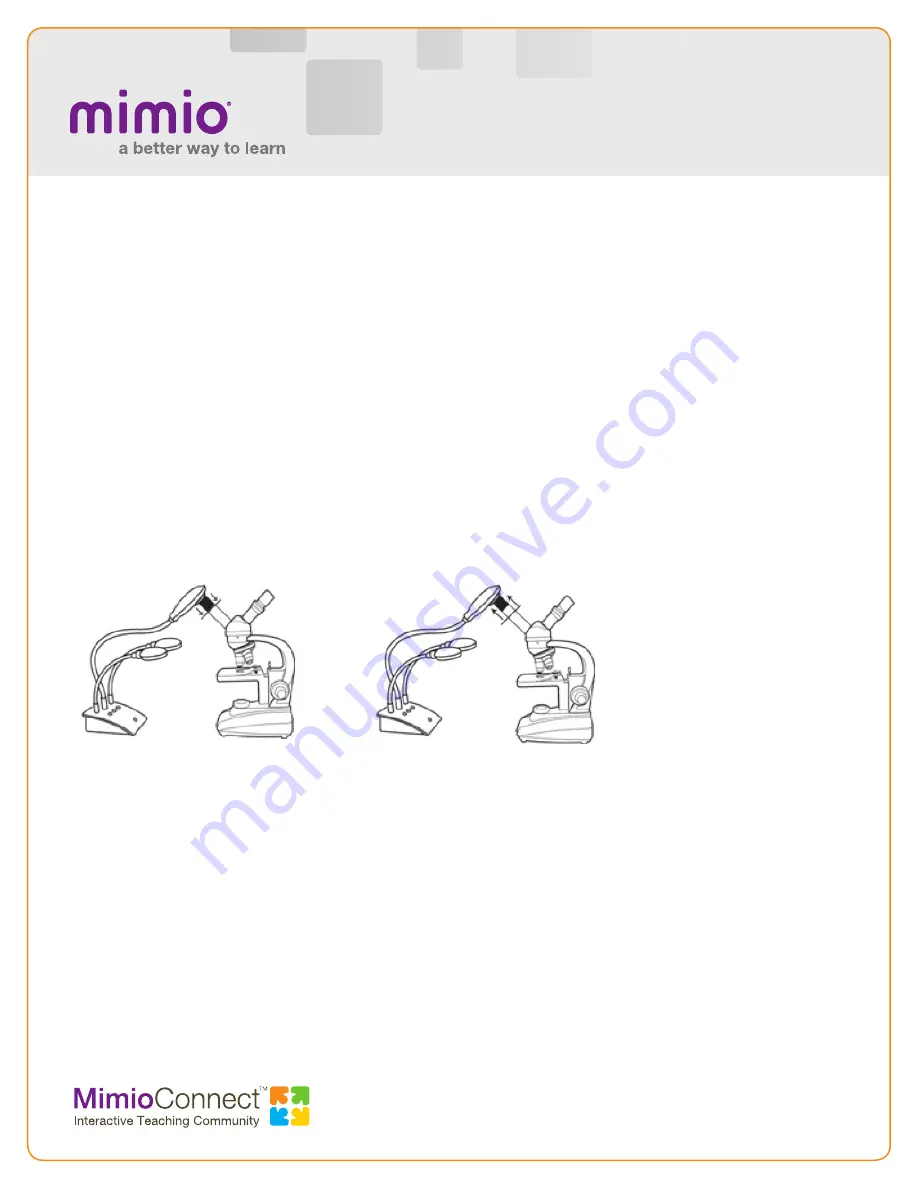
Using the included microscope adapter, you can display an image from a microscope with
the MimioView™ document camera. The microscope adapter can be used with a 28 mm
microscope eyepiece.
For more info, please visit us at
mimio.com
.
Join our worldwide teacher community at
mimioconnect.com
.
© 2014 Mimio
Displaying a Microscope Slide
1. Set up the microscope so that you have the desired view through
the microscope eyepiece. Start with the low power objective on the
microscope, and get the image focused.
2. Twist and lock the microscope adapter onto the MimioView camera
head. Turn on the MimioView camera.
3. Slowly and carefully slide the other end of the microscope adapter onto
the microscope eyepiece. Use caution to make sure that the image
stays in focus while you attach the microscope adapter.
4. The image from the microscope is displayed in the MimioView window.
5. Make any adjustments* necessary to the microscope and/or the
MimioView camera to get the best image.
a. To adjust the image, press the Auto-Tune button on the
MimioView camera, or use the manual adjustment in the
MimioView window settings.
b. When the desired image is acquired, use the Freeze button on
the MimioView camera or in the MimioView window settings to
freeze the image.
c. Use the Zoom tools to zoom in/out on parts of the image
as desired.
TIPS:
You may need to adjust the
microscope diaphragm or
position it in-between settings
to regulate the amount of light
coming through.
When attaching the microscope
adapter on the eyepiece,
make sure it fits squarely on
the eyepiece. We recommend
that you place the microscope
adapter all the way onto the
eyepiece, and then pull it back
about halfway.
*Just as with any microscope camera, you may have to make minor adjustments to get the best image from your microscope.


