


4
Settings
To enter the settings menu, turn on the tool and
press the Settings
button. Use the ◄►▲▼
buttons
to move through the setting menu.
MENU SELECTIONS
____________
MICROPHONE
ON/OFF
LCD BRIGHTNESS
LOW/MEDIUM/HIGH
DATE
MM/DD/YY
TIME
HR/MIN AM/PM
LANGUAGE
MULTIPLE SELECTIONS
DELETE ALL
CANCEL/DELETE ALL
VERSION
Display the software version.
OPERATION
WARNING
To reduce the risk of injury, always
wear safety goggles or glasses
with side shields.
Always remove battery pack before changing
accessories or making adjustments.
Turning On/Off
When the display is docked on the handle, press
either Power
button to turn the tool on. Press and
hold either Power
button to turn the tool off.
When the display and handle are separated, use the
individual power buttons to turn each piece on and off.
Fuel Gauge
When the display is docked on the handle, the
M12™ battery pack fuel gauge is displayed in the
upper right corner.
When the display is undocked from the handle, two
fuel gauges are displayed. The left gauge shows the
remaining charge of the display's internal battery.
The right gauge shows the remaining charge of the
M12™ battery pack. Each block in the fuel gauges
represents approximately 1/4
of the battery's life.
WARNING
To reduce the risk of explosion,
electric shock and property dam-
age, always check the work area before beginning
a job. Do not allow cable to contact electrical,
chemical, or moving hazards.
Behind walls: Shut off circuit breakers to the
entire area.
Inside Pipes: Ensure there is no electrical charge
to the pipes before beginning inspection. Do not
allow liquid to flow down cable and into tool.
Auto use: Turn off the engine and allow to cool
before beginning inspection. Do not allow the
visual inspection camera or cable to contact oil,
gas, or other corrosive materials.
CAUTION
To reduce the risk of damage to the
tool, do not use excessive force or
“kink” the cable. Do not use in areas where vi
-
sual inspection camera and cable will contact
corrosive or oily substances.
Do not use the cable to clear clogs or move ob
-
structions. This is not a drain cleaner!
ASSEMBLY
WARNING
Recharge only with the charger
specified for the battery. For spe
-
cific charging instructions, read the operator’s
manual supplied with your charger and battery.
Removing/Inserting the Battery
To
remove
the battery, push in the release buttons
and pull the battery pack away from the tool.
WARNING
Always remove battery pack before
changing or removing accessories.
To
insert
the battery, slide the pack into the body
of the tool. Make sure it latches securely into place.
Charging the Display
When the display and handle are connected, the bat-
tery pack will power both the handle and the display.
When separated, the display runs off of an internal re-
chargeable battery. To recharge the display, connect
it to the handle/battery pack, or to a power source via
USB cable. Always store the display docked on the
handle. If the display shuts down due to low power,
recharge for at least 30 minutes before use.
WARNING
Only use accessories specifically
recommended for this tool. Others
may be hazardous.
Connecting the Cable
1. Slide back the socket sleeve.
2. Insert the cable into the socket.
3.
Rotate the cable until it is fully seated into the
socket.
4. Slide the sleeve over the connection. Tighten the
sleeve securely.
Connecting the PIVOTVIEW™ Cable
(Some Models or as an Accessory)
1.
Rotate the pivot knob to determine the orientation
needed for the movement. The pivot head rotates
up to 270º on one plane.
2. Snap the PIVOTVIEW™ Cable over the socket. It
must line up in one of four 90° positions.
3.
To remove, press the release buttons and pull
away from the tool.
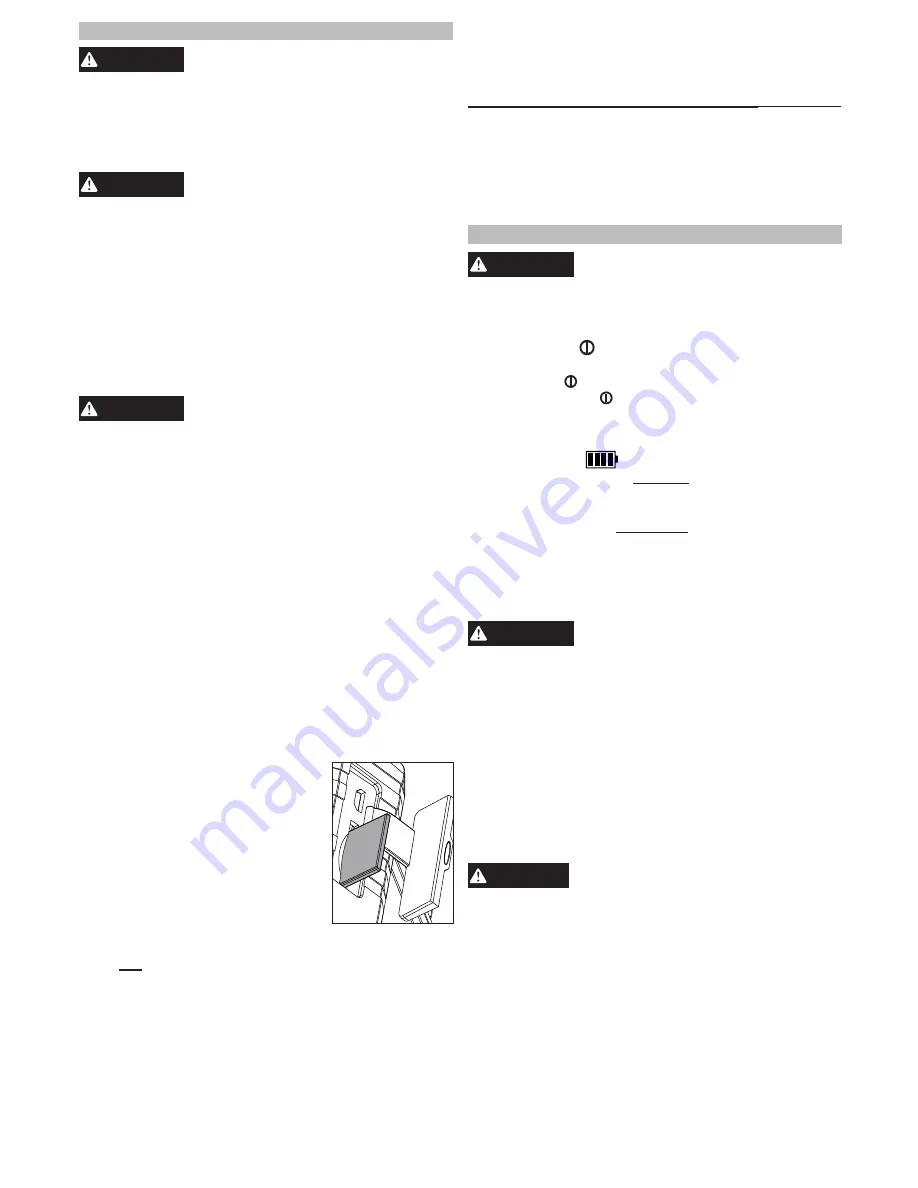
Inserting/Removing the Memory Card
The number of images/videos that can be saved is
based on the size of the memory card.
1. Open the protective cover to
access the memory card slot.
2.
Slide the memory card into the
slot, the top of the card should
face away from the LCD screen.
Press in the card securely. It
should click in place.
3. Close the protective cover.
4.
To remove the memory card,
press it in and release. It will pop out.
Note:
To save images/videos to the memory card, it
must not be “locked” with the write-protection tab in
the lower position.
NOTE:
If you are unable to view the videos on your
computer it may be because your computer is miss-
ing the DIVX or XVID codec. The AVI file is recorded
in MPEG4 format and your computer needs a DIVX
or XVID codec to decode and play it. Download the
appropriate codec to view the images/videos.
Downloading to a Computer
Power on the display. Insert the USB cable into
the port on the side of the display. Connect the
USB end into the USB port on your computer.


