


36
Step 2 - Advanced Configuration
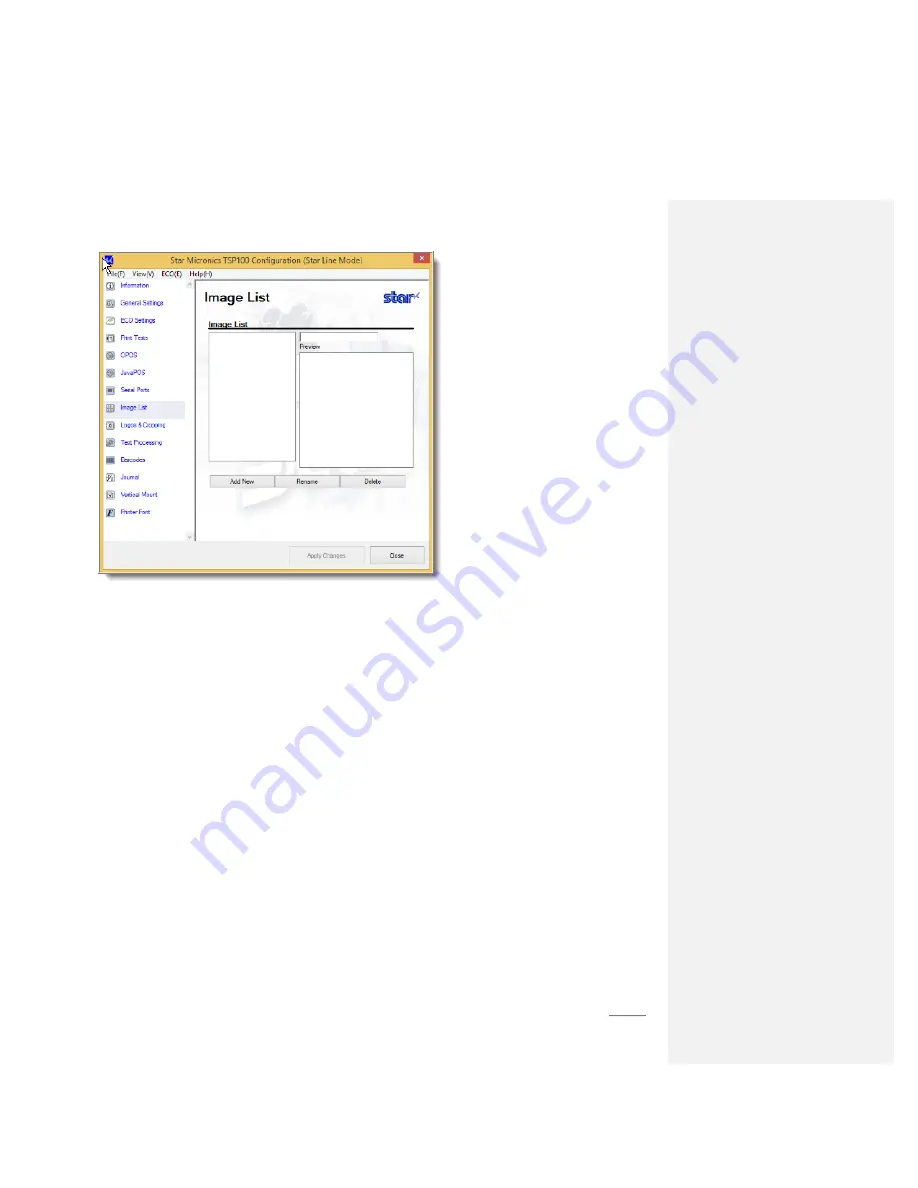
9.
Click
Add New
, and select the desired logo image from your computer.
The Image import window displays.
Here you can use the
Width
slider to adjust the size of your receipt image. You can set a name for the file here if you wish (if
you do not, the image name will default to “Image1”). Click “Use Image” to proceed. The file name will now appear in the
Image List field.
10.
Click
Apply Changes
.
11.
In the left sidebar, select
Logos and Cropping.
The Logo Printing and Cropping window displays.


