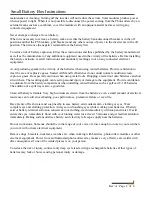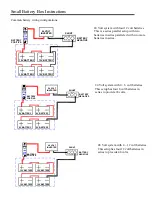
Small Battery Box Instructions
Rev: A Page 4 of 6
Step 4
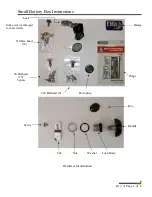
Attach hinges and door using twelve #6 X 3/8”
Flat head
Philips
sheet metal screws.
Hint: attach the hinges to enclosure and then attach the door
afterwards.
If mounting the enclosure outdoors, the addition of a thin weather
strip around the door flanges may be required.
It is recommended to perform the assembly on a flat surface. You will require a #2 Philips screw driver
and a 5/16” wrench to tighten screws, as well as a slotted screw driver and hammer to remove Knockouts.
Assembly:
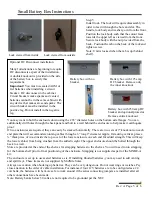
Step 2
Attach back using six # 10 X 3/8
Hex Head
sheet
metal screws. Note: the front door and back panel are
identical. Fill the unused lock hole with the snap in
plug provided.
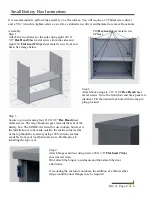
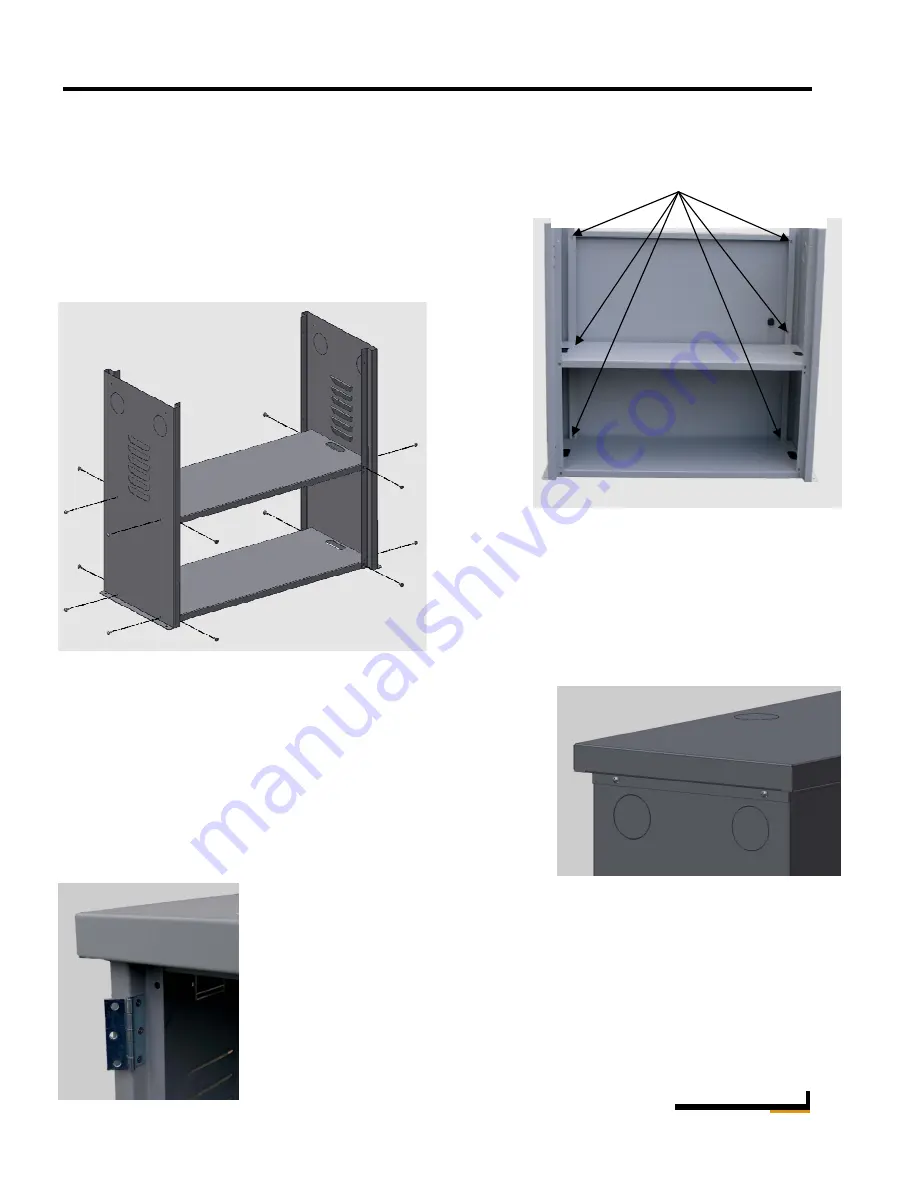
Step 1
Attach the two shelves to the sides using eight #10 X
3/8”
Hex Head
Sheet metal screws from the sides and
eight #10
Flat head
Philips sheet metal screws front and
back. See image below.
#10
Hex head
sheet metal screw.
6 Places
Step 3
Secure top to sides using four #10 X 3/8”
Hex Head
sheet
metal screws. The large knockout goes towards the rear of the
battery box. The MNBE-A is listed for use indoors, however if
the installation is to be made outside, the inside corner seams
of the top should be sealed up using 100% silicone sealant
available from your local hardware store. Do this prior to
installing the top cover.


