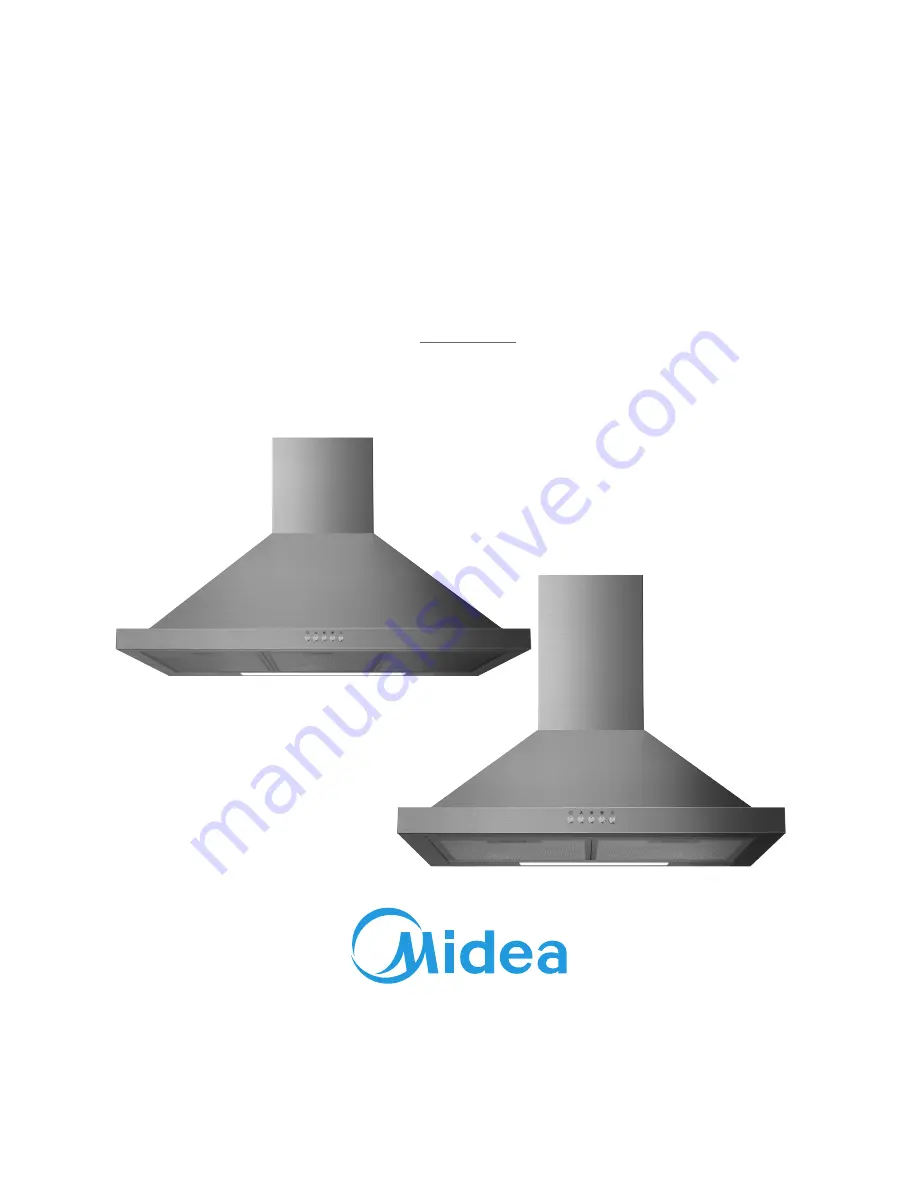
background image

SAVE THESE INSTRUCTIONS CAREFULLY

Read these instructions carefully before using your cooker hood,and keep it 

      carefully. If you follow the instructions, your cooker hood will provide you with many years 

of good service.

Cooker Hood

Midea

Instruction

MODEL : MHC60SS

MHC90SS

Summary of Contents for MHC60GSS

Page 1: ...Read these instructions carefully before using your cooker hood and keep it carefully If you follow the instructions your cooker hood will provide you with many years of good service Cooker Hood Midea...

Page 2: ...lified persons in order to avoid a hazard Regulations concerning the discharge of air have to be fulfilled USE The cooker hood is only for home use not suitable for barbecue roast shop and other comme...

Page 3: ...5 x 50 Screws 5 x 12 5 Wall Plugs 12 4 Screws 4 2 x 9 5 21 1 Chimney fixing bracket optional 11 12 10 20 21 13 11 12 10 20 21 13 2 20 1 Hood fixing bracket If choose the below installation components...

Page 4: ...Min unit mm 650mm Min 650mm 225 170 312 312 601 899 229 172 40 300 A B 226 170 500 Chimney Option A B 1 400 0 689 2 400 300 689 730 970 3 400 390 689 730 1060 4...

Page 5: ...on the horizontal line B 40 mm to the right of the vertical reference line Repeat this operation on the other side checking that the two marks are leveled Mark a point 3 on the horizontal line C 180...

Page 6: ...Plugs 11 at the points 3 solution2 Right Wrong CONNECTIONS DUCTED VERSION AIR EXHAUST SYSTEM When installing the ducted version connect the hood to the chimney using either a flexible or rigid pipe 15...

Page 7: ...austing hood Fix the Lower Decorative Chimney to the hood body with 2 screws 12 4 2 x 9 5 supplied with the hood CHIMNEY ASSEMBLY 2 Screws ST4 2 9 5 Upper Decorative Chimney Fix the upper chimney onto...

Page 8: ...d press again to turn them off OFF MOTOR SWITCH Press on this switch to stop the motor operation SPEED SWITCH Press on this switch the motor runs at LOW speed SPEED SWITCH Press on this switch the mot...

Page 9: ...lor of the filter surface may change throughout the time but this has no influence to the filter efficiency When fitting the filters into the hood pay attention that they are mounted in correct positi...

Page 10: ...plate take the LED light out Replace the lamp commercially available LED lamp max 1 5w Press LED light on the front of front plate install the LED light on the front plate Connect the terminal of LED...

Page 11: ...amaged Replace motor Replace motor The internal wiring of motor is cut off disconnected An unpleasant smell may be produced Both light and motor do not work Apart from the above mentioned check the fo...

Page 12: ...P N 16173000A09198...

Reviews: