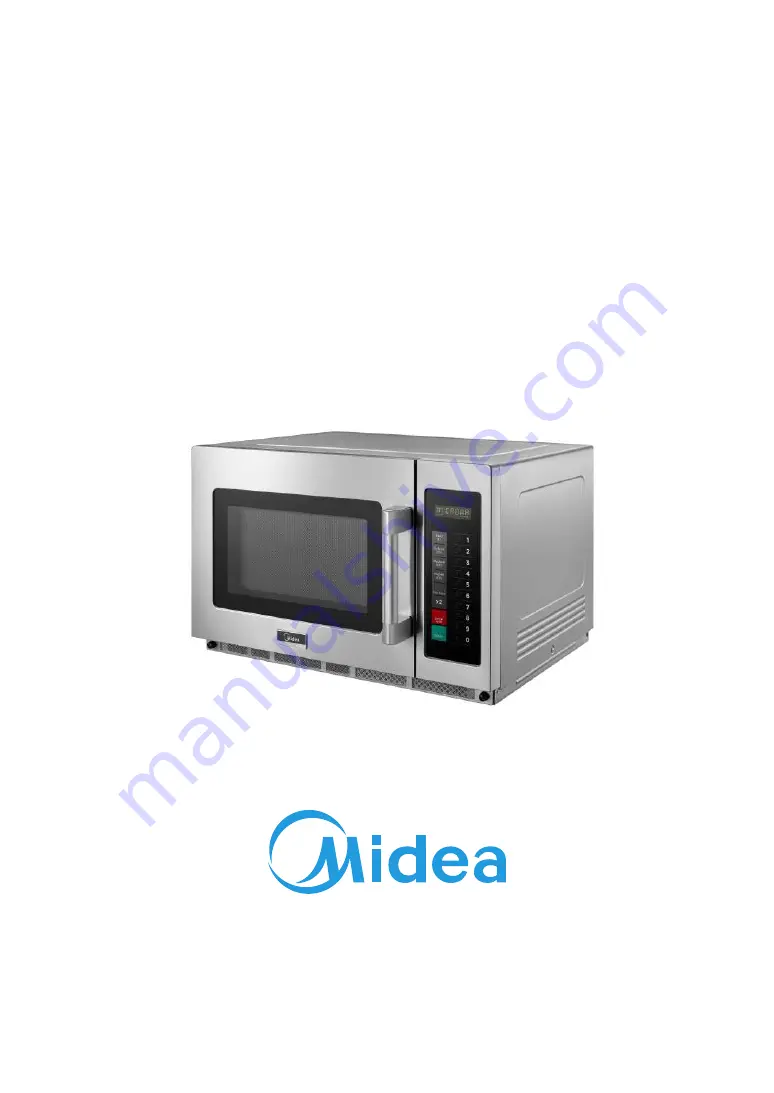
background image

Model: 1834G1F-BS

INSTRUCTION MANUAL

Microwave Oven

SAVE THESE INSTRUCTIONS CAREFULLY

Read these instructions carefully before using your microwave oven, and keep it carefully.
If you follow the instructions, your oven will provide you with many years of good service.

Summary of Contents for 1834G1F-BS

Page 1: ...NUAL Microwave Oven SAVE THESE INSTRUCTIONS CAREFULLY Read these instructions carefully before using your microwave oven and keep it carefully If you follow the instructions your oven will provide you with many years of good service ...

Page 2: ......

Page 3: ...TOP INSTALLATION CLEANING INSTRUCTIONS OPERATION OPERATION INSTRUCTION HOW TO REMOVE AND INSTALL THE FILTER HOW TO REMOVE AND INSTALL THE OIL BLOCKAGE INSTALLATION SUPPLEMENT TROUBLE SHOOTING 3 4 6 8 10 11 12 13 14 24 25 26 27 Model Rated Voltage Rated Input Power Microwave Rated Output Power Microwave Oven Capacity External Dimensions Net Weight 34L 574x528x368mm Approx 32 3kg CONTENTS SPECIFICAT...

Page 4: ...terlocks b Do not place any object between the oven front face and the door or allow soil or cleaner residue to accumulate on sealing surfaces c WARNING If the door or door seals are damaged the oven must not be operated until it has been repaired by a competent person ADDENDUM If the apparatus is not maintained in a good state of cleanliness its surface could be degraded and affect the lifespan o...

Page 5: ...the appliance is switched off before replacing the lamp to avoid the possibility of electric shock 4 WARNING It is hazardous for anyone other than a competent person to carry out any service or repair operation that involves the removal of a cover which gives protection against exposure to microwave energy 5 WARNING Liquids and other foods must not be heated in sealed containers since they are lia...

Page 6: ...ances intended to stand on the floor and which are not at least IPX5 14 Failure to maintain the oven in a clean condition could lead to deterioration of the surface that could adversely affect the life of the appliance and possibly result in a hazardous situation 15 Only use the temperature probe recommended for this oven for ovens provided with a facility to use a temperature sensing probe 16 Rea...

Page 7: ...n outlet that is properly installed and grounded Consult a qualified electrician or serviceman if the grounding instructions are not completely understood or if doubt exists as to whether the appliance is properly grounded If it is necessary to use an extension cord use only a 3 wire extension cord 1 A short power supply cord is provided to reduce the risks resulting from becoming entangled in or ...

Page 8: ...ly 1 Clean the inside of the oven after using with a slightly damp cloth 2 Clean the accessories in the usual way in soapy water 3 The door frame and seal and neighbouring parts must be cleaned carefully with a damp cloth when they are dirty GROUNDING INSTALLATION ...

Page 9: ...icrowave oven or to be avoided in microwave oven There may be certain non metallic utensils that are not safe to use for microwaving If in doubt you can test the utensil in question following the procedure below Utensil Test 1 Fill a microwave safe container with 1 cup of cold water 250ml along with the utensil in question 2 Cook on maximum power for 1 minute 3 Carefully feel the utensil If the em...

Page 10: ...ng warming only Do not leave oven unattended while cooking Paper towels Use to cover food for reheating and absorbing fat Use with supervision for a short term cooking only Parchment paper Use as a cover to prevent splattering or a wrap for steaming Plastic wrap Microwave safe only Use to cover food during cooking to retain moisture Do not allow plastic wrap to touch food Thermometers Microwave sa...

Page 11: ...ies Instruction Manual 1 Note 1 Don t press the ceramic board forcibly 2 Take and put the utensils gently during the operation in order to avoid damage to the ceramic board 3 After using don t touch the ceramic board by hand in order to avoid high temperature scald A Control panel B Observation window C Door assembly D Safety interlock system E Ceramic board C A B D E ...

Page 12: ... the oven as far away from radios and TV as possible Operation of microwave oven may cause interference to your radio or TV reception Plug your oven into a standard outlet Be sure the voltage and the frequency is the same as the voltage and the frequency on the rating label 1 2 3 Warning T he plug socket electric appliances or the appliance which are liable effected by heat and moisture should be ...

Page 13: ... spilled liquids spattered oil and food debris as quickly as possible If the oven is used when dirty efficiency drops and the dirt gets stuck on the oven surface and may cause bad odours Clean the interior with a cloth soaked in luke warm water with a mild detergent dissolved in it then rinse the soap off with a damp cloth 4 Cleaning the oil blockage regularly keep the oil blockage clear Otherwise...

Page 14: ... 6 Number Keyboard 3 Double Quantity Button 1 Power Buttons 13 OPERATION 2 Time Entry Button 4 Stop Reset Button 5 Start Button 1 2 6 3 4 5 ...

Page 15: ... OP 40 OP 41 OP 42 OP 43 OP 50 OP 51 OP 60 OP 61 OP 70 OP 71 OP 80 OP 81 OP 90 OP 91 3 seconds beep Continuous beep 5 quick beeps Repeating Beeper Off Low Medium High Keybeep Off Keybeep On 15 seconds 30 seconds 60 seconds 120 seconds On the Fly Disabled On the Fly Enabled Door reset Disabled Door Reset Enabled 60 Minute Maximum Cook Time 10 Minute Maximum Cook Time Manual Programming Disabled Man...

Page 16: ...ship with the following Preset Cook Times unless otherwise noted in the product Specification Button Display Time Power 1 2 3 4 5 6 7 8 9 0 0 10 0 20 0 30 0 45 1 00 1 30 2 00 2 30 3 00 3 30 100 100 100 100 100 100 100 100 100 100 80 80 80 80 80 80 80 80 80 80 Cook Factors ...

Page 17: ...ctivity 3 Opening and then closing the oven door the oven will exit the idle mode and into ready mode 3 Ready Mode 1 In this mode the oven is ready to either begin a manual or preset cook cycle 2 Opening and closing the door while the oven is in Idle Mode will put the oven into Ready Mode modes 4 Door Open Mode 1 While the door of the oven is open the oven shall be in Door Open Mode 2 During this ...

Page 18: ...The user may manuallly enter a cook time and power level while in this mode 2 While the oven is in the Ready Mode pressing the Time Entry pad on the keyboard will put the oven into Manual Cook Entry Mode 3 During this mode 00 00 displays input the time you need 4 If you press Hold 0 Defrost 20 Medium 50 or Med Hi 70 button to select power level the screen will display the related power If the same...

Page 19: ...eset Program Cook Mode 1 This mode allows cooking of food items through a one pad touch operation While in Ready Mode pressing one of ten digit keys on the keyboard will cause the oven to run the Preset Program associated with that key 2 During this mode the screen displays the remaining cooking time If it is multi stage cooking the total remaning cooking time displays not a particular stage cooki...

Page 20: ...ctor is 80 CF displays If you need to change the cooking factor just press one of the number buttons to set 5 After setting the time and power press the cooking program will be saved When the program saved PROGRAM displays 6 If all the cooking time exceeds the MAX time User Option 7 when press to save the program the buzzer will sound three times briefly to tell you the time is no use And then the...

Page 21: ...reset just repeat the aboved steps 3 If press at the last step it will turn back to Ready Mode The setting will be no use 12 Double Quantity cooking 1 Through the use of the X2 pad the user can easily set the time two of a particalar food item 2 If the X2 button is pressed in ready mode followed by the starting of a Preset Program or if the X2 button is pressed in 5 secondes of starting a Preset P...

Page 22: ...mode press number buttons 3 to set two stages cooking The first stage is PL7 and time is 1 minute 25 seconds The second stage is PL5 and 5 minutes and 40 seconds The steps are follow a Open the door press number button 1 for 5 seconds PROGRAM displays b Press number button 3 the screen will display P 03 After two seconds the screen will display the related time 30 c Press 1 2 5 to input the cookin...

Page 23: ...ter saved OP display again 5 During setting process press to enter Door Open Mode Close the door will enter Ready Mode 6 If button not pressed at the last step the program cannot be saved but stay at previous way 15 Service Mode 1 Open the oven door and press 3 pad for 5 seconds to enter service mode 2 The screen displays SERVICE 3 To check the times of closing or opening the door just press numbe...

Page 24: ... display 11 after three seconds the oven turn to the ready mode Press to cancel the display ang back to ready back in the process of display If not in the factory default setting the screen will display 00 press to the factory default setting the screen will display CLEAR the buzzer sounds once after self testing the screen will display 11 or 00 2 If do not press when the screen display 00 the set...

Page 25: ...24 Turn the metal nail left to loosen s them Take off the filer To restall align the base plate mounting holes clockwise the metal nails to tighten HOW TO REMOVE AND INSTALL THE FILTER ...

Page 26: ...o take the oil blockage after alignment three cylinder of the oil blockage inserting the three holes of the back plate 3 From right to left make the oil blockage loaded When finish check to ensure that the oil blockage buckle completely go 2 The left hand grasp the microwave right thumb to press the arrow directions and forced to push back And the left thumb hard pressed upword at the same time pu...

Page 27: ... device is connected only to a power supply system which fulfills the requirement above If necessary the user can ask the public power supply company for the system impedance at the interface point 2 If there is no equipotential bonding conductor in the electric supply an external equipotential bonding conductor must be installed at the rear of the appliance see symbol This terminal shall be in ef...

Page 28: ...ces like mixer vacuum cleancer and electric fan lt is normal Trouble Possible Cause Remedy 4 Door not closed well Close door well Oven does not heat 2 Fuse blowing or circuit breaker works Replace fuse or reset circuit breaker repaired by professional personnel of our company Test outlet with other electrical appliances 3 Trouble with outlet Oven can not be started 1 Power cord not plugged in tigh...

Reviews: