5
English
Deutsch
Fran
ç
ais
Italiano
Nederlands
Espa
ñ
ol
SCSI Installation on the PC
6. Reading the
documentation
1. Insert the Microtek CD-ROM into your CD-
ROM drive.
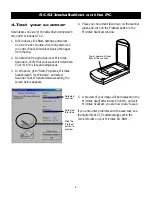
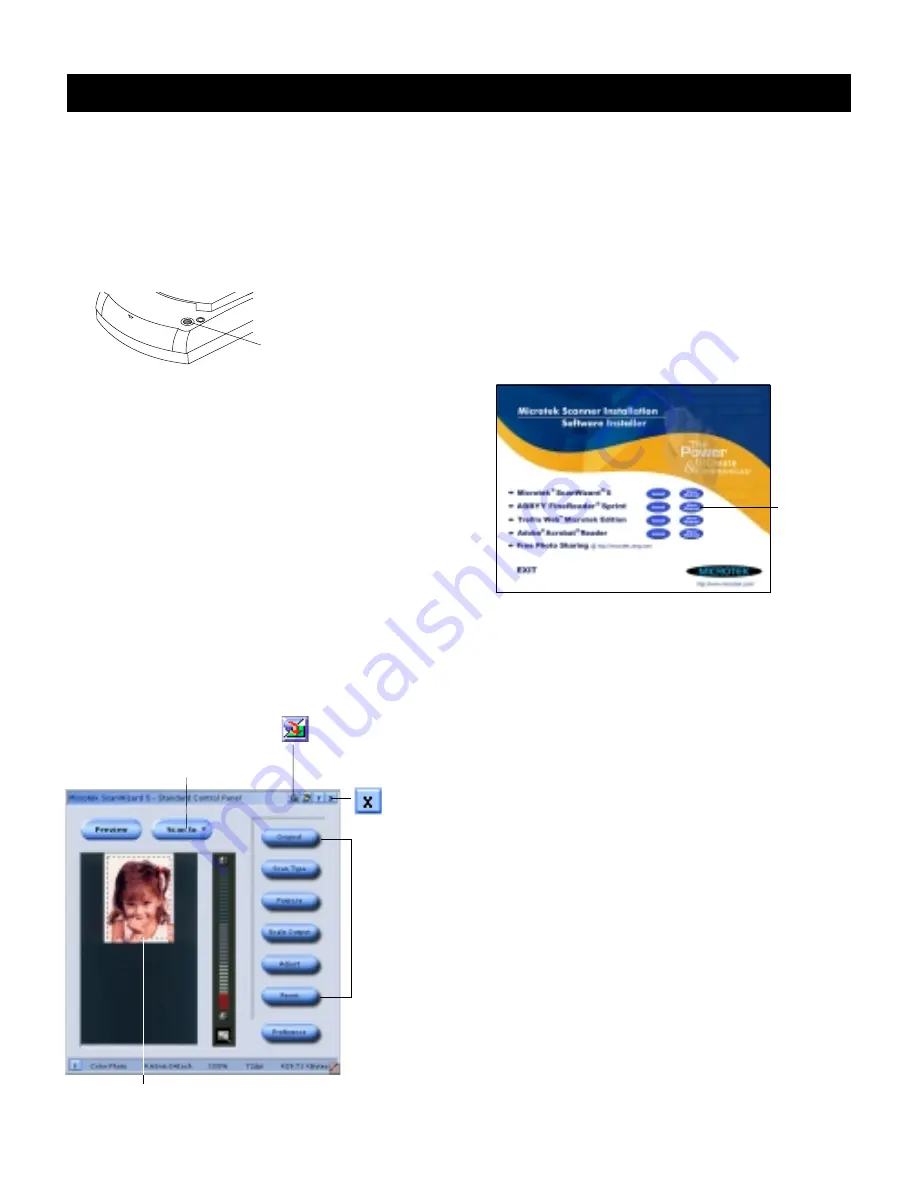
2. When the Microtek Software Installer comes up
on your screen, click the
View Manual
button
that corresponds to the manual you wish to
read. This will launch Adobe Acrobat Reader,
and you can then read or print the manual.
7. Troubleshooting
If you encounter problems with software or
hardware installation, see the digital file
SCSI_Troubleshootingpc.pdf
in the
Techinfo
folder on
your Microtek CD-ROM.
5. Scanning an Image
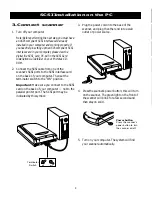
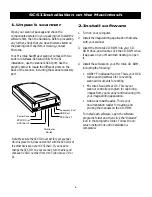
1. Place the image to be scanned on your scanner.
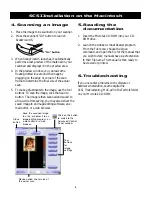
2. Press the scanner’s “Go” button, or double-click
the ScanWizard 5 icon on the desktop to launch
ScanWizard 5.
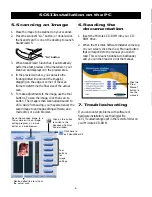
3. When ScanWizard 5 launches, it automatically
performs a fast preview of the material on your
scan bed and displays it in the preview area.
4. In the preview window, you can resize the
floating dotted line around the image by
dragging on the edge or corner of the scan
frame to determine the final size of the actual
scan.
5. To make adjustments to the image, use the tool
buttons. To scan the image, click the
Scan to
button. The image is then scanned and saved to
a file. Aside from saving, you may also deliver the
saved image to an image-editing software, an e-
mail editor, or a web browser.
“Go” button
Save the scanned image to a
file, or deliver it to an image-
editing program, an e-mail
editor, or a web browser.
Resize dotted line for size of
the actual scan
Click on this button
to switch to the
Advanced Control
Panel window
Tool
buttons
for
image
settings
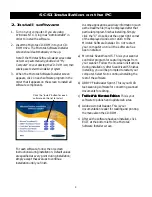
Click here to
exit ScanWizard 5
Click the
“View
Manual”
button to
see the
manuals


