background image

1

Control Functions

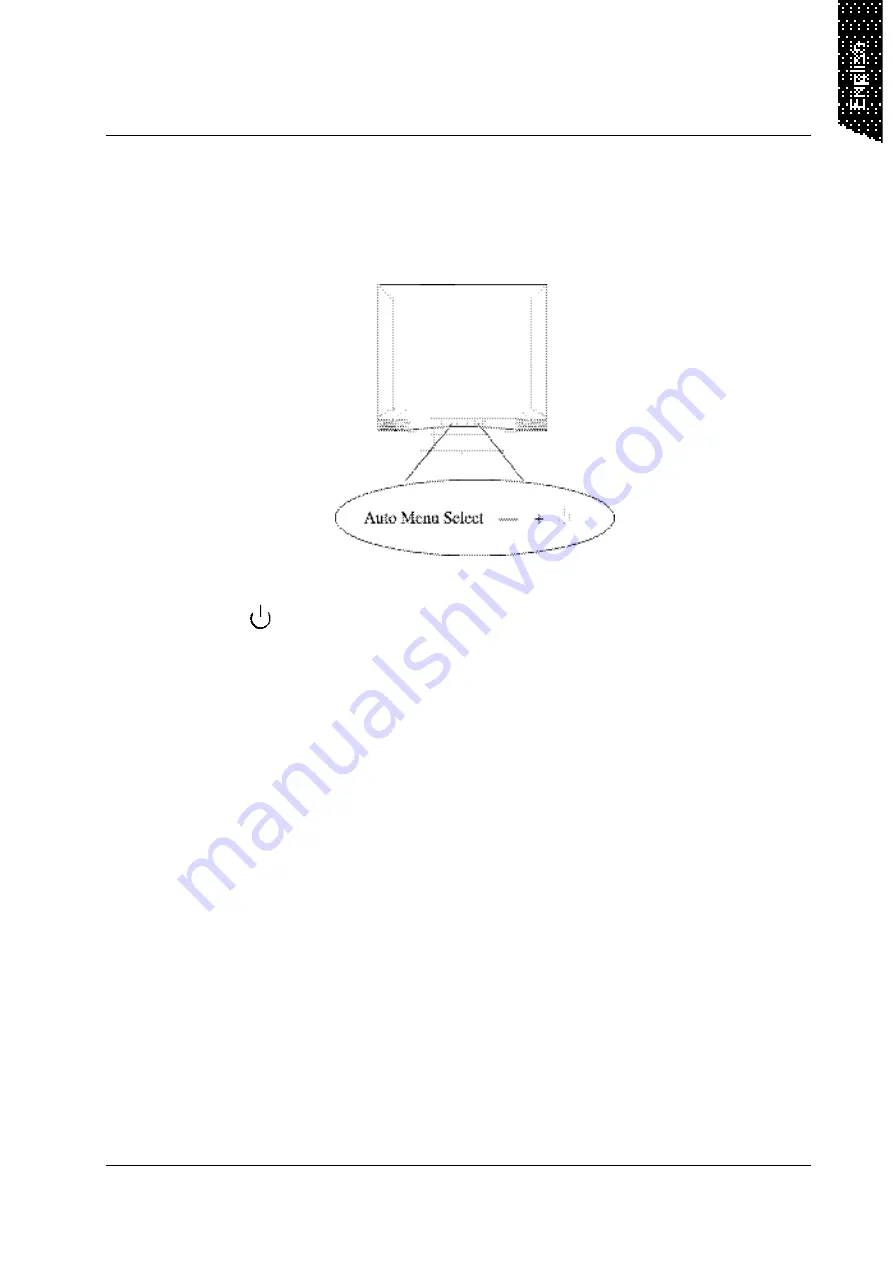
The Monitor control functions are located on the lower center portion of
the front panel. These are shown in the figure below and described in the
following paragraphs.

1.

 : Power switch

Use the power switch to turn power ON or OFF. We recommend
turning your system power on first, then the LCD monitor

2.

- & + : Decrement & Increment

These two keys are used to decrease or increase the values of each
selected item.

3.

Selection: Down key

This key is used to select the wanted adjustment item. It always move
down to the next item.

4.

Menu

Press the Menu key to activate the on-screen display. This is a toggle
key, so press twice to turn off the on-screen display. After 30 seconds
of idle time, the OSD screen will automatically turn off.

5.

Auto adjustment

Press this key to get better visual performance.

All manuals and user guides at all-guides.com

Summary of Contents for C593

Page 1: ...C593 15 LCD MONITOR USER S MANUAL All manuals and user guides at all guides com a l l g u i d e s c o m...

Page 2: ...cable and power cable 3 Plug one end of the 15pin signal cable to the monitor and the other end to the video signal connector at the rear of the system Tighten the two screws on the cable connector o...

Page 3: ...tValueAdjustment 3 Color Balance 3 Geometry Adjustment 4 Vertical Horizontal PositionAdjustment 4 Viewer Screen Size Adjustment 4 Phase Adjustmentt 4 Multilanguage Support 5 DOSTxt GFX 5 ColorTemperat...

Page 4: ...roblem Moreover users are encouraged to correct interference by doing one or more of the following Reorient or relocate the receiving antenna Move the monitor and the receiver further away from each o...

Page 5: ...paired by a qualified technician Do not remove the monitor cabinet There are high voltage parts inside that may cause electric shock to human bodies even when the power cord is disconnected Stop using...

Page 6: ...ets SafetyTips If smoke abnormal noise or odor comes out of your monitor switch off the power immediately and call your service center Never remove the rear cover of your monitor cabinet The display u...

Page 7: ...ment Increment These two keys are used to decrease or increase the values of each selected item 3 Selection Down key This key is used to select the wanted adjustment item It always move down to the ne...

Page 8: ...ns this step will not be included and users will be presumed to have performed the procedure OSD SCREEN 2 Use the selection key to move to the desired item 3 Use the key to carry out the desired funct...

Page 9: ...trast optimization You can adjust R G B simultaneously or adjust each Red Green and Blue channel separately You can also use this field to change purity of the RGB levels Color Balance Use the selecti...

Page 10: ...left or right to the center position 2 Use the selection key to move to the icon then press to move the whole screen down or up to the center position Viewing Screen Size Adjustment Use the selection...

Page 11: ...lor Temperature field then press to select the color temperature setting Brightness Adjustment Use the selection key to select the Brightness field then press to change the brightness value Understand...

Page 12: ...CR 10 Horizontal 120 Typ Vertical 100 Typ Control Type OSD Plug Play VESA DDC1 2B Audio Not available Dimension mm Panel H x W 304 128 x 228 96 mm Please include inches for U S Overall H x W x D 357 5...

Page 13: ...5KHz 840 800 x 600 56 3Hz 35 16KHz 1024 800 x 600 60 3Hz 37 88Khz 1056 800 x 600 72 2Hz 48 08KHz 1040 800 x 600 75Hz 46 87KHz 1056 1024 x 768 60Hz 48 36KHz 1344 1024 x 768 70Hz 56 47KHz 1328 1024x768...

Reviews: