Step 6 — Connect to EZ Trax
Once you have selected your communications protocol and set connection parameters, click the
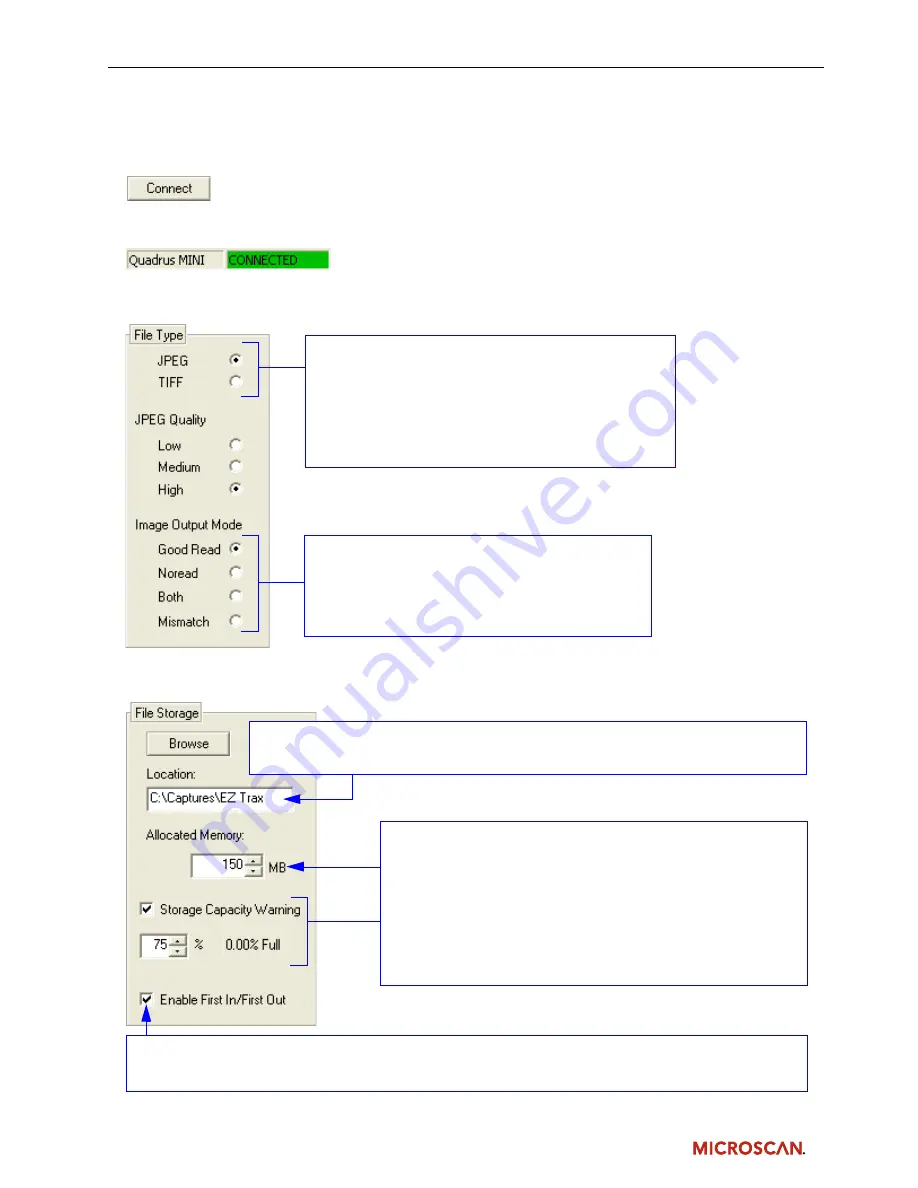
Connect
button at the bottom of the Communications dialog.
After you achieve a successful connection, you will see the green
CONNECTED
indicator on the EZ Trax
status bar at the bottom right of the screen.
Step 7 — Select File Type and Image Output Mode
Step 8 — Set File Storage Parameters
Choose between higher-resolution (TIFF or BMP) or
lower-resolution (JPEG) image files. If your image output
is in JPEG format, you have the additional options of
Low, Medium, or High resolution.
Note:
If you are connected to EZ Trax with a Quadrus EZ
reader or Quadrus Verifier, the higher-resolution file format
is BMP instead of TIFF.
You can set EZ Trax to output image captures in your
chosen file type in response to various read cycle
results: Good Read, Noread, Both Good Read and
Noread, or Mismatch (when a decoded symbol
doesn’t match a predetermined master symbol).
Before you begin capturing and storing images, select a location on your host computer
or network where EZ Trax
can store the image captures.
Use the arrows next to the
Allocated Memory
field to determine
the total storage capacity that EZ Trax
will be able to use for
captured images.
If you enable the
Storage Capacity Warning
option, you can
choose the specific percentage of allocated memory that will be
filled before EZ Trax sends you a warning message. This example
shows a condition in which EZ Trax will send a warning when the
storage location has reached
75%
of its predetermined
150 MB
memory
capacity.
If you enable
First In/First Out
, EZ Trax will begin overwriting the image storage location when it becomes
full, starting with the first image that was captured.


