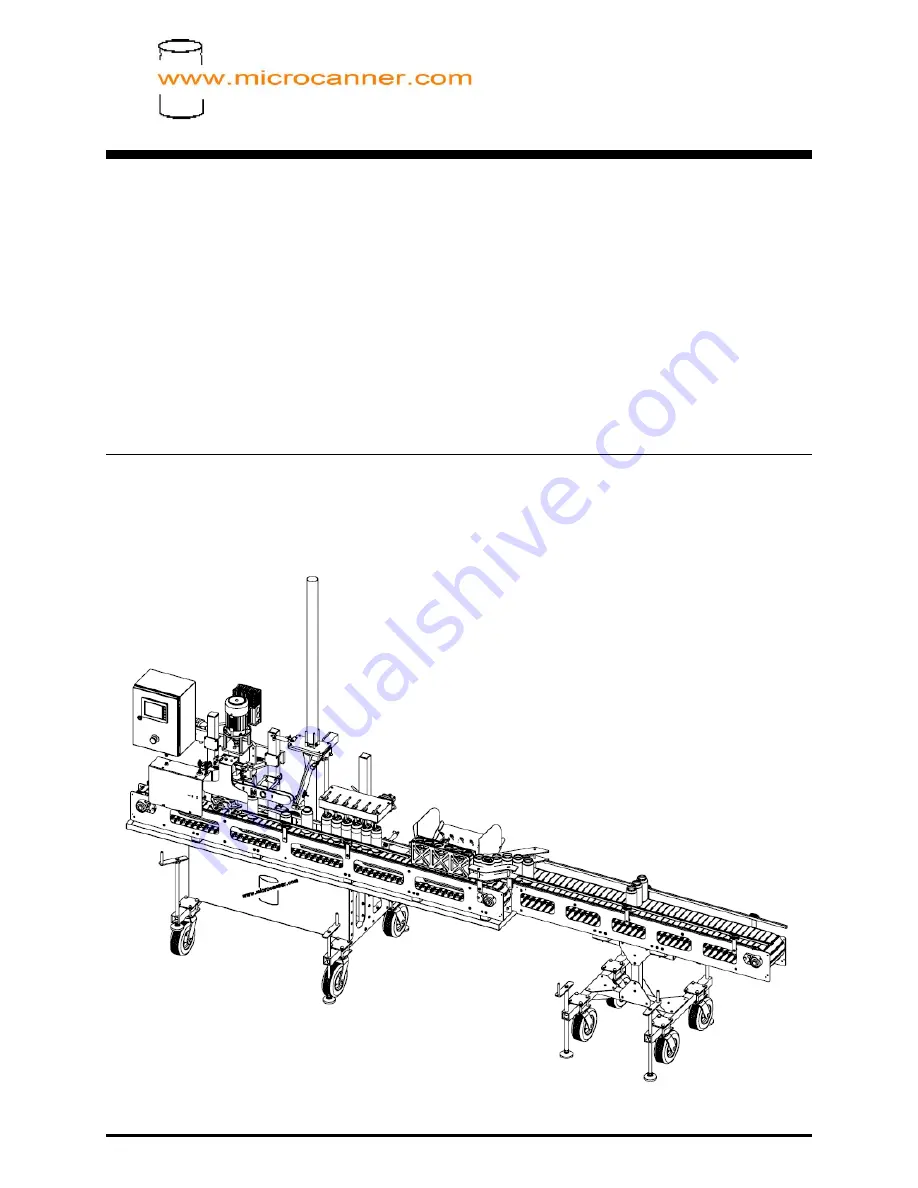
microcanner MC202
OPERATING INSTRUCTION MANUAL
Version 1.0
Date 9/22/16
Page 1: ...microcanner MC202 OPERATING INSTRUCTION MANUAL Version 1 0 Date 9 22 16...
Page 2: ...hazards Loose clothing hair and jewelry should be avoided at all costs Never place hands near or inside of a moving conveyor NEVER permit children or un trained operators anywhere near an operating m...
Page 3: ...INFORMATION 12 5 3 HOW TO ADJUST SEAM FOR TOOLING 12 5 4 HOW TO TEST AND MEASURE SEAMS 15 6 CHANGE OVER PROCEDURE 17 6 1 ADJUSTING THE FILLER 17 6 2 ADJUSTING THE CAP FEEDER 18 6 3 ADJUSTING THE CAP...
Page 4: ...microcanner MC202 MC202 OIM V1 0 Page 4 of 30 7 4 F3 FILL STATION SETUP 27 7 5 F4 TOP OFF MODE 28 7 6 F5 SEAM SETUP CONTROLS 28 8 TIPS FOR A SUCCESSFUL RUN 30...
Page 5: ...ype of GFCI commonly purchased in a big box store will not work A licensed electrician with experience in motor control should to be contracted to perform the work Clean dry air supply to the machine...
Page 6: ...d take good care of it Prior to each use all screws and sensors should be checked for tightness During each use seams should be checked at least every 200 cans to assure that bad cans are not being ma...
Page 7: ...ease contact ONLY ABOUT A 16TH OF A PUMP PER 100 CASES Grease Gate cylinders and all three rods on the filler head H slide after each use Prior to running the machine check to see if any water has acc...
Page 8: ...water The separator is designed to auto drain when air is powered down 4 START UP PROCEDURE 1 Put machine into desired location 2 With a bubble level on the bed of the conveyor raise the machine by lo...
Page 9: ...need to line up the flats on either shaft to be able to fit through the bearing block d Start by raising the left hand side of the conveyor with the height adjusting foot pads until the drive shafts a...
Page 10: ...above This will ensure that the screws do not rub on the conveyor belting h Verify that all screws and nuts are in place and tightened 4 Verify that the machine is setup to run desired cans 12 or 16 o...
Page 11: ...letely through the fill lines a During this process leave 6 cans under the filling station so they will fill with sanitizer b Make sure sanitizer has fully made it through the system c Using the fill...
Page 12: ...center chuck is what the can is pressed into and holds the can in place for seaming 2 The 1st operation form tool is to the right of the chuck and starts the seam by curling the end around the lip of...
Page 13: ...ulder of the chuck and the shoulder of either form tool 5 To adjust the height on either form tool you first need to loosen the 2 jam nuts then the two set screws that lock the threads of the form too...
Page 14: ...op form tool you will need to first loosen the jam nut on the cylinder rod on the rear of the cylinder Then put a wrench on the rod of the cylinder and turn the wrench clockwise to increase depth and...
Page 15: ...EAMS 1 Prior to make sure to complete the steps in section 5 3 to roughly position the seam tooling to avoid damage to the tooling 2 Start with the machine on and in manual mode reference 7 2 for manu...
Page 16: ...ust the 1st op form tooling until within spec 14 Repeat steps 3 12 until you have a seam that is within spec 15 After your first seam is set and in tolerance repeat steps 3 8 and proceed as follows 16...
Page 17: ...station screen on your HMI panel and lower the filling station so that the fill tubes and float switches are inside the cans 3 Loosen the set screw shown red below on each collar Move the collar up o...
Page 18: ...loosened to set the height for 12 or 16 oz Cans 2 Make sure that there are caps in the feed track to assist with setting height 3 Use an unseamed can without an end on the conveyor and raise or lower...
Page 19: ...need to be loosened to set the height for 12 or 16 oz Cans 2 Use a can with an end in place 3 Raise or lower the cap hold down bar until the can slides under the bar The can end should only touch the...
Page 20: ...ensor This is the sensor directly above the next can waiting to go into the seam station 6 With a can and end directly under the cap in place sensor press and hold the teach button until it turns soli...
Page 21: ...ened to set the height for 12 or 16oz Cans 2 The pictures show the machine setup to run 16oz cans 3 From 12oz to 16oz cans remove the 4 bolts shown green o Lower the lower assembly and use the lower s...
Page 22: ...se or lower the transfer star to line up with the rear guide rails 3 Retighten the 2 bolts on the shaft coupler and the set screw holding the key 6 6 ADJUSTING THE SEAM STATION 1 Grab a friend to help...
Page 23: ...microcanner MC202 MC202 OIM V1 0 Page 23 of 30...
Page 24: ...ushing the corresponding button on the right Most menu screens have buttons on the touch screen that perform certain tasks that will be described in the sections below Below the touch panel you will s...
Page 25: ...Pause II This button pauses the entire machine It can be used as a brief stop of the machine It should not be used to do machine maintenance Always press the e stop button prior to doing any maintena...
Page 26: ...age cycle time seconds your machine is running at or the time per can once the machine is fully loaded 8 Life Counter This counter displays the total amount of cans the machine has run It is an ongoin...
Page 27: ...to adjust the filler There are only two buttons on the fill station setup screen 1 Fill Valves on off Turns the fill valves on or off 2 Fill Lifter Raises or lowers the fill station There are 6 icons...
Page 28: ...an additional 1 8 of a second The number displayed is in milliseconds where 1000 1 second 7 6 F5 SEAM SETUP CONTROLS This screen is a simple way to be able to run a single can through the seaming sta...
Page 29: ...oling in position 5 Opp 2 Extends the 2nd operation tooling This button needs to be held to keep the form tooling in position 8 TIPS FOR A SUCCESFUL RUN When canning you want the temperature of your p...
Page 30: ...nd filled a can by putting a temperature probe in a can If you are having trouble keeping your temperature low make sure that all of your supply lines to the machine are insulated Leaving supply lines...