3
Set the Alarm
1.
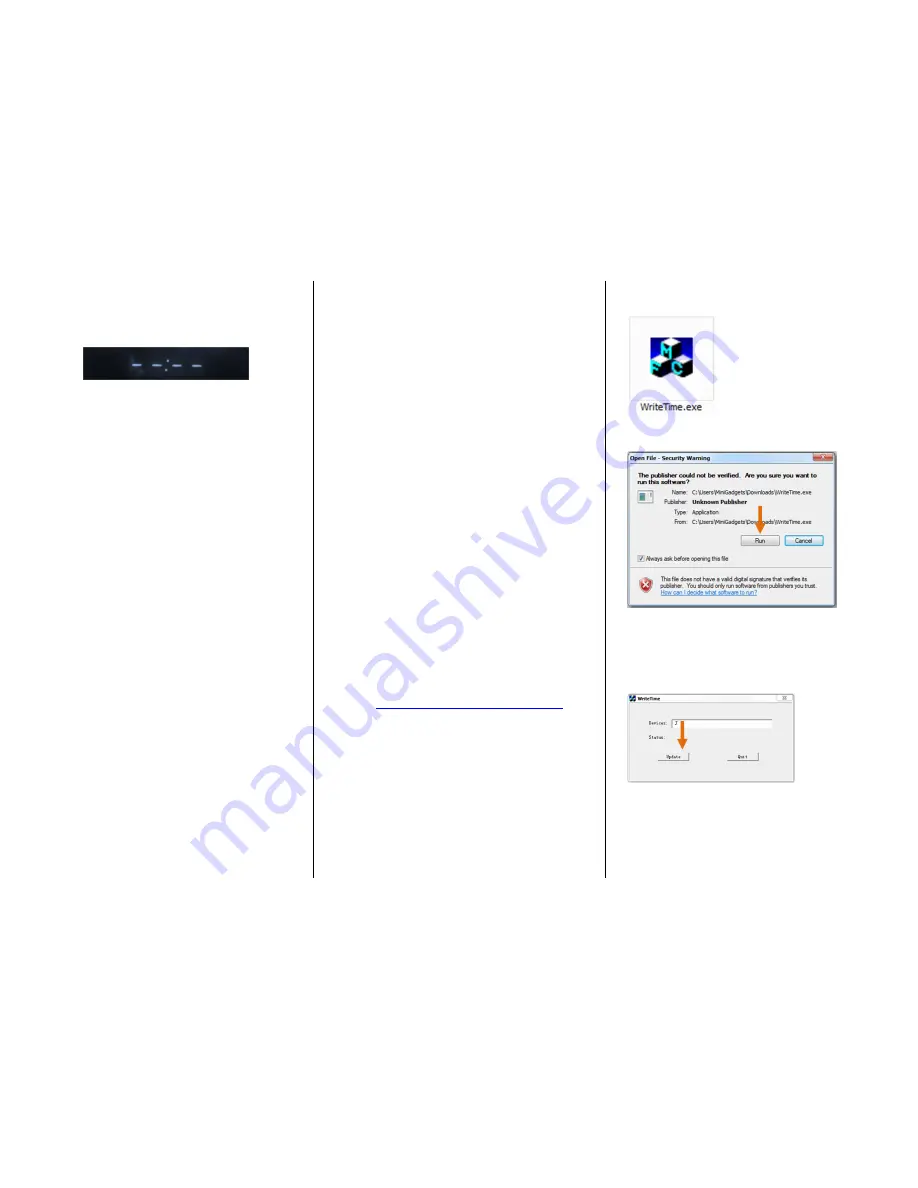
Push the MODE button on the back
of the device. The LED display
should read like the following:
2.
Push the SET button on the back of
the device. The hour should be
blinking.
3.
Push the UP or DOWN button to set
the hour for which you want the
alarm to sound.
4.
Push the SET button again. The
minutes should be blinking.
5.
Push the UP or DOWN button to set
the minute for which you want the
alarm to sound.
6.
Push the SET button again. The LED
display should read with a “01.”
•
This is the snooze.
•
Snooze can last from
1 – 60 minutes.
7.
Push the UP or DOWN button to set
the snooze time.
8.
Push the SET button again. The LED
display should read with a “1.”
•
This is the alarm ring.
•
There are 6 rings from which
to choose
•
Rings 1 – 5 are nature sounds
•
Ring 6 is a repetitive buzz.
Push the MODE button on the back of the
device to exit the alarm.
NOTICE: You have only
set
the alarm with
these steps
Turn On the Alarm
1.
Push the MODE button on the back
of the device.
2.
Push the UP button on the back of
the device.
•
If the LED screen reads - - : - -
then the alarm is off
•
If the LED screen reads the
time for which you set the
alarm, the alarm is on
3.
Push the MODE button to exit the
alarm.
4.
To stop the alarm after it sounds,
press the button on top of the
device.
HOW TO RESET THE TIME AND DATE
STAMP (Windows Only)
1.
Connect the device to your PC using
the USB Cable
2.
Go to
http://www.mgidownloads.com/
3.
Click on "WriteTime.exe"
4.
Click on "camstickma.exe"
IMPORTANT NOTICE: You might
receive a warning that this program
contains a virus. Disregard this
warning. The program is safe to use.
5.
Go to Start > Computer > Downloads
> Open WriteTime.exe
6.
Click "Run"
7.
The program will automatically
detect the device.
8.
Click "Update"


