Ripstation Pro Main User Guide
100-5-01-000
Ripstation Pro – User Manual
Page
17
of
43
4.3.1 Button and Screen Operations
4.3.1.1 Group 1: Button Controls
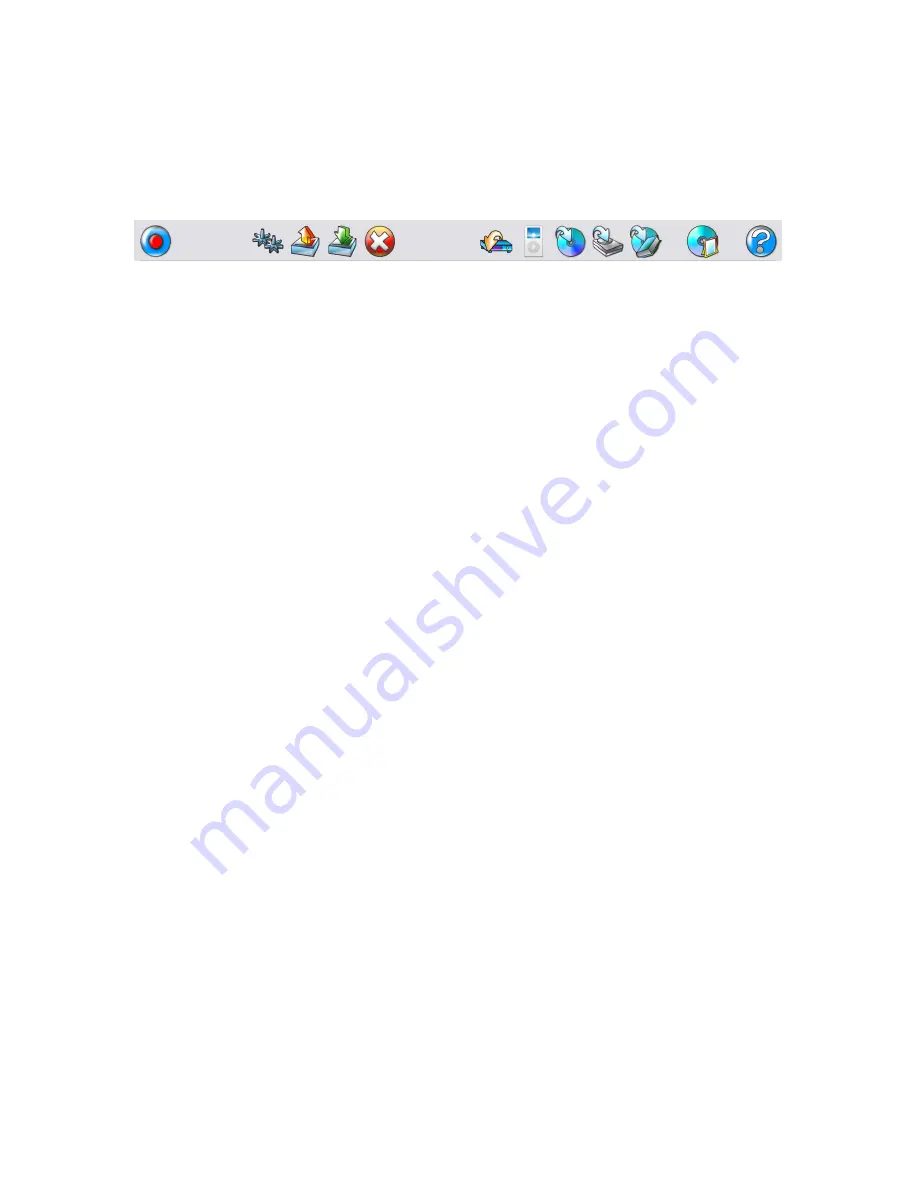
Figure 4.2 below shows a closer version of the button controls in the main user
interface. They are labelled 1 –11 and are explained below.
1
2
3 4 5
6 7 8 9 10 11 12
Figure 4.2 – Ripstation Button Controls
Button 1: New Batch / Cancel Batch
Opens the New Batch dialog. If a batch is currently running, this button will change to
the Cancel Batch button as shown in figure 4.1 and will cancel the batch if pressed.
Button 2: Preferences
Opens the preferences dialog.
Button 3: Load
Opens a browser dialog to load previously saved batch settings (.rsf file). Settings file
contains Client Name, folder masks and configurations of all codecs, codec selection
Button 4: Save
Opens a browser dialog to save the current batch settings into a .rsf file.
Button 5: Delete Client Files
Deletes the last client folder that was ripped. Will display a confirmation dialog showing
the name of the folder about to be deleted.
NOTE: If no client folder loaded – deletes
all files ripped from the top level folder down.
Button 6: Server Loading Module
Opens the MF Digital 'Audioload' module for server loading– please refer to this
product's user manual.
Button 7: Podload Module
Opens iTunes for add to library function and iPod loading
Button 8: Audioburn Module
Opens the MF Digital Audioburn module for robotic DVD backup of client audio. Please
refer to this product's user manual.
Button 9: Send to Disk
Opens the MF Digital 'Send to HD' module for loading client audio to removable storage.
Please refer to this product's user manual.
Button 10: AudioFile
Opens the optional MF Digital 'AudioFile' module HTML/PDF batch cataloguing. Please
refer to this product's user manual.
Button 12: Help
Opens the Ripstation v4.2 help dialog.
4.3.1.2 Group 2: CD-Rom Drive Display Bar


