Ripstation Pro Quick Start Guide
100-5-01-000
Ripstation Pro – User Manual
Page
13
of
43
Figure 3.1 – MFD2/4 Properties Dialog
You then select which drives are left of the robotic arm, and which are right of it.
You can also enable shake mode
1
5.
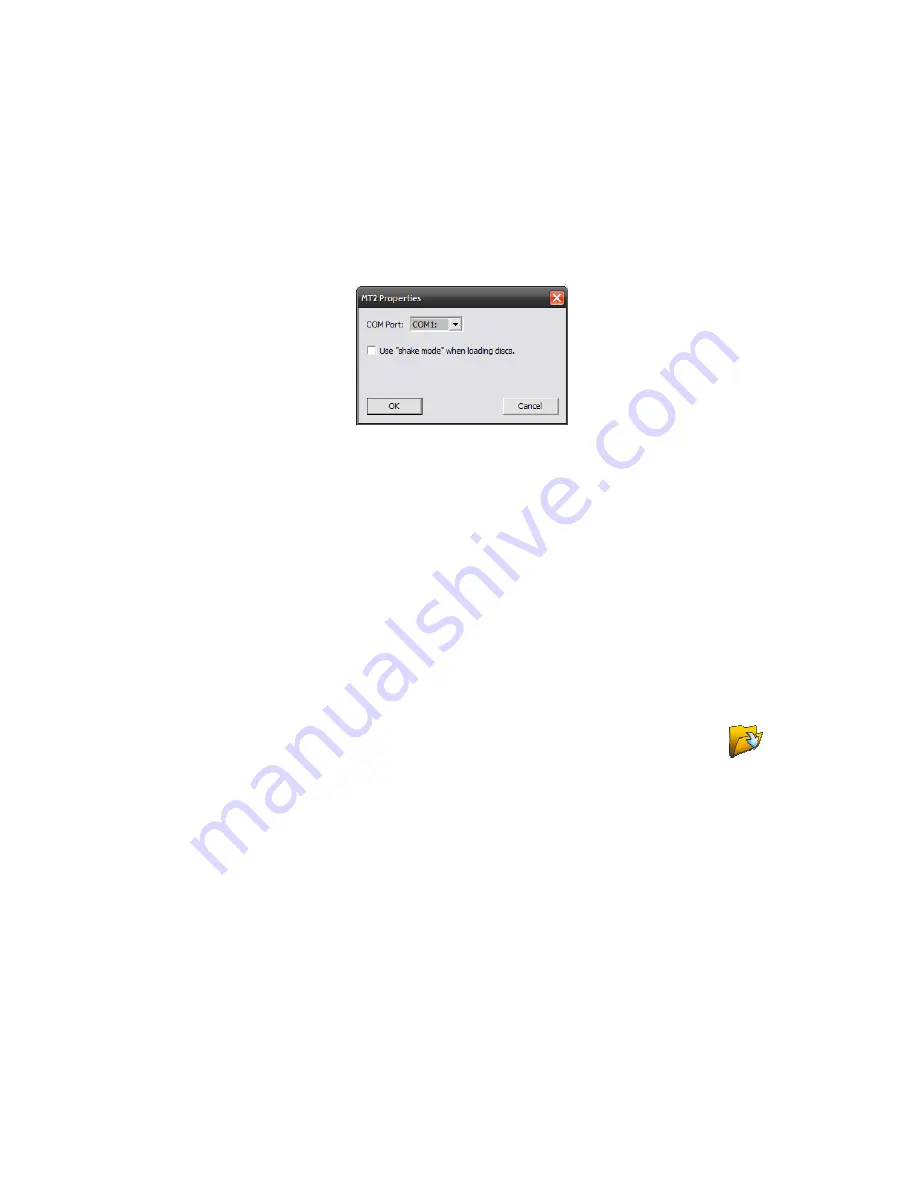
If using a legacy MT2/4 device, select it from the dropdown box, then click edit.
You have the option to choose the COM port that the robotic autoloader is
connected to, and to use shake mode
1
.
Figure 3.2 – MT2/4 Properties Dialog
1
Shake mode was introduced to address sticking discs being double loaded into drive
tray. It is not supported by the MT1 robotic loader.
6. Enter your name, 'testrip' or 'myfirstrip' into the Client Name box. A folder of the
same name will be created. This is where the audio files will be saved.
7. In the output formats section, highlight the MP3 codec and tick the ‘Use’ box on the
left.
8. Stack some CDs onto any input spindle and click ‘Start Batch’ to commence the first
batch rip!
NOTE: Ripping will continue until all CDs are ripped. Click the ‘Open Client
Folder’ button to view the digitally encoded audio files.


