Prepare the product for use
16
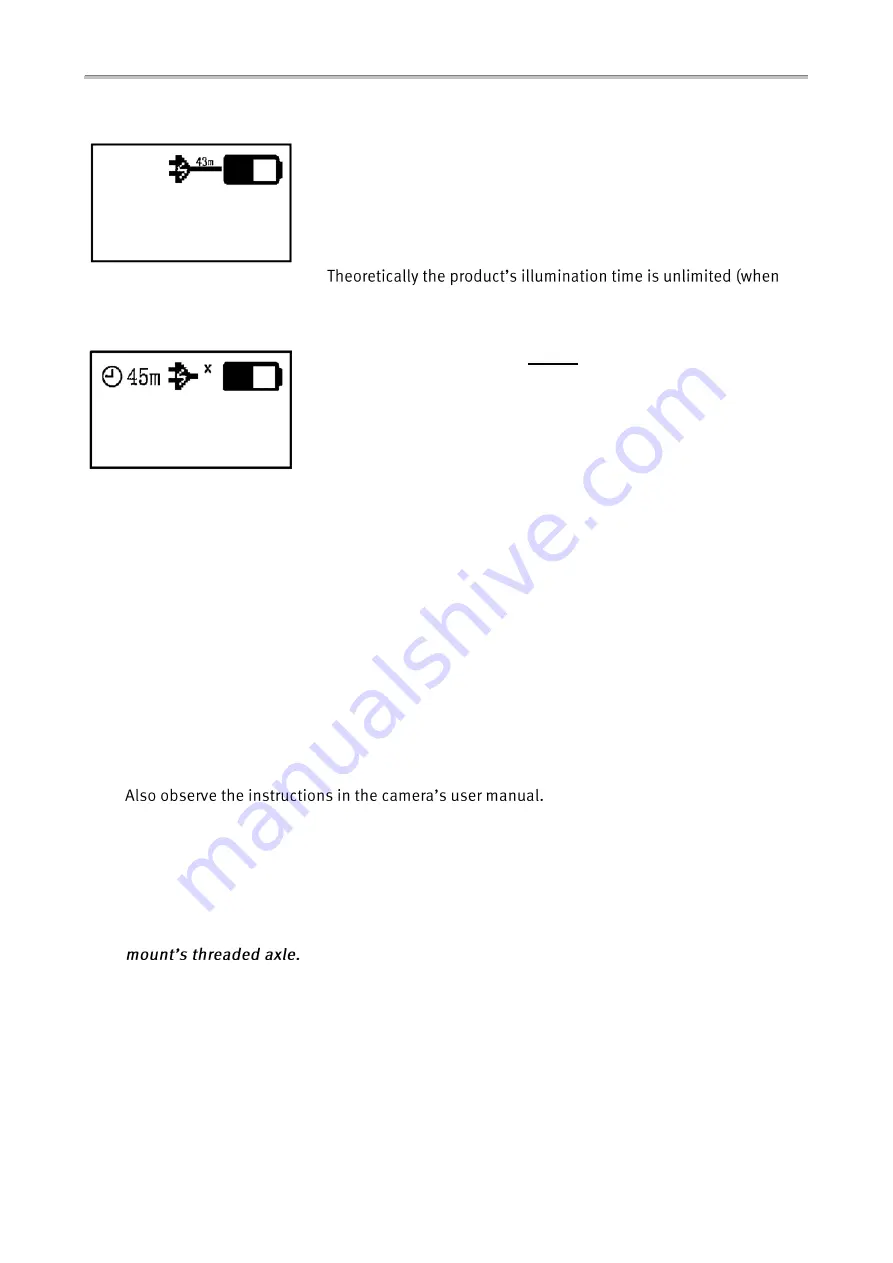
If the external power supply can supply the power required for the
operation of the product, then the approximate remaining
charging time for the battery is displayed on the OLED display
between the plug symbol and the battery symbol in hours h
respectively minutes m.
being operated from a USB power supply) respectively depends
the capacity of the powerbank connected.
If the external power supply cannot supply the power required for
the operation of the product, then an X is displayed on the OLED
display between the plug symbol and the battery charge status
symbol for the battery.
The approximate remaining illumination time, with the battery
charge, is displayed between the clock symbol and the plug
symbol.
If this is the case, use another high quality micro-USB cable, respectively a USB power
supply that can supply the required maximum power of 5 V / 2.1 A.
Mounting the product
Attach the product to the camera and adjust as required
You can attach the video light to the camera's hot shoe using the accessories included respectively
the device mount. For this a thread is fitted to the bottom of the video light housing.
Mounting the device holder
Mounting bracket consists of a mounting plate with threaded axle and 2 knurled nuts.
Before fitting to the video light, the two knurled nuts must be screwed onto the device
See illustration of page 9 / position No. 5
First screw the device holder into the stand thread on the light and then clamp with the upper
knurled nut.
Then push the light with the mounting plate into the accessory shoe of the camcorder or
camera.
Then clamp the device holder into the accessory shoe.


