Mettler Electronics Corp. — Rev.G_06/28/12
20
4.1 General Operating Instructions:
Before you start:
a)
Review precautions and contraindications in Section 5.
b)
Verify connection of the line cord to a grounded wall receptacle and the Sonicator 740 or
that the battery is charged.
c)
Check the universal applicator cable connections to the Sonicator 740 and to
the applicator of choice to assure secure connection.
d)
Note: Descriptions of the symbols used on controls are in Section 2.
1.
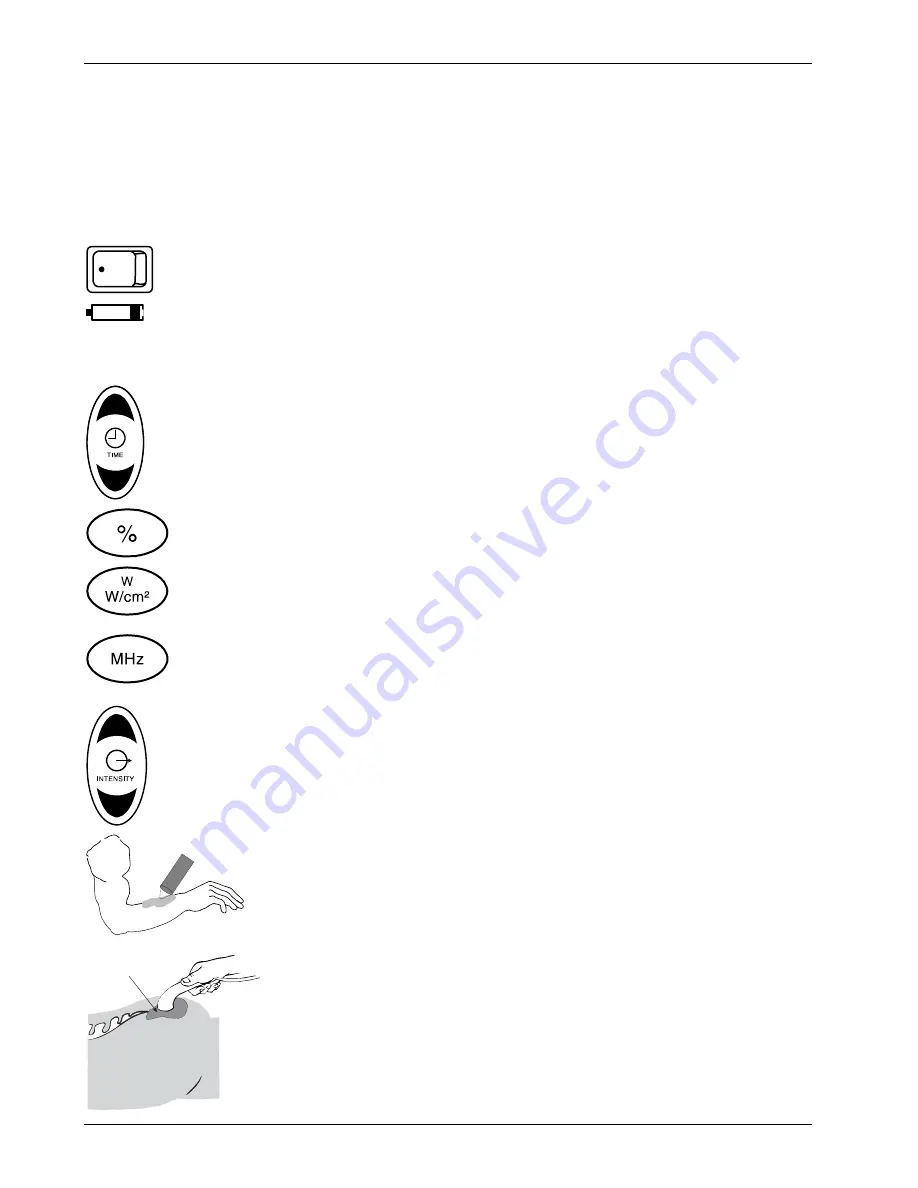
Turn on the mains power switch by pressing the dot on the switch.
2.
When the battery symbol shows one bar remaining and the battery outline
begins to flash, plug in the wall and leave the unit on to recharge the
battery. There may not be enough power remaining to complete your
treatment. Please note: you can use the Sonicator 740 while it is recharging.
3.
Select the desired treatment time by pressing the up arrow on the time
control. Only whole minutes can be selected. Treatment times up to 30
minutes may be set. Time is displayed on the LCD.
You can also start a
treatment without inputting time. The time will count up and output will stop
after 30 minutes.
4.
Select either continuous or pulsed ultrasound by pressing the
%
key. The
LED indicator on the key will illuminate when a selection is made
.
5.
Select either watts (W) or watts per square centimeter
(W/cm²)
using the
W W/cm²
key. The LCD display will show the units of measure that
have been selected.
6.
Select either 1 or 3 MHz using the
MHz
key when you are using the 5 cm²
applicator
.
The 10 cm² applicator is fixed at 1 MHz and the 1 cm² applicator
is fixed at 3 MHz.
7.
Adjust the ultrasound power to the desired intensity using the intensity
Up/Down arrows. Pressing the up or down arrow momentarily will
increase or decrease the ultrasound power in 0.1 W or W/cm² increments.
Holding an arrow down will rapidly raise or lower the ultrasound power.
You may also complete this step after you have started the treatment.
8.
Apply a layer of ultrasound couplant gel to the treatment area.
Ultrasound
Couplant
9.
Couple the applicator to the treatment area by keeping the entire surface of
the applicator in contact with the gel that has been applied to the patient.
This will ensure an efficient delivery of therapeutic ultrasound to the
patient.


