Page 12
MERIDA USERS MANUAL
6. Turn the cable fixing bolt assembly so the flats on the
cable-fixing bolt align with the flats on the shift arm link-
age, and press the cable fixing bolt assembly up into
the linkage. (figure 8D)
7. Be sure the shift cable is properly routed through the
shift arm guides, (figure 8B) and release the shift arm.
8. Pull the rear wheel rearward so the axle slides into the
rear dropouts. Each retainer washer (figure 7C) must sit
between the axle nut and frame, and the tab on each
washer must engage the inside of its dropout (figure
6C). The black washer goes on the right (drive side) and
the gray washer (figure 6C) goes on the left (non- drive)
side of the frame.
9. Replace the silver washer (figure 7B) on the drive side.
10. Replace the two-axel nuts (figure 7A) and rotate several
turns by hand.
11. Pull the wheel rearward until the chain is taut. Center
the wheel between the two stays. Use a 15mm wrench
to tighten each axle nut to 350-500 kg-cm (25-36 ft.-
lb.). Alternate between left and right side as you tighten
the nuts to assure proper alignment.
12. Press the shift cable (figure 6B) into its retainer on the
right chain stay.
13. Attach the rear brake arm and replace the retainer arm
screw and nut (figure 6A). Tighten the screw with a #2
Phillips screwdriver while holding the nut with a 8mm
box wrench.
14. Spin the wheel. Be sure the wheel is centered in the
frame and that it clears the stay.
15. Test the function of the rear brake and gear shifter be-
fore riding the bike.
How brakes work
It’s important to your safety that you instinctively know
which brake lever controls, which brake. On your
PowerCycle™ the left brake lever controls the front brake.
The right brake lever controls the rear brake.
The braking action of a PowerCycle™ is a function in the
rear of the rollers on the disc or in the front of the brake
pads and the wheel rim. To make sure that you have maxi-
mum friction available: In the front you must keep your
wheel rim and brake pads clean and free of lubricants,
waxes or polishes. In the rear you must keep your brake
properly lubricated. See your MERIDA Dealer for more in-
formation on rear brake lubrication.
Make sure that your hands can reach and squeeze the brake
levers comfortably. If your hands are too small to operate
the levers comfortably, consult your dealer before riding
the PowerCycle™. The lever reach is adjustable (see section
on brake lever reach adjustment).
Brakes are designed to control your speed, not just to stop
the PowerCycle™. Maximum braking force for each wheel
occurs at the point just before the wheel locks up (stops
rotating) and starts to skid. Once the tire skids, you actually
lose most of your stopping force and all steering control.
You need to practice slowing and stopping smoothly with-
out locking up a wheel. The technique is called progressive
brake modulation. Instead of jerking the brake lever to the
position where you think you will generate appropriate
braking force, squeeze the lever, progressively increasing
the braking force. If you feel the wheel begin to lock up,
release pressure just a little to keep the wheel rotating just
short of lockup. It is important to develop a feel for the
amount of brake lever pressure required for each wheel at
different speeds and on different surfaces. To better under-
stand this, experiment a little by walking your PowerCycle™
and applying different amounts of pressure to each brake
lever until the wheel locks.
When you apply one or both brakes, the PowerCycle™
begins to slow, but your body wants to continue at the
speed at which it was going. This causes a transfer of
weight to the front wheel (or, under heavy braking,
around the front wheel hub, which could send you fly-
ing over the handlebars).
A wheel with more weight on it will accept greater brake
pressure before lockup; a wheel with less weight will lock
up with less brake pressure. So, as you apply brakes and
your weight shifts forward, you need to shift your body to-
ward the rear of the PowerCycle™, to transfer weight back
onto the rear wheel. At the same time, you need to both
5e. BRAKES
For most effective brak-
ing, use both brakes and
apply them simulta-
neously.
WARNING: Sudden or
excessive application of
the front brake may
pitch the rider over the
handle-bars, causing
serious injury or death.
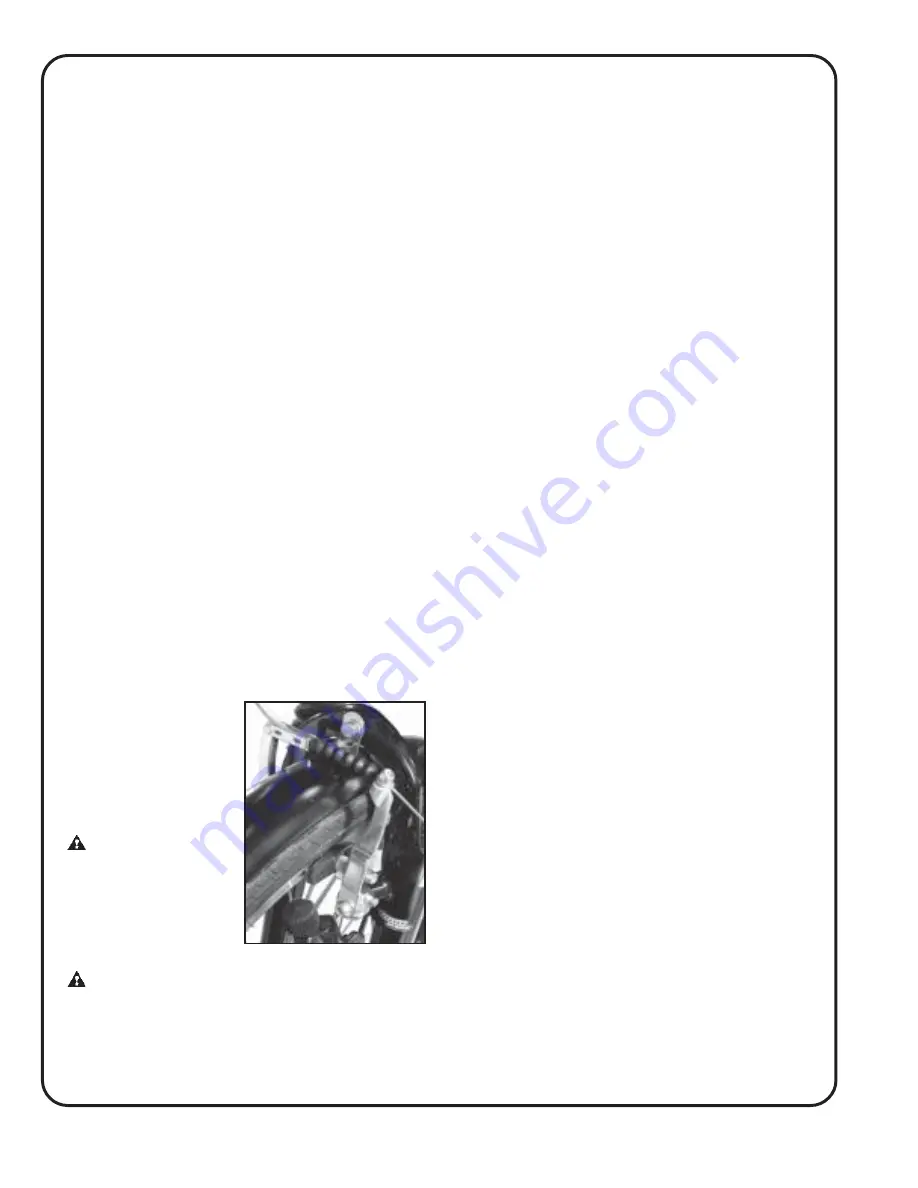
CAUTION: PowerCycle™ brakes, such as direct pull
brakes(figure 10) and roller brakes(figure 11), are
extremely powerful. You should take extra care in
becoming familiar with these brakes and exercise
particular care when using them.
Figure 10
Summary of Contents for PowerCycle
Page 1: ......


