


© 2000 Merging Technologies
DUA II User Manual
3
•
WCLK
: DUA II synchronizes to a Word-Clock signal (TTL or CMOS level square wave at the sample rate
selected on the front panel). If no valid sync signal is present at the Word-Clock input (when the WCLK mode is
selected), the WCLK LED will light on RED. Once a valid sync signal has been detected, the WCLK LED will
light on GREEN. If the sample rate of the DUA II and the Word-Clock signal are identical, the selected sample
rate LED will light on GREEN. The DUA II is now locked and synchronized to the incoming Word-Clock
signal.
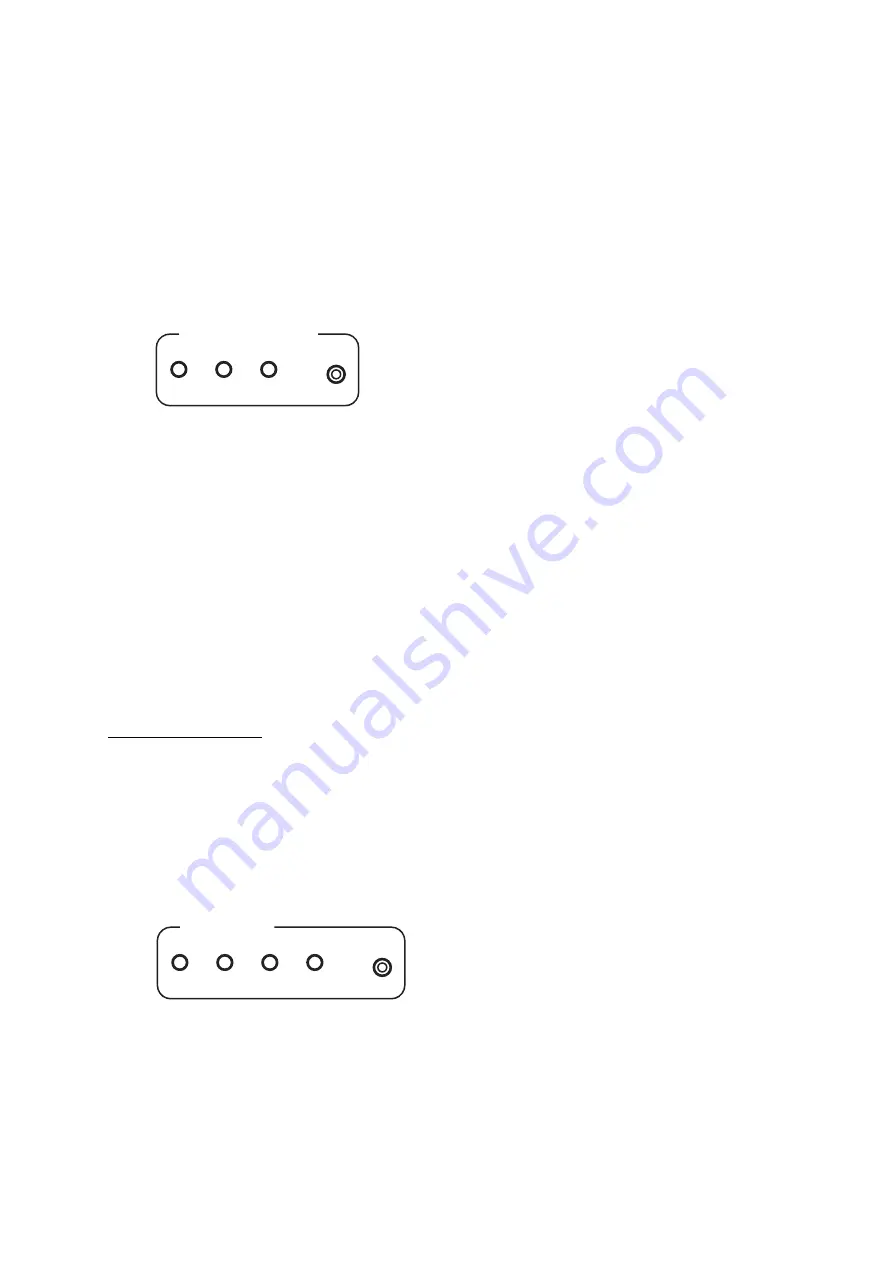
Sample Rate Selector
SAMPLE RATE
32
44.1
48
DUA II supports 3 sample rates: 32 KHz , 44.1 KHz and 48 KHz.
The desired sample rate is selected by pressing the
SAMPLE RATE
button.
The sample rate is displayed in GREEN if DUA II is in internal or locked on the selected synchronization source.
The sample rate is displayed in RED if DUA II cannot lock on the selected synchronization source.
AutoDetect SR mode
By pressing the
SAMPLE RATE
button for 1 second, you enable the AutoDetect mode for the sample rate selection.
In this mode, the DUA II detects automatically the sample rate of the selected synchronization source.
While scanning the different sample rates, all 3 SR LEDs are light on RED.
When DUA II has found the sample rate of the selected synchronization source and is locked on it, the detected
sample rate LED light on GREEN.
When in sync mode
INT:
In Normal ADAT mode, the DUA II selects the sample rate based on the ADAT signal returning from the device
connected and locked on DUA II.
In Stand Alone mode, the DUA II selects the sample rate based on the AES/EBU signal returning from the device
connected and locked on DUA II.
Monitoring Selector
MONITOR
7/8
5/6
3/4
1/2
This section allows for the Selection of any of the 8 input or output audio signals in pairs. The desired monitoring
source is selected by pressing the
MONITOR
button.
The monitoring source selected is displayed in RED for inputs (RECORD), or GREEN for outputs (PLAYBACK).