TG2008214-MM-00
12 of 23
20180910-Ver1
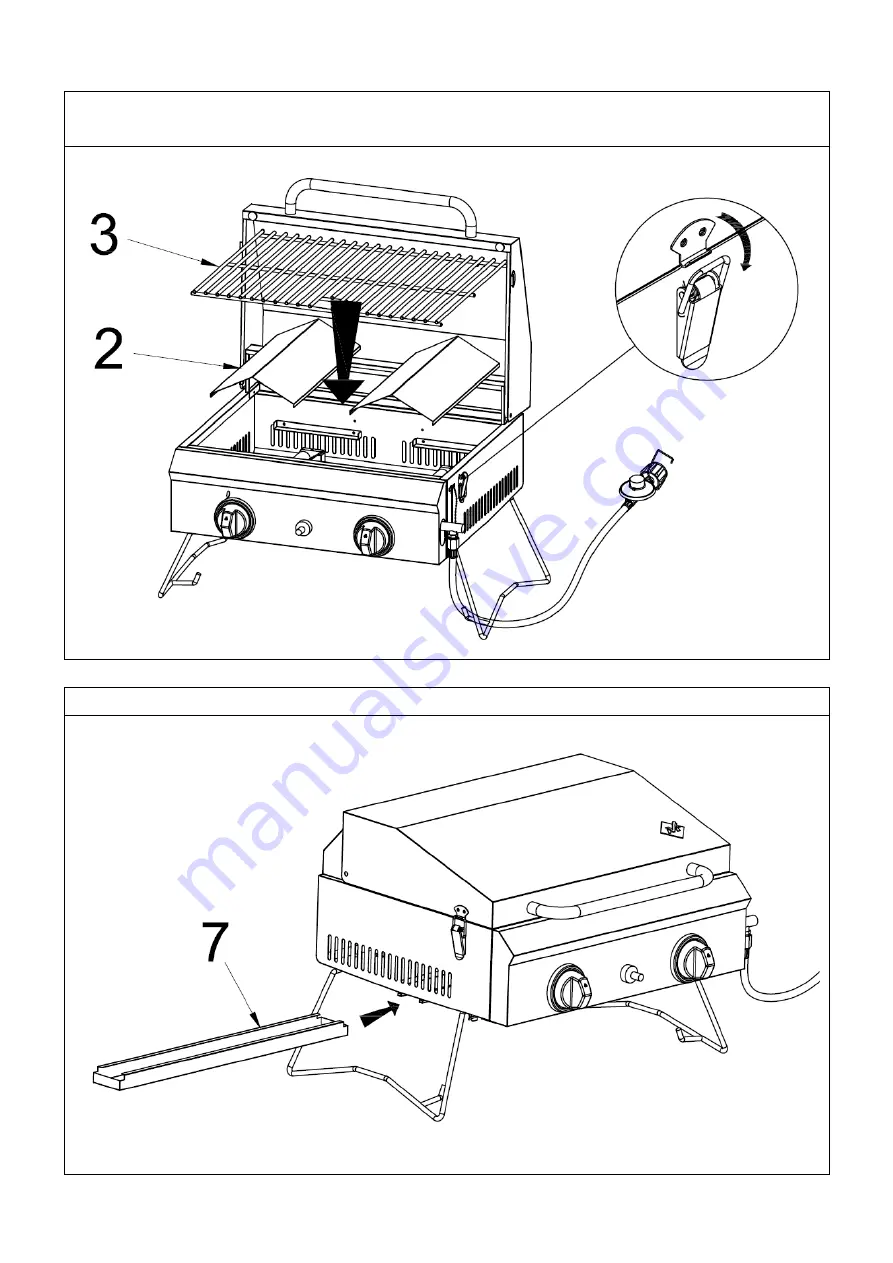
Step 3:
Unlock the side latch and open the lid. Place the
Flame Tamer (2)
above each burner
and place the
Cooking Grate (3)
along the inner ledge.
Step 4:
Insert the
Grease Tray (7)
to the bottom of the grill body.


