40
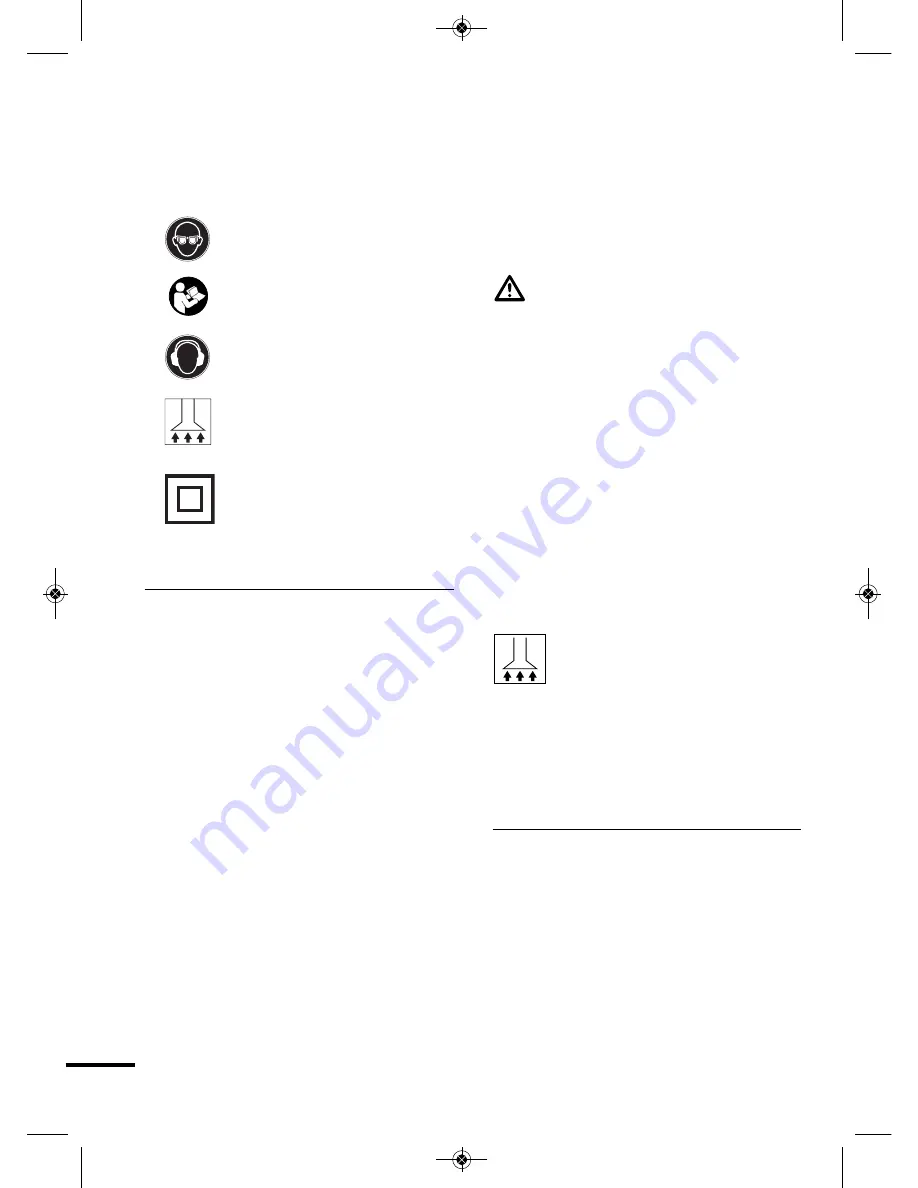
Safety marks
Pay attention to the safety marks! The
symbols have the following meanings:
Wear safety goggles!
Read the operating
instructions!
Wear ear defenders!
IAlways work with a dust
collection system connected!
Double insulated!
7 – Installation and setting
Revolution regulation/Revolution
pre-selection function (Figure 1)
The machine has an electronic function
for controlling the revolutions. Activating
the switch (2) enables continuous
modification of the revolutions within the
specified values, for example, to enable
a gentle start.
The adjustment wheel (3) for pre-selecting
the revolutions allows you to select the
revolutions suitable for the material in
question, (+) = increases the revolutions,
(–) = decreases the revolutions.
Additional handle (Figure 2)
The additional handle serves to ensure
safe handling and guidance of the
machine during sanding. The handle can
be smoothly adjusted to the most
practical position for working. Turn the
wing screw on the additional handle to
the left to loosen, move the handle to
the required position, then tighten the
screw by turning to the right.
Inserting sand paper (Figure 3)
CAUTION! Switch off the
machine, disconnect the power.
The sanding plate is fitted with a hook
and eye system for sanding sheets. This
enables rapid application of new sheets
without the need for a tensioning
system. Before applying a new sheet,
tap the dust from the hook and eye
fastening of the sanding plate.
Stretch the sanding paper over the
sanding plate (5) and ensure that the
holes (4) of the plate and the disc
match up.
Dust extraction (Figure 4)
Connect the dust collection
bag to the dust extraction
connector (6). Check the
filling level, and empty frequently.
Always work with a dust extraction
system connected!
8 – Operation
Switching on and off
Connect the plug to a power socket.
• Switch on continuous operation:
Press button (2) [I].
• Switch off continuous operation:
Press button (2) [0].
5457150-Exzentersc-man 06.02.14 07:42 Seite 40

