11
2.
Stop Record:
Manual Record
Press
《
/∩》
button/ Manual Power-Off/ Auto Power-Off when
System Power Shortage.
Schedule Record
Enter
《 /
II
》
schedule recording, all kinds of recordings (Alarm/
Motion Detection/ Continuous) will be stopped.
To continue recording, please follow the methods below to restart recording.
Manual Record
Repress
《 》
button.
Schedule Record
Stop playback and the system will auto re-check the record
schedule setup again.
3.
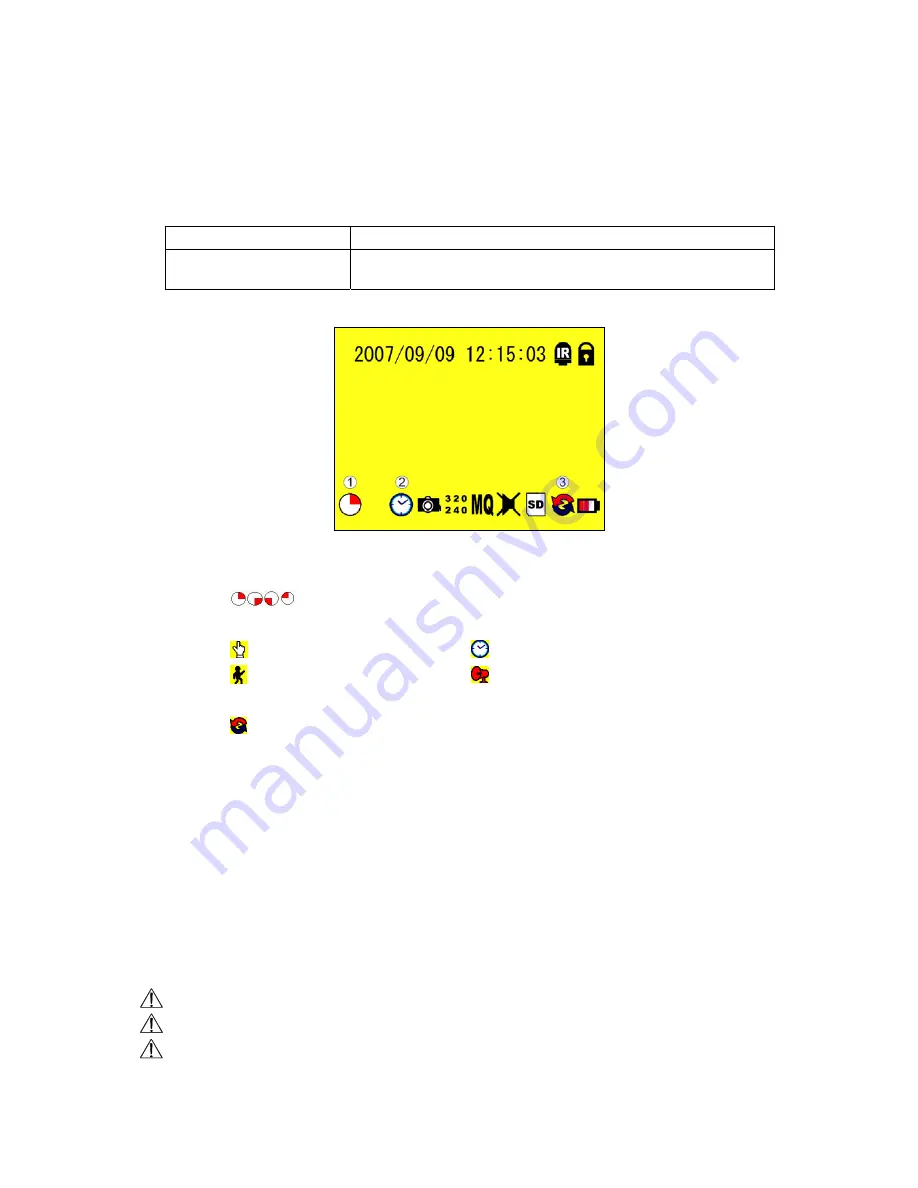
Record Display:
1
Record Status:
:
Indicates recording is in progress.
2
Record Mode:
:
Manual Record
:
Schedule Record
:
Motion Detection Record
:
Alarm Record
3
Record Storage Mode Status:
:
Continuous Record
%
:
Remaining Storage Capacity
4
System recording is determined according to the recording priority order (Record Priority:
Manual/ Alarm/ Motion Detection/ Continuous).
5.
Different recording modes may have different kinds of setups. Basic setup: video size,
recording frames, video quality, and audio recording. When different recording modes are
triggered, the system starts recording according to the different setup. This kind of design
provides flexibility to ensure efficient recording time and quality. Example:
Work hour
from 8:00am to 6:00pm, setup
「
Schedule Record
」
to low video quality with less recording
frames to extend the recording time. And off work hour, setup
「
Motion Detection
Record/ Alarm Record
」
to enable high video quality with the highest recording frames,
when an event occurs.
6.
Video or audio may be recorded into the SD card (SD card is purchased separately).
Do not withdraw the SD card while recording. It may destroy the data stored within the SD card..
Power loss during recording results incomplete videos or errors.
Video loss during recording, the system stops recording, backups the files, and when
the videos are normal again, the system will continue recording.


