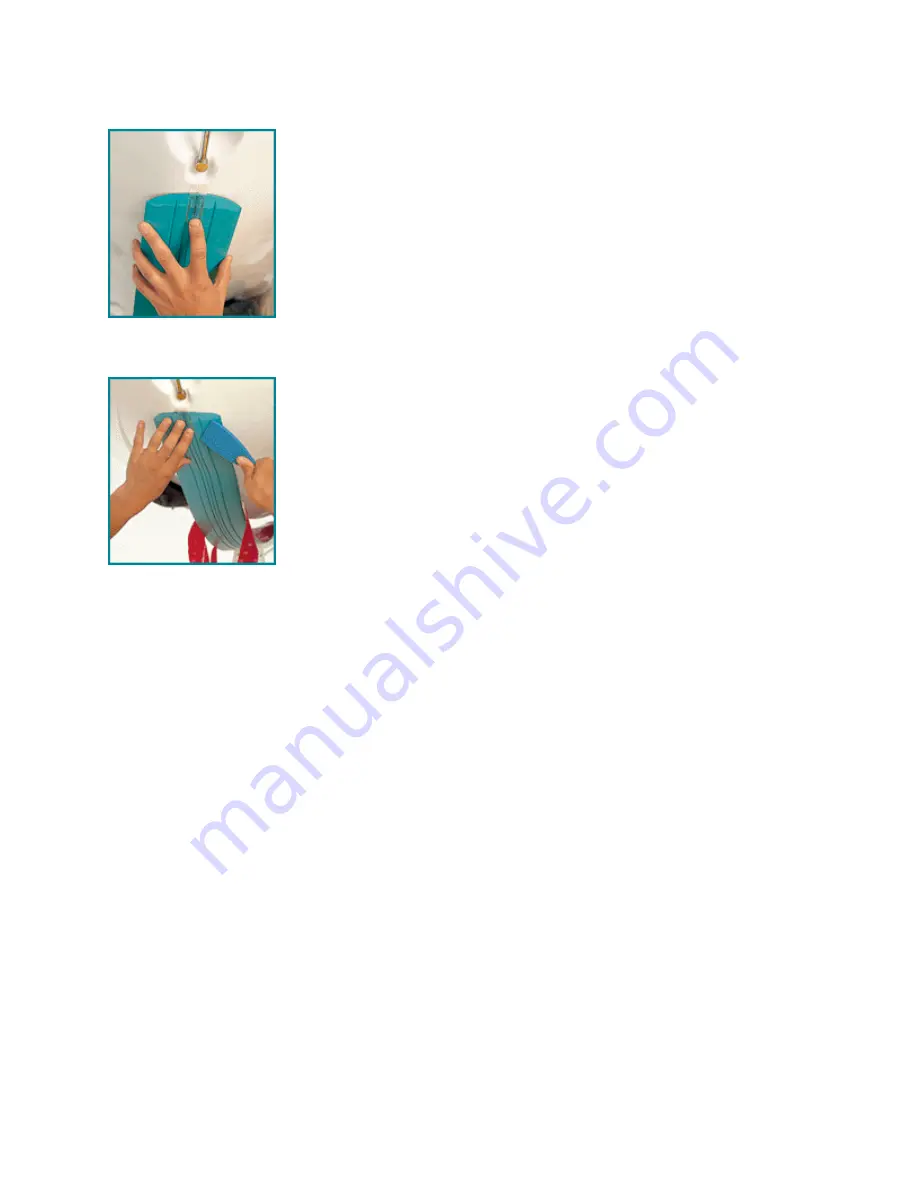
The adhesive has a protective red plastic liner that has been scored
approximately 1 inch wide down the center. This is done to aid in
centering the KeelGuard. Carefully pull back the center liner or sheath
approximately 2 feet, exposing the 3M adhesive tape. Start removing
the sides of the protective liner, being careful not to touch the adhesive
to anything that could contaminate it, including your fingers. Align the
KeelGuard with the center of the keel and press on by hand or with the
burnishing tool. (Be careful not to touch the adhesive and KeelGuard to
the keel until you are satisfied that it is centered and aligned properly.
Once the adhesive touches the primed surface, it becomes a permanent
bond and will not let go without tearing the adhesive tape).
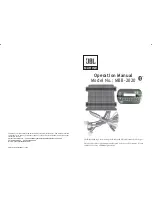
Pull back the protective strips one side at a time 2 to 3 feet and begin
pressing on with the burnishing tool. Work from the center out to
ensure no air is trapped between the hull and adhesive. Do one side up
to 3 feet and then the other. If you are applying the KeelGuard over
chines or lifting strakes, leave about 2-3 inches above the strake
unattached. Press and bond
under
the strake first and then continue
above and press on the remaining 2-3 inches meeting up with the
already attached material. This will help relieve any stretching of
material when going over irregular or protruding surfaces. Continue
working toward the rear in 2 to 3 foot sections until completed. After
the KeelGuard is completely attached, go over it again with the burnishing tool, applying strong
force and pressure making certain that all edges are pressed down firmly.
Great! You are now finished and ready to enjoy worry-free boating. No curing time is required.
The boat or personal watercraft can be put in the water. If you have any questions, please call us
at 1-800-292-9835.


